
Everbilt HDS30
Everbilt 3/10 HP Cast Iron Sump Pump User Manual
Model: HDS30
Introduction
This manual provides essential information for the safe and efficient operation, installation, and maintenance of your Everbilt 3/10 HP Cast Iron Sump Pump, Model HDS30. Please read this manual thoroughly before installation and retain it for future reference.
The Everbilt 3/10 HP submersible pump is constructed of heavy-duty cast iron and features a PSC motor for energy efficiency. It is engineered to pass 1/2 inch solids and features a vortex non-clogging impeller, making it suitable for sump, effluent, and dewatering applications such as basement sumps, mound systems, and septic tanks.
Safety Information
WARNING: Read all safety warnings and instructions. Failure to follow the warnings and instructions may result in electric shock, fire, and/or serious injury.
- Always disconnect power before servicing the pump.
- Do not operate the pump in explosive atmospheres, such as in the presence of flammable liquids, gases, or dust.
- Ensure the pump is properly grounded to prevent electric shock.
- Do not use the pump to handle flammable or corrosive liquids.
- Keep hands, feet, and clothing away from moving parts.
- Do not lift the pump by its power cord.
- Ensure the electrical supply matches the voltage rating of the pump (115 Volts).
- This pump is designed for water only.
Product Overview
The Everbilt HDS30 sump pump is a robust unit designed for reliable water removal. Key components include the cast iron housing, PSC motor, and vertical float switch.

Figure 1: Front view of the Everbilt 3/10 HP Cast Iron Sump Pump, showing the main body and float switch assembly.

Figure 2: Side view of the sump pump, highlighting the discharge outlet and power cord.

Figure 3: Top view of the sump pump, showing the handle and electrical connections.
Setup and Installation
Pre-Installation Checklist:
- Verify power supply (115V AC).
- Ensure sump pit is clean and free of debris.
- Gather necessary tools and accessories (PVC pipe, check valve, adapters, etc.).
Installation Steps:
- Positioning the Pump: Place the pump on a solid, level surface in the sump pit. Ensure the float switch has adequate clearance to move freely without obstruction.
- Connecting Discharge Pipe: Connect a 1-1/2 inch FNPT discharge pipe to the pump's outlet. It is recommended to use PVC pipe for durability.
- Installing Check Valve: Install an in-line check valve horizontally above the pump to prevent water from flowing back into the pit when the pump shuts off.
- Electrical Connection: Plug the pump's power cord into a properly grounded 115V AC outlet. Do not use extension cords.
- Testing: Fill the sump pit with water to activate the float switch and ensure the pump operates correctly and discharges water. Verify the check valve functions properly.

Figure 4: Close-up view of the pump's discharge outlet, where the discharge pipe connects.

Figure 5: Bottom view of the sump pump, illustrating the intake area and stable base.
Suggested Pump Accessories:
| Accessory | Specification |
|---|---|
| In-Line Check Valve (install horizontally) | 1-1/2" FNPT |
| PVC Adapter | 1-1/2" ID Slip x 1-1/2" MNPT |
| PVC Pipe | 1-1/2" x distance pump to exit |
| PVC Adapters | 1-1/2" ID Slip 90 degree |
| Gate valve | 1-1/2" |
| PVC Glue/Primer |
Table 1: Suggested accessories for optimal pump installation and performance.
Operating Instructions
The Everbilt HDS30 sump pump operates automatically via its vertical float switch. When the water level in the sump pit rises and lifts the float to its activation point, the pump will turn on and begin discharging water. Once the water level drops and the float returns to its lower position, the pump will turn off.
Automatic Operation:
- Ensure the pump is plugged into a grounded 115V outlet.
- Verify the float switch moves freely and is not obstructed by the pit walls or other objects.
- The pump will activate automatically when water reaches the 'on' level and deactivate when it reaches the 'off' level.
Manual Operation (for testing):
To test the pump manually, you can carefully lift the float switch to its 'on' position. The pump should activate. Release the float, and the pump should deactivate once the float returns to its 'off' position.
Maintenance
Regular maintenance ensures the longevity and efficient operation of your sump pump.
Monthly Checks:
- Inspect Sump Pit: Remove any debris, dirt, or sediment from the bottom of the sump pit that could obstruct the pump intake or float switch.
- Test Operation: Pour enough water into the sump pit to activate the pump. Ensure it turns on, pumps water out, and then turns off correctly.
- Check Float Switch: Verify the float switch moves freely without sticking or interference.
- Inspect Power Cord: Check the power cord for any signs of damage, fraying, or wear.
Annual Checks:
- Clean Impeller: Disconnect power and carefully inspect the impeller for any lodged debris. Clean as necessary.
- Check Discharge Pipe: Ensure the discharge pipe is clear and free of blockages.
- Inspect Check Valve: Verify the check valve is functioning properly and not leaking.

Figure 6: Top view of the pump, illustrating the robust handle for easy lifting during maintenance.

Figure 7: Close-up of the vertical float switch, crucial for automatic operation.
Troubleshooting
This section provides solutions to common issues you might encounter with your sump pump.
| Problem | Possible Cause | Solution |
|---|---|---|
| Pump does not turn on. | No power; tripped circuit breaker; float switch obstructed or faulty. | Check power supply and circuit breaker. Clear any obstructions around the float switch. Test float switch manually. |
| Pump runs but no water is discharged. | Discharge pipe blocked; check valve installed incorrectly or stuck; air lock; impeller clogged. | Check discharge pipe for blockages. Verify check valve orientation and function. Clear air lock by tilting pump. Disconnect power and inspect/clean impeller. |
| Pump runs continuously. | Float switch stuck in 'on' position; check valve leaking; continuous water inflow. | Clear float switch obstructions. Inspect and replace faulty check valve. Investigate source of continuous water inflow. |
| Pump cycles too frequently. | Sump pit too small; check valve leaking; float switch set too low. | Consider a larger sump pit. Inspect and replace faulty check valve. Adjust float switch if possible (not applicable for fixed vertical float). |
Table 2: Common troubleshooting steps for the Everbilt HDS30 sump pump.
Specifications
Detailed technical specifications for the Everbilt 3/10 HP Cast Iron Sump Pump (Model HDS30).
| Feature | Value |
|---|---|
| Brand | Everbilt |
| Model Number | HDS30 |
| Horsepower (hp) | 0.3 hp (3/10 HP) |
| Voltage | 115 Volts |
| Amperage (amps) | 6.5 Amps |
| Discharge Flow @ 0 ft. | 3160 gallons/hour |
| Discharge Flow @ 10 ft. | 2150 gallons/hour |
| Discharge Flow @ 15 ft. | 1500 gallons/hour |
| Housing Material | Cast-Iron |
| Impeller Material | Plastic |
| Solids Handling | 1/2 inch |
| Pump Switch Type | Vertical |
| Cord Length | 10 ft. |
| Product Weight | 24.14 lb |
| Maximum Working Temperature | 104°F |
| Minimum Working Temperature | 33°F |
| Discharge Outlet Diameter | 1-1/2 FPT |
| Certifications | CSA Listed |
Table 3: Technical specifications of the Everbilt HDS30 sump pump.
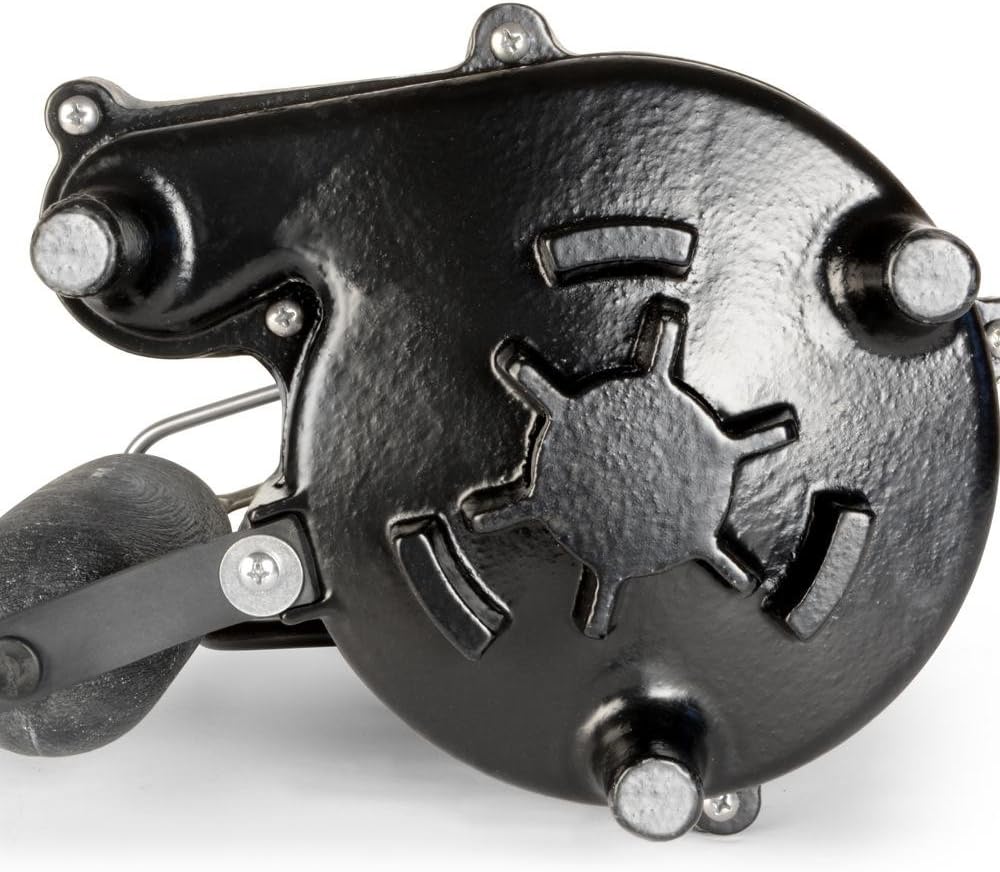
Figure 8: Comparison of Everbilt HDS30 features with a popular pro pump (3/10HP).
Warranty and Support
For warranty information and customer support, please contact Everbilt directly or refer to the product packaging. Keep your purchase receipt as proof of purchase.
For further assistance or technical inquiries, please visit the official Everbilt website or contact their customer service department.
Note: Specific warranty terms and conditions may vary and are subject to change.
Related documentsHDS30


Ask a question about this manual
Ask about setup, troubleshooting, compatibility, parts, safety, or missing instructions. Manuals+ will review the question and use this page’s manual context to help answer it.