
Powermatic Model 1200, 20-inch Drill Press Instruction Manual
Maintenance, Parts, and Operating Instructions
Introduction
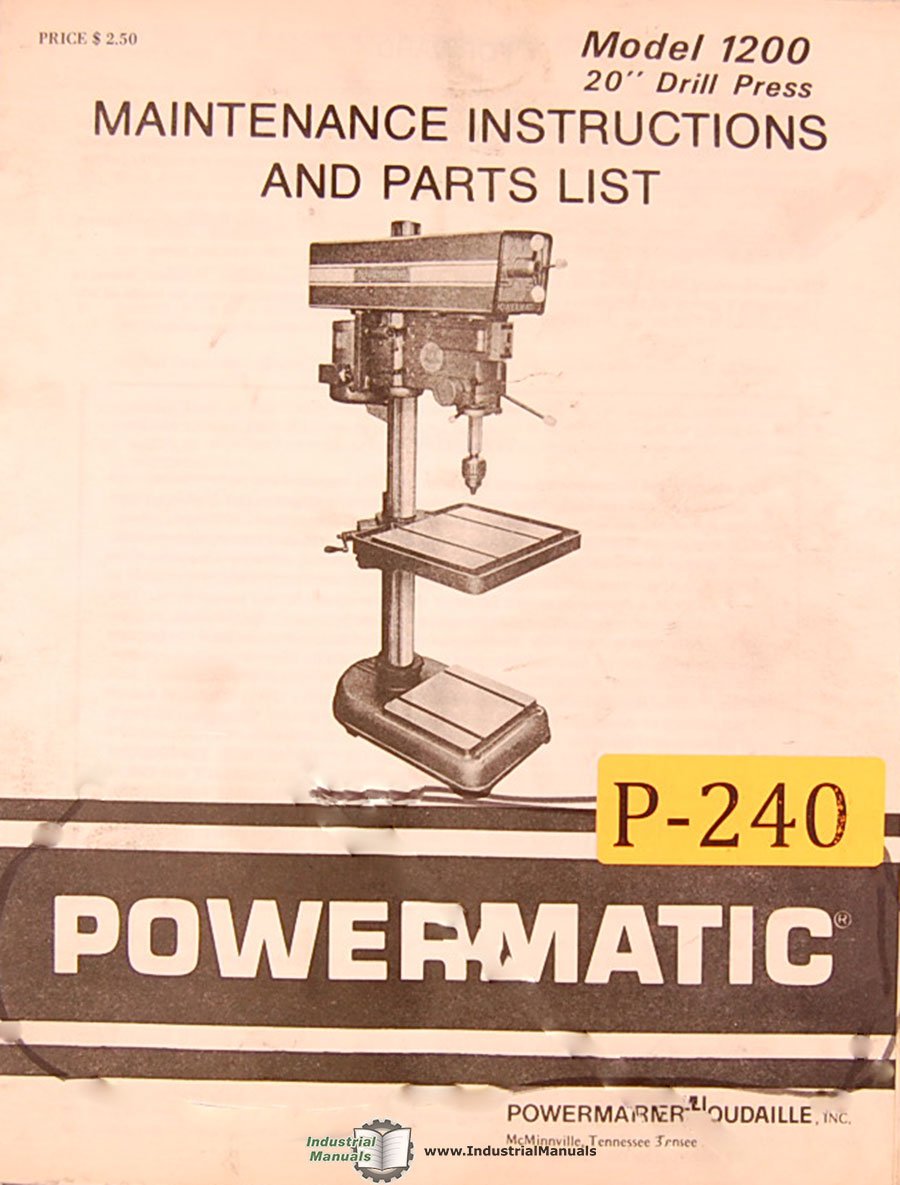 This image shows the cover of the Powermatic Model 1200, 20-inch Drill Press Maintenance Parts and Assemblies Manual.
FORWARD
This manual has been prepared for the owner and those responsible for the maintenance of a Powermatic Model 1200 Drill Press. Its purpose, aside from proper maintenance and operations, is to promote safety through the use of accepted practice. Read the safety and operating instructions thoroughly before operating the machine.
In order to obtain maximum life and efficiency from your Powermatic Drill Press, follow all the instructions in the operating instructions and maintenance manuals carefully.
The specifications put forth in this manual were in effect at the time of publication. However, owing to Powermatic's policy of continuous improvement, changes to these specifications may be made at any time without obligation on the part of Powermatic Houdaille, Inc.
Safety Instructions
SAFETY FIRST
This manual has been prepared for the owner and those responsible for the maintenance of a Powermatic Model 1200 Drill Press. Its purpose, aside from proper maintenance and operations, is to promote safety through the use of accepted practice. Read the safety and operating instructions thoroughly before operating the machine.
DRILL PRESS SAFETY INSTRUCTIONS
- Read, understand, and follow the safety and operating instructions found in this manual. Know the limitations and hazards associated with a 1200 Drill Press. A safety rules decal is installed on the belt guard of this machine to serve as a reminder of basic safety practice.
- Grounding the drill press: Make certain that the machine frame is electrically grounded and that a grounding lead is included. In cases where a cord and plug are used, make certain that the grounding plug connects to a suitable ground. Follow the grounding procedure indicated by the National Electrical Code.
Warranty Information
WARRANTY
This machine and its component parts have been carefully inspected and performance tested at various stages of production, and each finished machine is subjected to a final inspection before shipment. We agree that for a period of eighteen (18) months or 3000 hours of use, whichever occurs first from the date of delivery from our authorized dealer, to repair or replace, at our option, any machine (or component part thereof) proving defective within the above period, F.O.B. our plant, providing such machine (or component part) is returned prepaid to our plant, or to a designated service center of the undersigned, for our examination.
This warranty does not include repair or replacement required because of misuse, abuse, or normal wear and tear. Nor does it include electrical motors and electrical components which are warranted by their manufacturer and which should be taken to their local authorized repair station for service. Costs of removal, shipment, and reinstallation are not covered hereby. Further, we cannot be responsible for the cost of repairs made or attempted outside of our factory or designated service center without our authorization. No claims for defects will be honored if the Serial No. plate has been removed.
THIS WARRANTY IS MADE EXPRESSLY IN PLACE OF ALL OTHER WARRANTIES OR GUARANTEES, EXPRESS OR IMPLIED, WITH RESPECT TO FITNESS, MERCHANTABILITY, QUALITY OR OPERATIVENESS. THIS WARRANTY IS MADE ONLY TO THE ORIGINAL PURCHASER AND BECOMES EFFECTIVE ONLY WHEN THE ACCOMPANYING CARD IS FULLY AND PROPERLY FILLED OUT AND RETURNED TO THE FACTORY WITHIN TEN (10) DAYS FROM DATE OF DELIVERY.
Setup and Installation
Proper installation is crucial for the safe and efficient operation of your Powermatic Model 1200 Drill Press. This section outlines key installation steps and adjustments.
- Machine Installation Adjustments and Maintenance: Refer to the detailed instructions for securing the drill press to a stable surface and making initial adjustments.
- Motor Installation: Follow guidelines for installing the motor, including specific instructions for variable speed models.
- Mechanical Power Feed Attachment Installation: If applicable, install the mechanical power feed attachment according to the provided instructions.
Operating Instructions
This section provides essential information for operating your Powermatic Model 1200 Drill Press safely and effectively.
- Always ensure all safety guards are in place and functioning correctly before operation.
- Familiarize yourself with the controls and their functions.
- Refer to the manual for specific operating procedures for various drilling tasks.
- Understand the machine's limitations and avoid exceeding its recommended capacities.
Maintenance
Regular maintenance ensures the longevity and optimal performance of your drill press. This manual details the necessary procedures.
- Adjustments: Instructions for various machine adjustments to maintain precision and performance.
- Replacing or Adjusting Spindle Drive Belts: Step-by-step guide for belt maintenance.
- Lubrications: Schedule and points for proper lubrication to prevent wear.
- Cleaning: Guidelines for keeping the machine clean and free of debris.
Parts and Assemblies
This section provides detailed diagrams and lists for various components and assemblies of the Powermatic Model 1200 Drill Press.
- Dimensional Drawing: Overall dimensions and layout.
- Electrical Schematics: Wiring diagrams for electrical components.
- Production & Tilting Table w/table Raising Rack: Assembly and parts lists.
- Multi-Spindle Table, Legs and Column MTG BRKT Assembly and Parts: Detailed component breakdown.
- Step Cone Assembly and Parts Lists: For speed adjustment mechanisms.
- Variable Speed Assembly and Parts Lists: Specific to variable speed models.
- Head Raising Assembly and Parts Lists: Components for head height adjustment.
- Mechanical Powerfeed Assembly and Parts Lists: For the power feed mechanism.
- Head Assembly and Parts Lists: Main drill head components.
- Guard Assembly (Optional): Safety guard components.
- Coolant Kit, 1 Spindle (Optional): Parts for single spindle coolant system.
- Coolant Kit, 2, 3, and 4 Spindles (Optional): Parts for multi-spindle coolant systems.
Troubleshooting
This section provides hints and solutions for common issues you might encounter with your Powermatic Model 1200 Drill Press.
- Refer to the "Trouble Shooting Hints" section in the manual for diagnostic steps.
- Consult electrical schematics for power-related issues.
- Check belt tension and condition if experiencing speed or power loss.
- Ensure all adjustments are correctly set if precision issues arise.
Specifications
| Feature | Detail |
|---|---|
| Model | 1200, 20-inch Drill Press |
| Publisher | Powermatic Houdaille |
| Publication Date | January 1, 1979 |
| Language | English |
| Print Length | 31 pages |
| Item Weight | 0.01 ounces |
Support and Contact
For further assistance or inquiries regarding your Powermatic Model 1200 Drill Press, please refer to the contact information provided within the original manual or visit the official Powermatic website.
Always ensure you have your model number (1200) and any relevant serial numbers ready when contacting support.