1. Introduction
This manual provides comprehensive instructions for the installation, operation, and servicing of the Thermal Dynamics PAK 10 XR Plasma Cutter. It is designed to assist operators and service personnel in understanding the equipment, ensuring safe and efficient use, and performing necessary maintenance and troubleshooting procedures.
This document covers detailed information on the plasma cutter's components, operational sequences, and diagnostic steps. Please read this manual thoroughly before attempting to install, operate, or service the PAK 10 XR Plasma Cutter.
Publication Date: April 1989
Publication No.: 0-2175
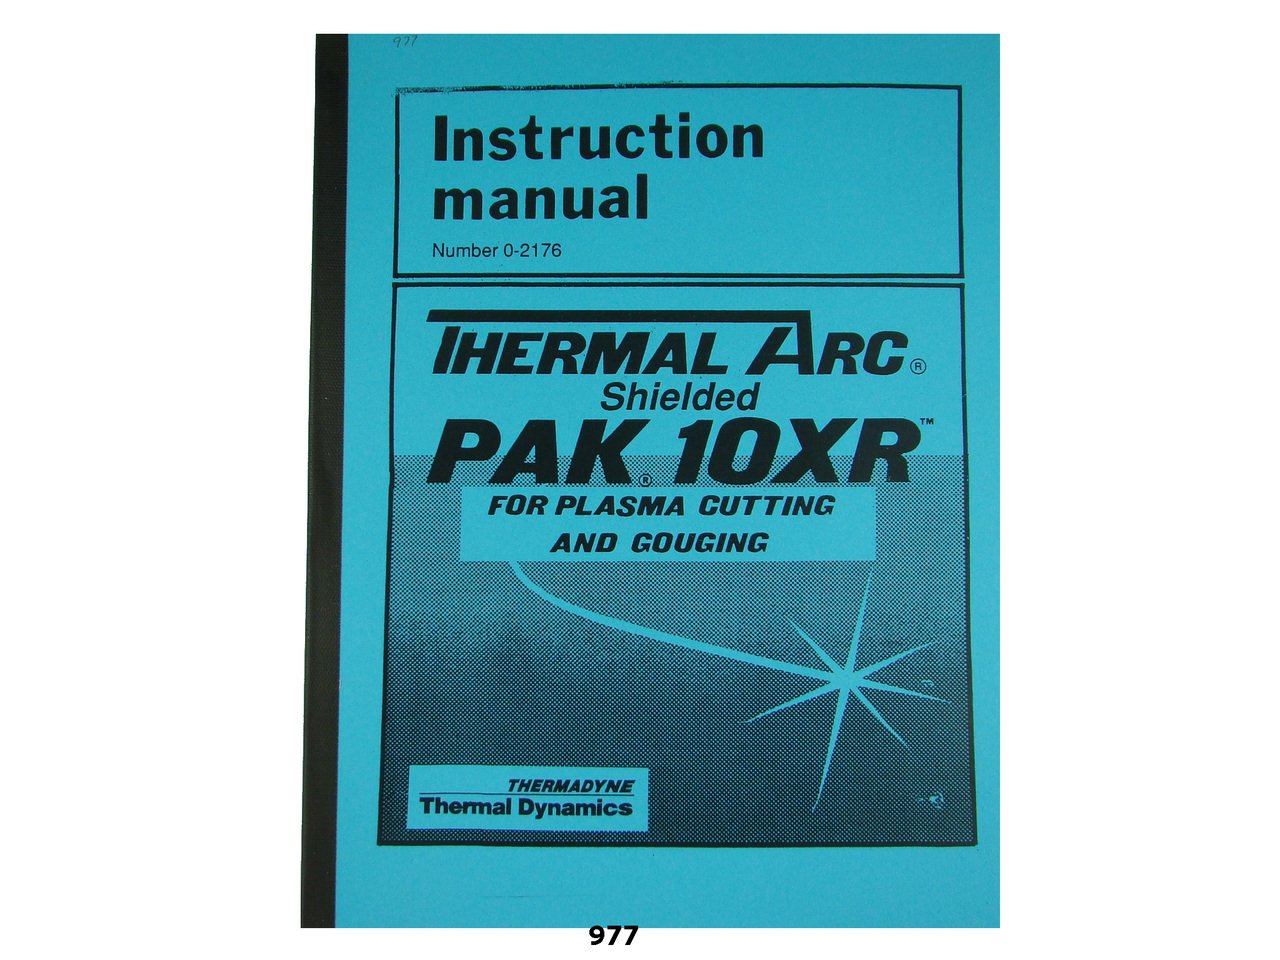
Figure 1.1: Cover of the Instruction & Servicing Manual for the Thermal Dynamics PAK 10 XR Plasma Cutter. This image displays the front cover of the physical manual, indicating its title and the model it covers.
2. Safety Information
WARNING: Plasma cutting equipment can be dangerous if not operated correctly. Always follow safety precautions to prevent injury or damage.
- Always wear appropriate personal protective equipment (PPE), including welding helmet, gloves, and protective clothing.
- Ensure proper ventilation to avoid inhaling fumes and gases produced during cutting.
- Never operate the plasma cutter in wet conditions or near flammable materials.
- Disconnect power before performing any maintenance or servicing.
- Read and understand all safety warnings and instructions in this manual before use.
3. Installation
Proper installation is critical for the safe and efficient operation of your PAK 10 XR Plasma Cutter. This section outlines the steps required to set up the unit.
3.1 Site Requirements
- Ventilation: Ensure the installation area has adequate ventilation to dissipate fumes and heat.
- Power Supply: Connect the unit to a dedicated power supply circuit that meets the specifications listed in Section 7.
- Compressed Air: A clean, dry, oil-free compressed air supply is required. Refer to the specifications for pressure and flow rates.
- Grounding: The plasma cutter must be properly grounded according to local electrical codes.
3.2 Connecting the Unit
- Place the plasma cutter on a stable, level surface.
- Connect the power cord to the appropriate power outlet.
- Attach the compressed air line to the air inlet fitting on the rear of the unit.
- Connect the work clamp cable to the work piece. Ensure a good electrical connection.
- Connect the torch assembly to the front panel connections.
Note: This manual does not cover the operation or servicing of the torch itself. Refer to the torch manufacturer's manual for specific torch instructions.
4. Operation
This section details the steps for operating the Thermal Dynamics PAK 10 XR Plasma Cutter safely and effectively.
4.1 Pre-Operation Checks
- Verify all connections (power, air, torch, work clamp) are secure.
- Ensure the work area is clear of flammable materials and adequately ventilated.
- Confirm that appropriate PPE is being worn.
- Check air pressure and flow settings.
4.2 Starting the Unit
- Turn on the main power switch on the plasma cutter.
- Adjust the current setting to the desired level for the material thickness being cut.
- Initiate the pilot arc by pressing the torch trigger.
4.3 Cutting Procedure
- Position the torch nozzle approximately 1/8 inch (3 mm) from the workpiece.
- Press the torch trigger to start the arc.
- Move the torch steadily along the cut line at a consistent speed.
- Release the trigger to stop the arc at the end of the cut.
5. Servicing and Maintenance
Regular servicing and maintenance are essential to ensure the longevity and optimal performance of your PAK 10 XR Plasma Cutter. Always disconnect power before servicing.
5.1 Daily Checks
- Inspect torch consumables (electrode, nozzle, shield cup) for wear and replace as needed.
- Check air filter/regulator for moisture and drain if necessary.
- Examine cables and hoses for damage.
5.2 Periodic Maintenance
- Clean the interior of the unit to remove dust and debris (refer to Section 5.3 for detailed cleaning instructions).
- Inspect and tighten all electrical connections.
- Check the integrity of the grounding connection.
5.3 Cleaning Instructions
To clean the internal components, disconnect the unit from power and use dry, compressed air to blow out dust and metal particles. Avoid using liquids or solvents.
6. Troubleshooting
This section provides guidance for identifying and resolving common issues that may arise during the operation of the PAK 10 XR Plasma Cutter.
| Problem | Possible Cause | Solution |
|---|---|---|
| No pilot arc | No power, faulty torch, worn consumables, low air pressure | Check power supply, inspect torch and consumables, verify air pressure. |
| Poor cut quality | Incorrect current setting, worn consumables, improper torch speed, contaminated air | Adjust current, replace consumables, optimize torch speed, check air quality. |
| Unit overheats | Exceeding duty cycle, blocked ventilation, high ambient temperature | Allow unit to cool, ensure clear ventilation, operate within duty cycle limits. |
For more complex issues, refer to the "Sequence of Operations" and "Wiring Diagrams" sections, or contact a qualified service technician.
7. Sequence of Operations
This section outlines the logical sequence of events and internal processes that occur during the operation of the PAK 10 XR Plasma Cutter. Understanding this sequence can aid in advanced troubleshooting and diagnostics.
- Power On: Main power switch activates the control circuit.
- Air Flow Initiation: Compressed air flows through the system, regulated to the set pressure.
- Pilot Arc Start: When the torch trigger is pressed, a high-frequency, low-current pilot arc is established between the electrode and the nozzle.
- Transfer Arc: As the pilot arc approaches the workpiece, it transfers to become the main cutting arc, establishing a connection between the electrode and the workpiece.
- Cutting: The plasma jet melts and expels material, creating the cut.
- Arc Termination: Releasing the torch trigger extinguishes the cutting arc, followed by the pilot arc, and air flow may continue briefly for cooling.
8. Exploded Parts Views & Parts List
This section typically contains detailed exploded diagrams of the plasma cutter's internal and external components, along with corresponding parts lists. These diagrams are invaluable for identifying specific parts for replacement or repair.
Due to the nature of this digital format, detailed graphical exploded views are not embedded here. Please refer to the physical manual (Publication No. 0-2175) for comprehensive diagrams and part numbers. The parts list includes components such as:
- Power supply components
- Air system components (regulators, filters)
- Control board and electrical components
- Chassis and enclosure parts
- Torch consumables (electrode, nozzle, swirl ring, shield cap) - Note: Torch-specific parts may be in a separate torch manual.
9. Wiring Diagrams
The wiring diagrams provide a visual representation of the electrical connections within the PAK 10 XR Plasma Cutter. These diagrams are essential for electrical troubleshooting and understanding the circuit layout.
For detailed electrical schematics and connection points, please consult the physical manual (Publication No. 0-2175). The diagrams typically include:
- Main power input and distribution
- Control circuit connections
- High-frequency start circuit
- Torch connections
- Safety interlocks and sensors
10. Specifications
This section provides key technical specifications for the Thermal Dynamics PAK 10 XR Plasma Cutter.
| Feature | Detail |
|---|---|
| Model | PAK 10 XR |
| Brand | Thermal Dynamics |
| Type | Plasma Cutter |
| Manual Publication Date | April 1989 |
| Manual Publication No. | 0-2175 |
| Manual Page Count | Approximately 64 pages |
| Power Input | (Refer to unit label or physical manual for specific voltage/amperage) |
| Air Pressure Requirement | (Refer to unit label or physical manual for specific PSI/Bar) |
11. Warranty and Support
This instruction and servicing manual does not contain specific warranty information for the Thermal Dynamics PAK 10 XR Plasma Cutter. For details regarding product warranty, please refer to the original purchase documentation or contact Thermal Dynamics directly.
For technical support, service inquiries, or to order replacement parts, please contact your authorized Thermal Dynamics dealer or the manufacturer's customer service department.


