1. Introduction
This operating manual provides comprehensive instructions for the Thermal Dynamics EconoPak 50 Plasma Cutter. It covers essential information regarding the installation, safe operation, maintenance, and troubleshooting of your plasma cutting system. Understanding the contents of this manual is crucial for ensuring safe and efficient use of the equipment.
This manual is specifically designed for the EconoPak 50 model and includes detailed sections on wiring diagrams, parts breakdown, and service procedures. Please read this manual thoroughly before operating the EconoPak 50 Plasma Cutter.
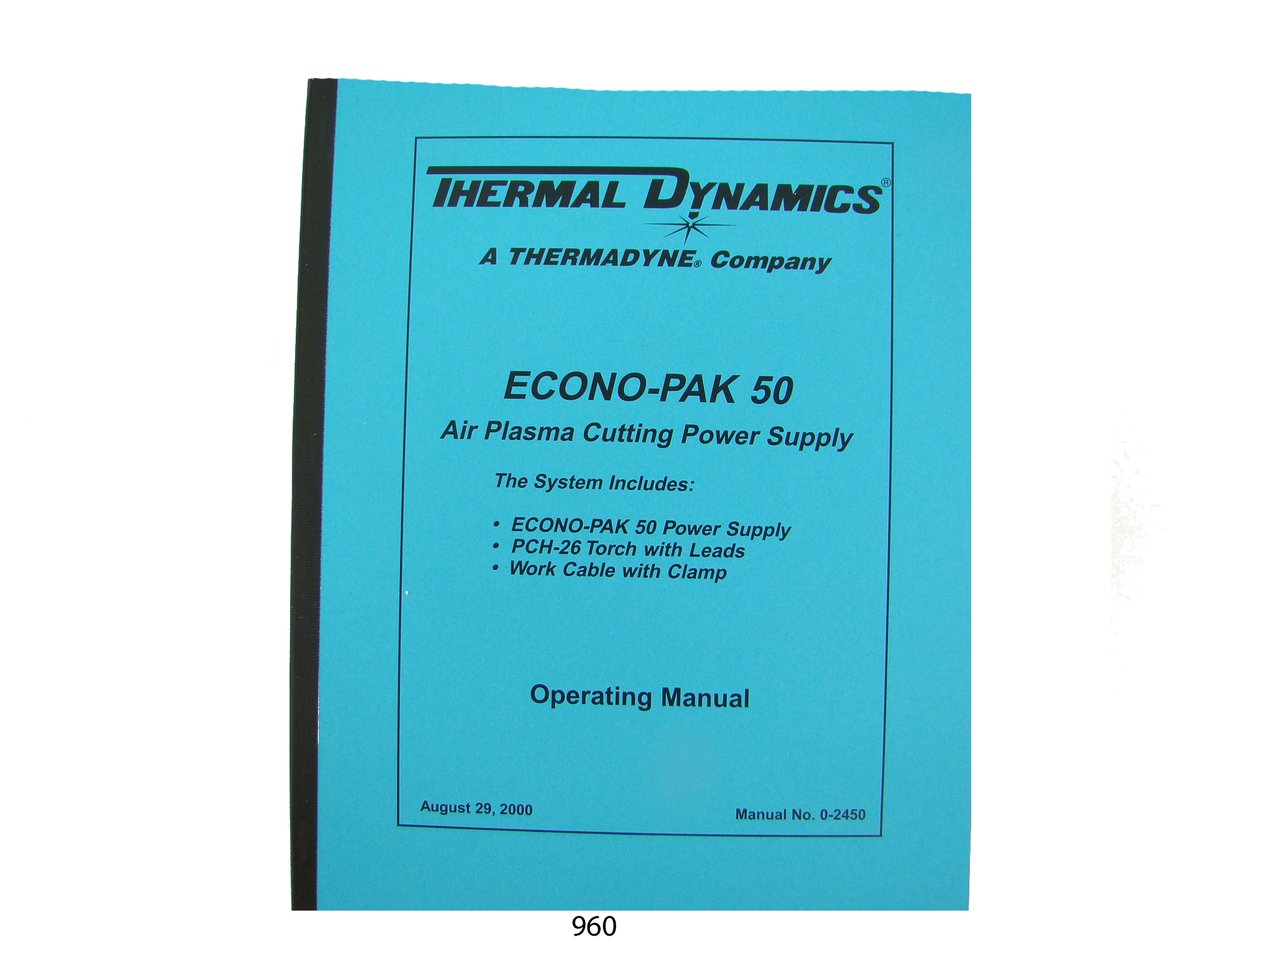
Figure 1.1: Thermal Dynamics EconoPak 50 Plasma Cutter. This image displays the plasma cutter unit, illustrating its general appearance and size.
2. Safety Information
Operating plasma cutting equipment involves inherent risks. Always adhere to the following safety guidelines to prevent injury or damage to the equipment:
- Wear appropriate personal protective equipment (PPE): This includes welding helmets with proper shade, safety glasses, flame-resistant clothing, gloves, and safety shoes.
- Ensure proper ventilation: Plasma cutting produces fumes and gases that can be hazardous. Operate in a well-ventilated area or use fume extraction systems.
- Electrical Safety: Always ensure the machine is properly grounded. Do not operate with damaged cables or connections. Disconnect power before performing any maintenance or service.
- Fire Prevention: Keep flammable materials away from the cutting area. Hot metal and sparks can cause fires. Have a fire extinguisher readily available.
- Read and understand all warnings and instructions in this manual before use.
3. Installation
Proper installation is critical for the safe and efficient operation of your EconoPak 50 Plasma Cutter. Follow these steps carefully:
- Unpacking: Carefully remove the plasma cutter and all accessories from its packaging. Inspect for any shipping damage.
- Placement: Position the unit on a stable, level surface, ensuring adequate clearance for ventilation around the machine.
- Power Connection: Connect the power cord to a suitable electrical supply as specified in the wiring diagrams section. Ensure the voltage and amperage match the machine's requirements.
- Air Supply Connection: Connect a clean, dry compressed air supply to the designated inlet. The air pressure should be set according to the specifications for optimal cutting performance.
- Torch and Work Clamp Connection: Attach the plasma torch and work clamp securely to their respective terminals on the machine.
Refer to the "Wiring Diagrams" section for detailed electrical connection information.
4. Operation
This section outlines the general operating procedures for the EconoPak 50 Plasma Cutter. Always ensure all safety precautions are followed before beginning any cutting operation.
4.1 Pre-Operation Checks
- Verify all connections (power, air, torch, work clamp) are secure.
- Check the condition of the torch consumables (electrode, nozzle, shield cup). Replace if worn.
- Ensure the work area is clear of obstructions and flammable materials.
- Confirm proper air pressure setting.
4.2 Cutting Procedure
- Turn on the main power switch of the plasma cutter.
- Attach the work clamp firmly to the workpiece, ensuring good electrical contact.
- Select the appropriate amperage setting for the material thickness being cut.
- Position the torch nozzle at the starting point of the cut, maintaining the recommended standoff distance.
- Press the torch trigger to initiate the arc. Once the arc is established, move the torch steadily along the cut line.
- Release the trigger to stop the cut.
Note: This manual does not cover the specific operation or servicing of the torch itself. Refer to the torch manufacturer's manual for detailed torch-specific instructions.
5. Maintenance and Service
Regular maintenance ensures the longevity and optimal performance of your EconoPak 50 Plasma Cutter. Always disconnect the power supply before performing any maintenance.
- Consumable Replacement: Regularly inspect and replace worn torch consumables (electrodes, nozzles, swirl rings, shield cups).
- Air Filter Inspection: Check and clean or replace the air filter as needed to ensure a clean and dry air supply.
- Cable Inspection: Periodically inspect all cables for cuts, abrasions, or loose connections. Repair or replace damaged cables immediately.
- General Cleaning: Keep the exterior of the machine clean and free of dust and debris. Use compressed air to blow out internal components if necessary, ensuring power is disconnected.
For more detailed service procedures, refer to the "Service" section of this manual.
6. Parts List
This section provides a detailed breakdown of the components for the EconoPak 50 Plasma Cutter, including part numbers for ordering replacements. Refer to the diagrams provided within this section for visual identification of parts.
Note: Always use genuine Thermal Dynamics replacement parts to ensure compatibility and maintain warranty.
| Item No. | Part Number | Description | Quantity |
|---|---|---|---|
| 1 | TD-5001 | Electrode | 1 |
| 2 | TD-5002 | Nozzle (40A) | 1 |
| 3 | TD-5003 | Shield Cup | 1 |
| 4 | TD-5004 | Air Filter Element | 1 |
7. Wiring Diagrams
This section contains detailed electrical wiring diagrams for the EconoPak 50 Plasma Cutter. These diagrams are essential for proper installation, troubleshooting, and service by qualified personnel.
Warning: Only qualified electricians or service technicians should attempt to work with the internal electrical components of the plasma cutter. Always disconnect power before accessing internal wiring.
Due to the complexity and specific nature of wiring diagrams, they are typically presented as detailed schematics within the physical manual. For safety and clarity, please refer to the full manual for these diagrams.
8. Troubleshooting
This section provides solutions to common operational issues you may encounter with your EconoPak 50 Plasma Cutter. Before attempting any repairs, ensure the unit is disconnected from the power supply.
| Problem | Possible Cause | Solution |
|---|---|---|
| No Arc |
|
|
| Poor Cut Quality |
|
|
9. Specifications
The following are the general specifications for the Thermal Dynamics EconoPak 50 Plasma Cutter:
- Model: EconoPak 50
- Publisher: Thermal Dynamics
- Publication Date (Manual): January 1, 1960 (Original manual publication date)
- Item Weight (Manual): 9 ounces
- ASIN (Manual): B00NGWH9WQ
- Manual Page Count: Approximately 37 pages
Note: Product specifications for the plasma cutter itself (e.g., input voltage, output amperage, cutting capacity) would typically be found in the full manual. The specifications listed above pertain to the manual document.
10. Warranty and Support
For information regarding the warranty of your Thermal Dynamics EconoPak 50 Plasma Cutter, please refer to the warranty card included with your original purchase or contact Thermal Dynamics customer support directly.
For technical support, service inquiries, or to order replacement parts, please contact Thermal Dynamics through their official channels. Always provide your model number (EconoPak 50) and serial number when seeking support.
Note: This manual is a reproduction of an original operating manual and does not imply any active warranty or support from the manual's seller.


