
JERDON HL88CLD
JERDON HL88CLD Wall-Mounted Vanity Mirror with Lights User Manual
Model: HL88CLD | Brand: JERDON
Introduction
This manual provides detailed instructions for the installation, operation, and maintenance of your JERDON HL88CLD Wall-Mounted Vanity Mirror with Lights. Please read all instructions carefully before installation and use to ensure safe and optimal performance.
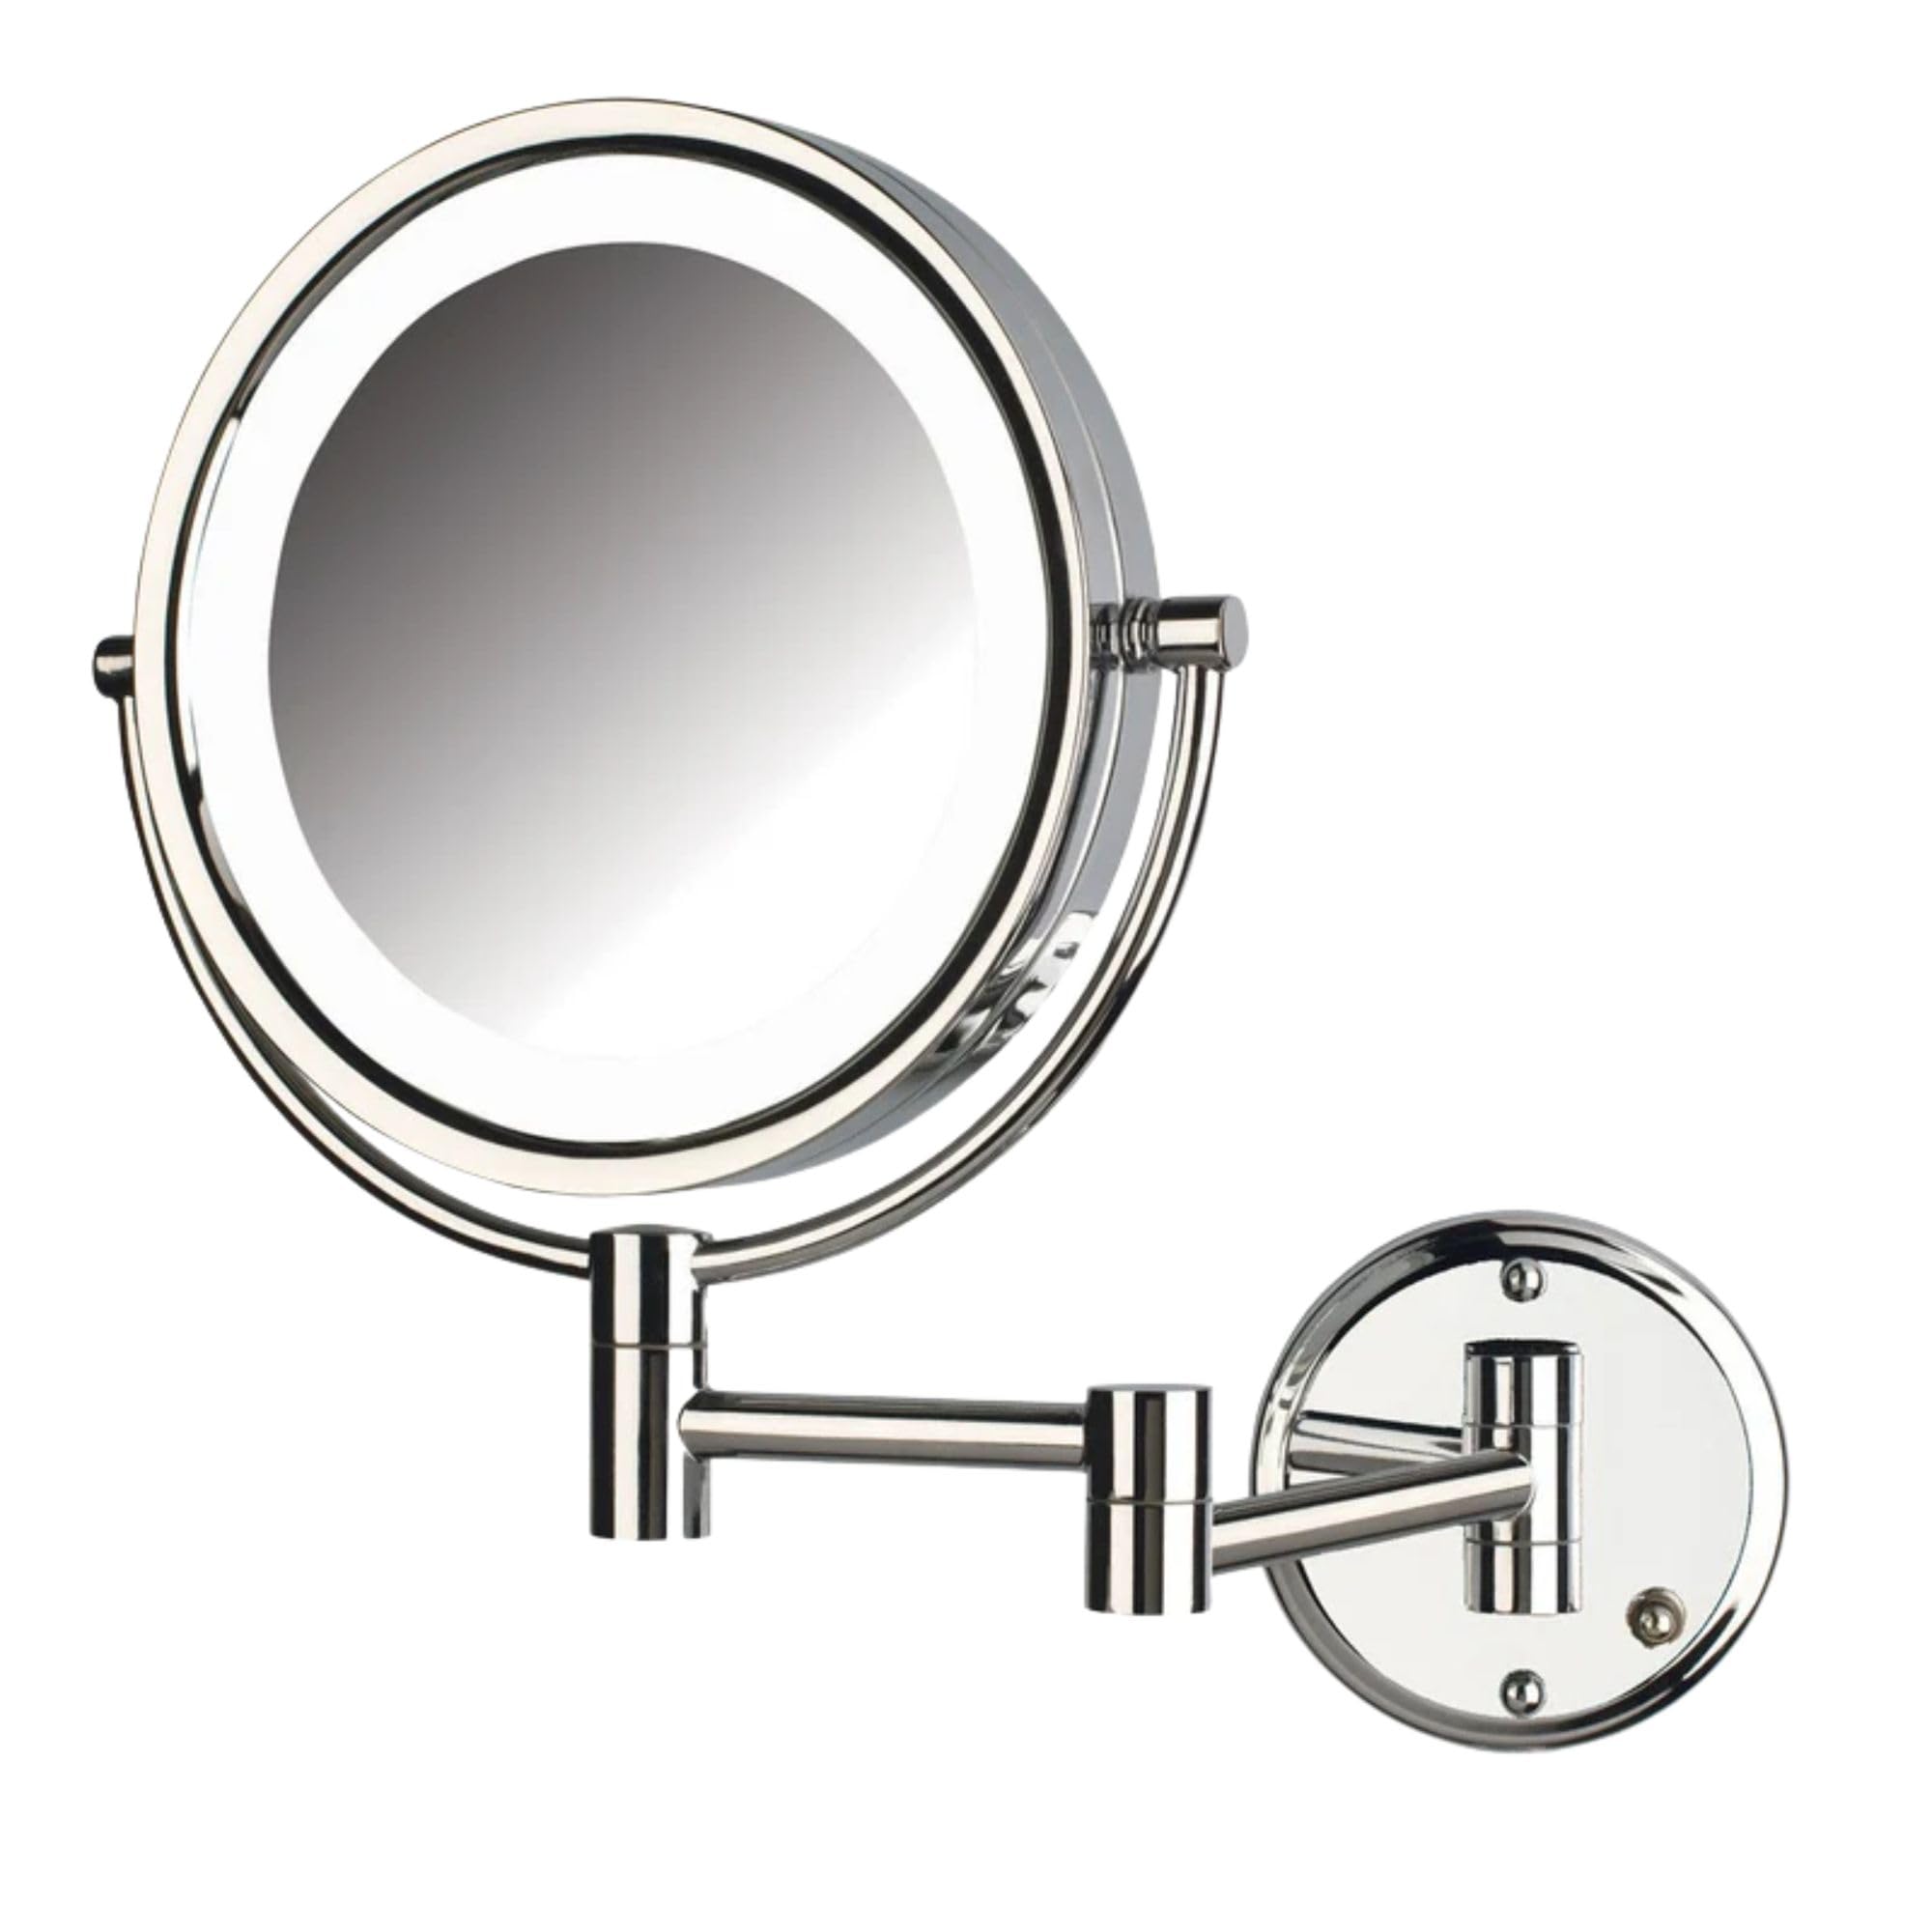
Figure 1: JERDON HL88CLD Wall-Mounted Vanity Mirror with Lights, Chrome Finish.
Safety Information
- Electrical Safety: This is a direct-wire unit. Installation must be performed by a qualified electrician in accordance with all local electrical codes. Ensure power is disconnected at the circuit breaker before installation.
- Mounting: Securely mount the mirror to a sturdy wall surface or junction box to prevent accidental falling.
- Handling: Handle the mirror with care to avoid breakage or damage to the glass and internal components.
- Intended Use: Use this product only for its intended purpose as a vanity mirror.
Setup and Installation
The JERDON HL88CLD mirror is designed for direct-wire installation, requiring a junction box with a live wire at the mounting location. No exposed cords or plugs will be visible after proper installation.
Package Contents:
- Wall-Mounted Vanity Mirror Unit
- Mounting Hardware
- Instruction Manual
Tools Required (Not Included):
- Screwdriver (Phillips and/or Flathead)
- Drill
- Level
- Wire Strippers
- Electrical Tape
Installation Steps:
- Turn Off Power: Locate the circuit breaker controlling the power to the installation area and turn it off. Verify power is off using a voltage tester.
- Prepare Mounting Location: Ensure a standard electrical junction box is present at the desired mounting height. The mirror's mounting plate is 4.75 inches in diameter.
- Attach Mounting Plate: Secure the mirror's mounting plate to the junction box using the provided hardware. Ensure it is level and firmly attached.
- Wire Connections: Connect the mirror's electrical wires to the corresponding wires from the junction box (typically black to black, white to white, and ground to ground). Use wire nuts and electrical tape to secure connections.
- Mount Mirror: Carefully align the mirror base with the mounting plate and secure it using the provided screws or fasteners. Ensure the mirror is stable and does not wobble.
- Restore Power: Once installation is complete and all connections are secure, restore power at the circuit breaker.

Figure 2: The mirror is designed for direct-wire installation, ensuring no exposed cords.

Figure 3: Key dimensions of the mirror, including the 8.5" diameter and 13.5" extendable arm.
Operating Instructions
Adjusting the Mirror:
- Extendable Arm: The mirror features a 13.5-inch extendable arm, allowing you to pull the mirror closer or push it back against the wall for convenience and space-saving.
- 360-Degree Swivel: The mirror head can swivel 360 degrees, enabling you to switch between the 1X and 8X magnification sides.
- Tilt Adjustment: The mirror head can also be tilted up or down to achieve your desired viewing angle.

Figure 4: The mirror head swivels 360 degrees for versatile viewing.
Magnification:
- 1X Magnification: One side of the mirror provides a true-to-life 1X reflection, ideal for general skincare and makeup application.
- 8X Magnification: The other side offers 8X magnification, perfect for detailed tasks such as tweezing, precise makeup application, or shaving.

Figure 5: The mirror offers both 1X and 8X magnification for various grooming needs.
LED Lighting:
- The mirror features bright, long-lasting LED bulbs for optimal illumination.
- To turn the light on or off, locate the switch on the base of the mirror's mounting arm.

Figure 6: The LED lighting enhances visibility for makeup application, tweezing, skincare, and hair styling.
Maintenance
Cleaning:
- To clean the mirror surface, use a soft, lint-free cloth and a non-abrasive glass cleaner. Spray the cleaner onto the cloth, not directly onto the mirror.
- For the chrome finish, wipe with a soft, damp cloth and dry immediately to prevent water spots. Avoid harsh chemicals or abrasive cleaners, as these can damage the finish.
General Care:
- Regularly check all mounting hardware to ensure the mirror remains securely attached to the wall.
- Avoid excessive force when adjusting the mirror's arm or head to prevent damage to the joints.
Troubleshooting
| Problem | Possible Cause | Solution |
|---|---|---|
| Light does not turn on. | No power to the unit; faulty wiring; LED failure. | Check circuit breaker. Verify wiring connections (consult an electrician if unsure). Contact customer support if LEDs are faulty. |
| Mirror is wobbly or loose. | Mounting hardware is loose; improper installation. | Tighten all mounting screws. Ensure the mirror is mounted to a sturdy surface. |
| Arm is stiff or difficult to move. | Accumulated dust/debris in joints; lack of lubrication. | Clean joints with a soft cloth. Apply a small amount of silicone-based lubricant if necessary (avoid oil-based lubricants). |
Specifications
- Brand: JERDON
- Model: HL88CLD
- Product Dimensions: 14"L x 10"W
- Mirror Diameter: 8.5 inches
- Magnification: 1X / 8X
- Lighting: LED
- Finish: Polished Chrome
- Mounting Type: Wall Mount (Direct Wire)
- Extendable Arm Length: 13.5 inches
- Mounting Plate Diameter: 4.75 inches
- Material: Metal
- Item Weight: 3.5 Pounds
- UPC: 874479002700
Warranty Information
This JERDON HL88CLD Wall-Mounted Vanity Mirror with Lights comes with a 1-year limited warranty. This warranty covers defects in materials and workmanship under normal use. Please retain your proof of purchase for warranty claims. For detailed terms and conditions, refer to the warranty card included with your product or contact JERDON customer support.
Customer Support
If you have any questions, require assistance with installation, or need to report an issue with your JERDON HL88CLD mirror, please contact JERDON customer support. Contact information can typically be found on the product packaging or the official JERDON website.
For more information, visit the JERDON Store on Amazon.
Related documentsHL88CLD


Ask a question about this manual
Ask about setup, troubleshooting, compatibility, parts, safety, or missing instructions. Manuals+ will review the question and use this page’s manual context to help answer it.