1. Introduction
This user manual provides comprehensive instructions for the Foscam FN3004H/B 4-Channel Network Video Recorder (NVR). The FN3004H/B is designed for managing and recording video from up to four 960p (1.3MP) IP cameras, offering real-time high-definition video monitoring and recording capabilities. It is accessible via standard web browsers and supports ONVIF compatible IP cameras. The NVR features VGA and HDMI outputs for display connectivity and USB ports for external storage backup.
2. Safety Information
To ensure safe operation and prolong the lifespan of your NVR, please adhere to the following safety guidelines:
- Ensure proper ventilation around the NVR unit. Do not block any ventilation openings.
- Do not expose the NVR to water, moisture, or any liquids.
- Use only the power adapter supplied with the device. Using unauthorized adapters may cause damage or fire.
- Avoid placing the NVR in environments with extreme temperatures (too hot or too cold) or high humidity.
- Disconnect the power supply before cleaning or performing any maintenance.
- Do not attempt to open or repair the NVR unit yourself. Refer all servicing to qualified personnel.
3. Package Contents
Verify that all items are present in your package:
- Foscam FN3004H/B NVR Unit
- Power Adapter
- USB Mouse
- Network Cable
- Quick Start Guide
- User Manual CD
4. Product Overview
4.1. NVR Unit and Ports
Familiarize yourself with the physical components and connection ports of the Foscam FN3004H/B NVR.

Figure 4.1: Front and side view of the Foscam FN3004H/B NVR, showing the HDMI and VGA output ports.

Figure 4.2: Close-up side view of the Foscam FN3004H/B NVR, highlighting the HDMI and VGA video output ports.
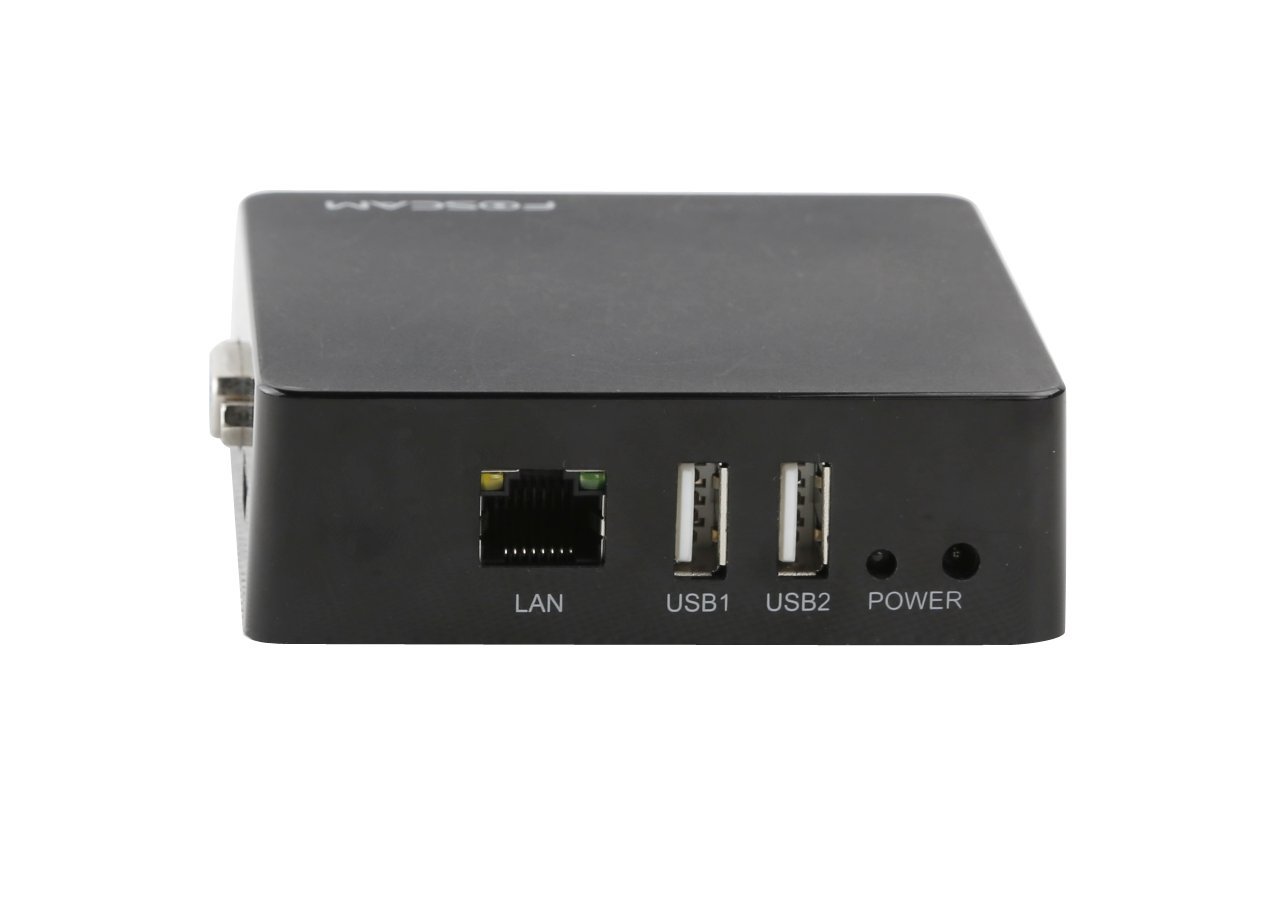
Figure 4.3: Rear view of the Foscam FN3004H/B NVR, displaying the LAN port, two USB ports (USB1, USB2), and the Power input.
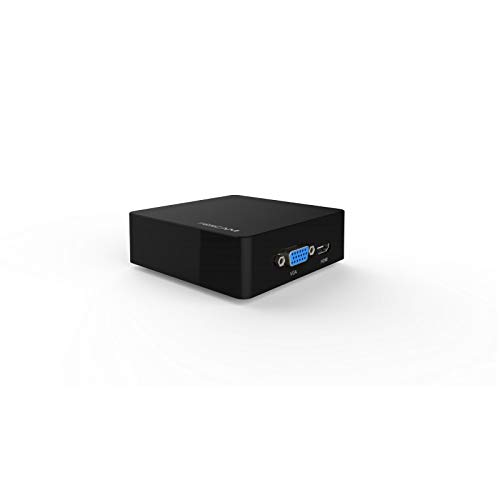
Figure 4.4: Angled perspective of the Foscam FN3004H/B NVR, showing its compact size and some of its connectivity options.
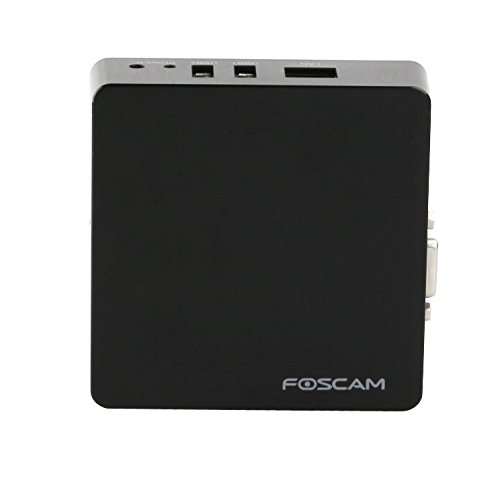
Figure 4.5: Top-down view of the Foscam FN3004H/B NVR, showing the Foscam logo and the overall compact design.
- HDMI Output: Connects the NVR to an HDMI-compatible display (e.g., TV, monitor) for high-definition video output.
- VGA Output: Connects the NVR to a VGA-compatible display for video output.
- LAN Port: Connects the NVR to your network router or switch using an Ethernet cable for internet access and camera communication.
- USB Ports (USB1, USB2): Used for connecting a USB mouse for local control, external USB storage devices for backup, or other USB peripherals.
- Power Input: Connects the supplied power adapter to power the NVR unit.
5. Setup
5.1. Physical Connection
- Connect Power: Plug the provided power adapter into the NVR's Power Input port, then connect it to a power outlet.
- Connect to Network: Connect one end of the network cable to the NVR's LAN port and the other end to an available port on your router or network switch.
- Connect Display: Connect a monitor to the NVR using either the HDMI or VGA output port.
- Connect USB Mouse: Insert the USB mouse into one of the NVR's USB ports (USB1 or USB2).
- (Optional) Connect External Storage: If you plan to use an external hard drive for additional storage or backup, connect it to an available USB port.
5.2. Initial Configuration
- Power On: Once all physical connections are made, the NVR will power on automatically.
- Access NVR Interface: You can access the NVR's interface directly via the connected monitor and mouse, or through a web browser on a PC connected to the same network. For PC access, use the discovery tool provided on the user manual CD to find the NVR's IP address.
- Network Settings: During the initial setup wizard, configure the NVR's network settings. It is recommended to use DHCP for automatic IP address assignment, or set a static IP address if required by your network setup.
- Add Cameras: The NVR will automatically search for ONVIF compatible IP cameras on your network. Follow the on-screen prompts to add and configure your cameras. Ensure your cameras are powered on and connected to the network.
- Storage Formatting: If you have connected an external hard drive, navigate to the storage settings within the NVR interface and format the drive for recording. Ensure you select the correct local disk for formatting.
6. Operating the NVR
6.1. User Interface Navigation
- Local Control: Use the connected USB mouse to navigate the NVR's graphical user interface on the connected monitor. Right-click to access the main menu.
- Web Interface: Open a web browser on your PC and enter the NVR's IP address to access the web-based interface. This provides full control and configuration options.
6.2. Live View
After adding cameras, you can view live feeds. The NVR supports simultaneous display of up to four camera feeds.
6.3. Recording
The NVR offers various recording modes:
- Continuous Recording: Records video constantly.
- Motion Detection Recording: Records only when motion is detected by the cameras.
- Scheduled Recording: Records during specific times set by the user.
Ensure sufficient storage space is available. The NVR supports external storage via USB for extended recording capacity.
6.4. Playback
To review recorded footage:
- Access the Playback menu from the NVR interface.
- Select the desired camera, date, and time range.
- Use the playback controls (play, pause, fast forward, rewind) to navigate through the footage.
6.5. Remote Access
The NVR can be accessed remotely via standard PC web browsers, allowing you to view live feeds and manage settings from anywhere with an internet connection. Refer to the detailed user manual on the CD for remote access configuration, including port forwarding if necessary.
7. Maintenance
7.1. Firmware Updates
Regularly check for and apply firmware updates to ensure optimal performance, security, and access to new features. Firmware updates can typically be found on the Foscam official website.
7.2. Cleaning
Clean the exterior of the NVR unit with a soft, dry cloth. Do not use liquid cleaners or aerosols. Ensure ventilation openings are free from dust and debris to prevent overheating.
7.3. Data Backup
Periodically back up important recorded footage to an external USB storage device to prevent data loss.
8. Troubleshooting
This section addresses common issues you might encounter with your NVR.
- No Power:
Solution: Check if the power adapter is securely connected to the NVR and the power outlet. Verify the power outlet is functional. - No Video Output on Monitor:
Solution: Ensure the HDMI or VGA cable is securely connected to both the NVR and the monitor. Verify the monitor is set to the correct input source (HDMI/VGA). - Cannot Connect to Network:
Solution: Check if the Ethernet cable is properly connected to the NVR's LAN port and your router. Verify your router is functioning correctly. Ensure the NVR's network settings (IP address, subnet mask, gateway) are correctly configured (DHCP is recommended for ease of use). - Cameras Not Displaying:
Solution: Confirm that your IP cameras are powered on and connected to the network. Ensure they are ONVIF compatible. Re-scan for cameras in the NVR's camera management settings and add them if necessary. - Recording Issues / No Recording:
Solution: Check the status of the connected hard drive (if any) in the NVR's storage settings. Ensure it is formatted and has sufficient free space. Verify that recording schedules or motion detection settings are correctly configured. - System Unresponsive or Freezing:
Solution: Try restarting the NVR by disconnecting and reconnecting the power. If the issue persists, consider performing a factory reset (refer to the full user manual for instructions, as this will erase settings).
9. Specifications
| Feature | Specification |
|---|---|
| Model | FN3004H/B |
| Channels | 4 |
| Video Resolution | 960p (1.3MP) |
| Storage Support | Supports up to 4TB HDD (external via USB) |
| Video Output | HDMI, VGA |
| Connectivity | LAN (Ethernet), USB |
| Dimensions (LxWxH) | 9 x 3 x 9 cm |
| Weight | 100 g |
| Power Input | 5 Volts, 7.5 Watts |
| Compatible Devices | ONVIF compliant IP cameras |
10. Warranty and Support
The Foscam FN3004H/B NVR is guaranteed for a Full Year from the date of purchase. This warranty and US-based support are offered exclusively by Foscam Digital Tech.
For technical assistance, troubleshooting beyond this manual, or warranty claims, please contact Foscam Digital Tech support directly. Refer to the contact information provided in your product packaging or on the official Foscam website.


