
Introduction
This manual provides essential information for the safe and effective use of your Disney FROZEN 2.1MP Digital Camera. Please read these instructions carefully before operating the device and retain them for future reference.
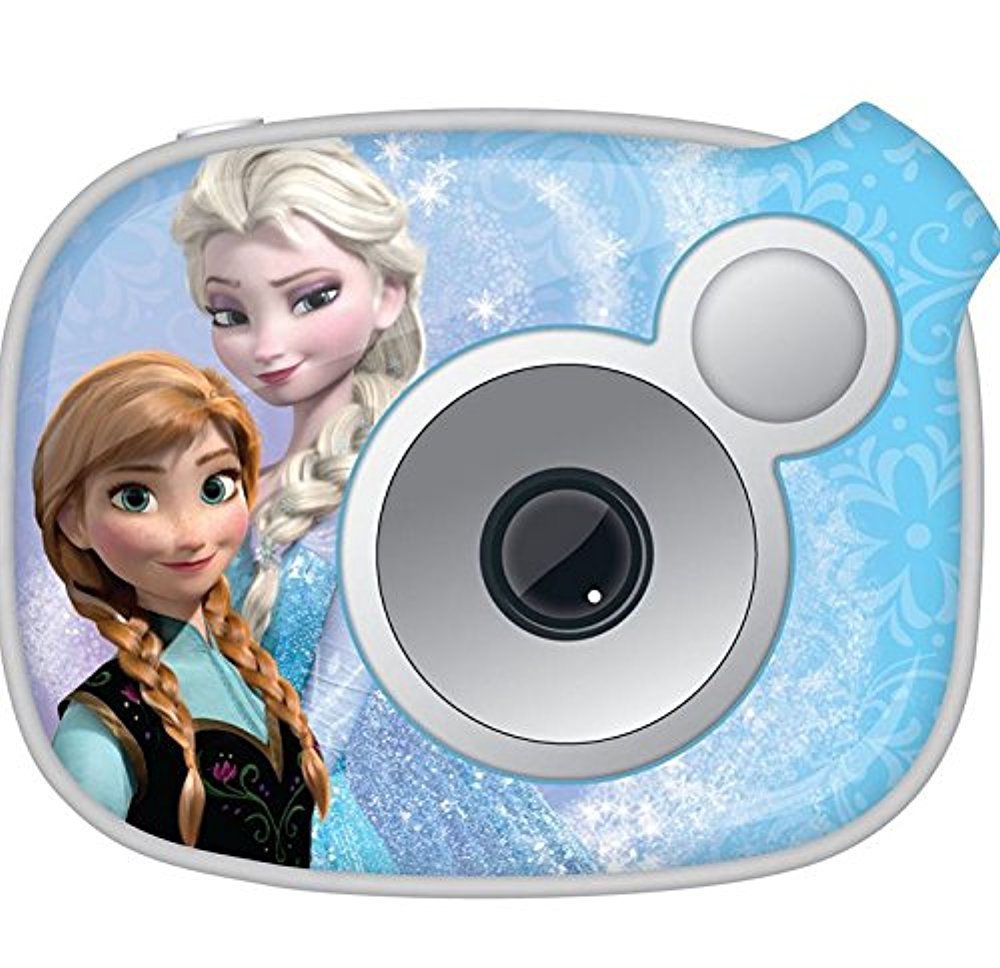
Image: Front view of the Disney FROZEN 2.1MP Digital Camera, featuring characters from Frozen.
Safety Information
- Do not expose the camera to water or excessive moisture.
- Avoid dropping the camera or subjecting it to strong impacts.
- Keep batteries out of reach of small children. If swallowed, seek immediate medical attention.
- Use only the specified battery type (2 AA batteries).
- Do not attempt to disassemble or repair the camera yourself. Contact customer support for assistance.
- Dispose of batteries and electronic components responsibly according to local regulations.
Package Contents
Verify that all items are present in the package:
- Disney FROZEN 2.1MP Digital Camera
- USB Cable
- Instruction Manual (this document)
- Snapshots Software CD (or download link)
Setup
1. Battery Installation
- Locate the battery compartment cover on the bottom or side of the camera.
- Use a small Phillips head screwdriver to loosen the screw securing the battery compartment cover.
- Open the cover and insert two (2) AA batteries, ensuring correct polarity (+/-) as indicated inside the compartment.
- Close the battery compartment cover and tighten the screw to secure it.

Image: Illustration of battery compartment with correct battery orientation.
2. Memory Card Installation (SD Card)
The camera supports SD flash memory cards for storing photos and videos. A memory card is required to save more than the internal memory capacity.
- Locate the SD card slot, usually near the battery compartment.
- Insert the SD card with the metal contacts facing down (or as indicated by a diagram near the slot) until it clicks into place.
- To remove, gently push the card in until it clicks, then release, and it will eject slightly.
3. Turning the Camera On/Off
- To turn on: Press and hold the Power button (usually marked with ● or ON/OFF) until the screen illuminates.
- To turn off: Press and hold the Power button again until the screen turns off.
Operating Instructions
1. Taking Photos
- Turn on the camera. The camera will typically start in photo capture mode.
- Frame your shot using the 1-inch preview screen.
- Press the Shutter button (usually a larger button on top) to take a picture. The image will briefly appear on the screen.
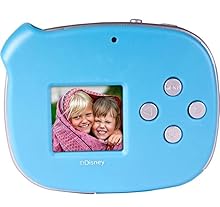
Image: A close-up of the camera's 1-inch LCD screen, showing a captured photo.
2. Recording Videos
- From photo mode, use the Mode button (if available) or navigation buttons to switch to video recording mode. An icon (e.g., a film camera) will usually indicate this mode.
- Press the Shutter button to start recording. A recording indicator (e.g., a red dot or flashing timer) will appear on the screen.
- Press the Shutter button again to stop recording.
3. Viewing Photos and Videos
- Switch to Playback mode using the Mode button.
- Use the navigation buttons (left/right arrows) to scroll through your captured images and videos.
- To play a video, select it and press the OK/Enter button.
4. Deleting Photos and Videos
- In Playback mode, navigate to the item you wish to delete.
- Press the Delete button (often marked with a trash can icon).
- Confirm your selection when prompted.
5. Connecting to a Computer and Using Snapshots Software
The camera can connect to a computer to transfer files and use the included Snapshots Software for editing and creating movies.
- Install the Snapshots Software on your computer from the provided CD or download link.
- Turn on the camera.
- Connect the camera to your computer using the supplied USB cable.
- The camera should appear as a removable drive on your computer, allowing you to transfer files.
- Launch the Snapshots Software to access advanced editing features and create movies from your photos and videos.

Image: The digital camera connected to a laptop via a USB cable, illustrating data transfer.
Maintenance
- Cleaning: Use a soft, dry cloth to clean the camera body. For the lens and screen, use a specialized lens cleaning cloth. Do not use liquid cleaners or abrasive materials.
- Storage: When not in use for extended periods, remove the batteries to prevent leakage. Store the camera in a cool, dry place away from direct sunlight and extreme temperatures.
Troubleshooting
| Problem | Possible Cause | Solution |
|---|---|---|
| Camera does not turn on. | Dead or incorrectly inserted batteries. | Replace batteries with fresh ones, ensuring correct polarity. Check if the battery compartment cover is securely closed. |
| Poor picture quality (grainy, blurry). | Low light conditions, camera movement, or inherent camera resolution. | Ensure adequate lighting. Hold the camera steady when taking pictures. This camera has a 2.1MP resolution, which may result in lower quality compared to higher-resolution devices. |
| Cannot save photos/videos. | Memory card full, not inserted, or faulty. | Insert an SD card. Delete unwanted files to free up space. Try a different SD card. |
| Camera disconnects from computer. | Loose USB connection or driver issue. | Ensure the USB cable is securely connected to both the camera and the computer. Try a different USB port. Reinstall Snapshots Software drivers if necessary. |
Specifications
| Feature | Detail |
|---|---|
| Model Name | FROZEN |
| Model Number | 98627-AMZ |
| Effective Still Resolution | 2.1 MP |
| Screen Size | 1 Inch (LCD Display) |
| Image Stabilization | Digital |
| Optical Zoom | 0.5x |
| Maximum Aperture | 2.8 Millimeters |
| Minimum Shutter Speed | 1 Second |
| Exposure Control Type | Automatic |
| Supported File Format | JPEG (Images), AVI (Video) |
| Video Resolution | 720p |
| Continuous Shooting | 30 FPS |
| Flash Memory Type | SD |
| Power Source | 2 AA Batteries (not included) |
| Item Weight | 0.35 Pounds |
| Color | Blue |
Warranty and Support
For warranty information and technical support, please refer to the documentation included with your purchase or contact the manufacturer, Sakar International, Inc., directly. Contact details can typically be found on the product packaging or their official website.
Please retain your proof of purchase for warranty claims.


