1. Introduction
The Tramex MRH3 Moisture and Humidity Meter is a versatile, hand-held digital instrument designed for accurate moisture and humidity measurement in various building materials. It offers both non-destructive pinless measurement and the capability to connect optional pin-type electrodes and relative humidity probes for comprehensive analysis. This manual provides detailed instructions for the proper use and maintenance of your MRH3 meter.
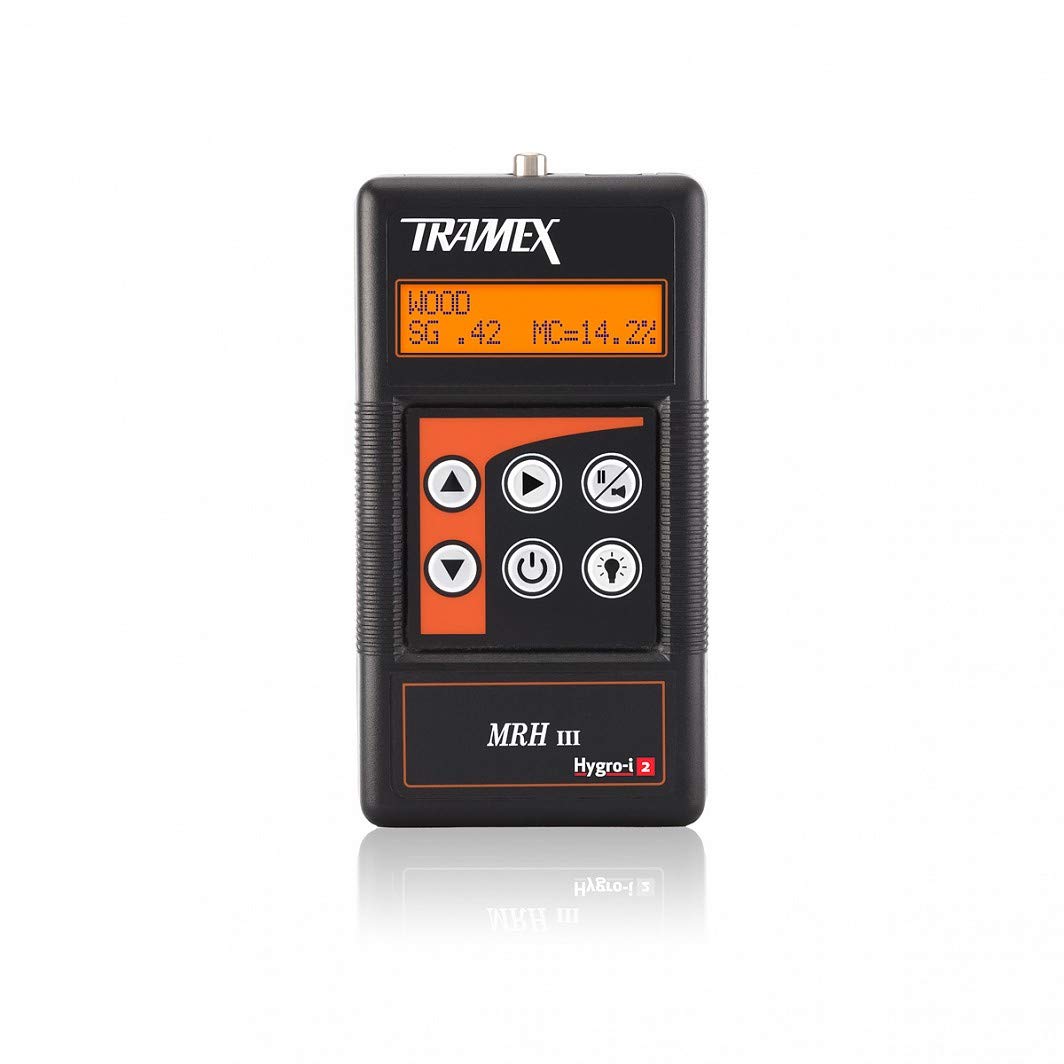
Figure 1: Tramex MRH3 Moisture and Humidity Meter
2. Key Features
- Digital, non-destructive pinless moisture meter.
- Optional plug-in wood probe; Optional plug-in Tramex Hygro-i relative humidity probe for relative humidity, temperature, dew point and mixing ratio readings.
- Deep signal penetration to over 1 inch into the materials being tested without the need to damage the surface; Signal penetration depends on the material being tested and meter setting.
- Specific gravity adjustment for most wood species.
- External Rubber electrodes make direct contact with the material being tested for best sensitivity and repeatability.
3. Setup
3.1 Battery Installation
The Tramex MRH3 meter requires one 9V battery (included). To install or replace the battery:
- Locate the battery compartment cover on the back of the meter.
- Slide the cover off.
- Insert the 9V battery, ensuring correct polarity.
- Replace the battery compartment cover.
3.2 Powering On/Off
Press the power button (usually marked with a circle and vertical line) to turn the meter on. Press and hold the power button to turn it off.
3.3 Attaching Optional Probes
The MRH3 meter is compatible with various optional probes, such as pin-type electrodes and the Hygro-i2 relative humidity probe. These probes connect to the designated ports on the top or side of the meter. Ensure the connection is secure before use.

Figure 2: MRH3 with optional pin probe for wood moisture content.
4. Operating Instructions
4.1 Non-Destructive Pinless Measurement
This mode allows for quick and non-invasive moisture readings by placing the meter directly on the surface of the material.
- Turn on the MRH3 meter.
- Select the appropriate material scale (e.g., "Drywall", "Masonry", "Laminate") using the mode selection buttons. Refer to the meter's display for the current scale.
- Place the meter's rubber electrodes firmly against the surface of the material you wish to test.
- Read the moisture level displayed on the screen. The reading indicates the relative moisture content within the material.
Note: Signal penetration depth varies based on the selected scale and material density.
4.2 Using Pin-Type Electrodes (Optional)
For precise moisture content readings in wood or other materials where penetration is acceptable:
- Connect the pin-type electrode attachment to the MRH3 meter.
- Select the "Wood" scale on the meter. You may need to adjust the specific gravity setting for the type of wood being tested.
- Gently push the pins into the wood surface. Ensure good contact.
- Read the moisture content percentage displayed.
4.3 Using Hygro-i2 Relative Humidity Probe (Optional)
The Hygro-i2 probe allows for ambient relative humidity, temperature, dew point, and mixing ratio measurements, as well as in-situ concrete RH testing.
- Connect the Hygro-i2 probe to the MRH3 meter.
- For ambient readings, hold the probe in the air in the desired location. The display will show RH%, Temperature, and Dew Point.
- For in-situ concrete RH testing, follow ASTM F2170 standards. Drill a hole in the concrete, clean it, insert a sleeve, and then insert the Hygro-i2 probe into the sleeve. Allow sufficient time for equilibrium before taking a reading.

Figure 3: MRH3 displaying Hygro-i2 probe readings.

Figure 4: MRH3 with Hygro-i2 probe for in-situ concrete testing.
4.4 Video Demonstration
Watch this official product video for a visual guide on using the Tramex MRH3 meter and its accessories.
Video 1: Tramex MRH3 - Digital Moisture & Humidity Meter overview and usage demonstration.
5. Maintenance
5.1 Cleaning
Wipe the meter and probes with a clean, damp cloth. Do not use abrasive cleaners or immerse the meter in water.
5.2 Battery Replacement
Replace the 9V battery when the low battery indicator appears on the display. Refer to Section 3.1 for battery installation instructions.
5.3 Storage
Store the meter in a cool, dry place away from direct sunlight and extreme temperatures. If storing for extended periods, remove the battery to prevent leakage.
5.4 Calibration
The Tramex MRH3 meter is factory calibrated. For optimal performance of the Hygro-i2 probe, periodic calibration checks using a certified salt solution are recommended. Refer to the Hygro-i2 probe's specific instructions for calibration procedures.
6. Troubleshooting
| Problem | Possible Cause | Solution |
|---|---|---|
| Meter does not power on. | Dead or incorrectly installed battery. | Replace the 9V battery, ensuring correct polarity. |
| Inconsistent or erratic readings. | Poor contact with material; incorrect scale selected; environmental interference. | Ensure firm contact with the surface. Verify the correct material scale is selected. Move away from strong electromagnetic fields. |
| Hygro-i2 probe readings are off. | Probe needs calibration or is damaged. | Perform a calibration check with a certified salt solution. If still inaccurate, the probe may need replacement. |
If you encounter issues not listed here, or if the suggested solutions do not resolve the problem, please contact Tramex customer support.
7. Specifications
| Feature | Detail |
|---|---|
| Model Number | MRH3 |
| Product Dimensions | 24 x 24 x 24 inches; 8.5 ounces |
| Power Source | 1 x 9V Battery (included) |
| Measurement Type | Non-destructive pinless, Pin-type (with optional probe), Relative Humidity (with optional probe) |
| Signal Penetration | Over 1 inch (material dependent) |
| Manufacturer | Tramex |
| First Available Date | December 10, 2012 |
8. Warranty and Support
Tramex products are manufactured to high standards and are backed by a manufacturer's warranty. For specific warranty details, please refer to the warranty card included with your product or visit the official Tramex website.
For technical support, service, or inquiries regarding your Tramex MRH3 meter, please contact Tramex customer service through their official website or the contact information provided in your product packaging.
You can also visit the Tramex Store on Amazon for more information and related products.


