1. Important Safety Information
Always read and understand all safety warnings, instructions, illustrations, and specifications provided with this power tool. Failure to follow all instructions listed below may result in electric shock, fire, and/or serious injury.
- Work Area Safety: Keep the work area clean and well-lit. Cluttered or dark areas invite accidents. Do not operate power tools in explosive atmospheres, such as in the presence of flammable liquids, gases, or dust.
- Electrical Safety: Power tool plugs must match the outlet. Never modify the plug in any way. Do not use any adapter plugs with earthed (grounded) power tools. Avoid body contact with earthed or grounded surfaces.
- Personal Safety: Always wear eye protection. Use hearing protection when operating the tool for extended periods. Dress properly; do not wear loose clothing or jewelry. Keep hair and clothing away from moving parts.
- Power Tool Use and Care: Do not force the power tool. Use the correct power tool for your application. Disconnect the plug from the power source before making any adjustments, changing accessories, or storing power tools.
- Service: Have your power tool serviced by a qualified repair person using only identical replacement parts. This will ensure that the safety of the power tool is maintained.
2. Package Contents
The Rockwell RK5131K Sonicrafter F30 Kit includes the following items:
- Rockwell RK5131K 3.5A Sonicrafter F30 Oscillating Multi-Tool
- Carrying Case
- Assorted Cutting Blades (e.g., wood, metal, universal)
- Scraping Blade
- Sanding Pad
- Assorted Sanding Sheets (various grits)

Image 2.1: The Rockwell RK5131K Sonicrafter F30 kit, showing the multi-tool, carrying case, and various accessories including blades and sanding pads.
3. Product Features
The Rockwell RK5131K Sonicrafter F30 is designed for versatility and performance. Key features include:
- 3.5 Amp Motor: Provides significant power for various applications.
- 4 Degrees of Oscillation: Enables fast cutting and efficient material removal.
- Hyperlock Tool-Less Blade Change: Allows for quick and secure accessory changes with 1 ton of clamping force to prevent blade slippage.
- Universal Fit System: Compatible with accessories from multiple manufacturers.
- Constant Speed Control: Maintains cutting speed under load for consistent performance.
- Vibrafree Counterweight: Reduces vibration for smoother operation and user comfort.
- Variable Speed Dial: Offers precise control over the oscillation speed for different materials and tasks.
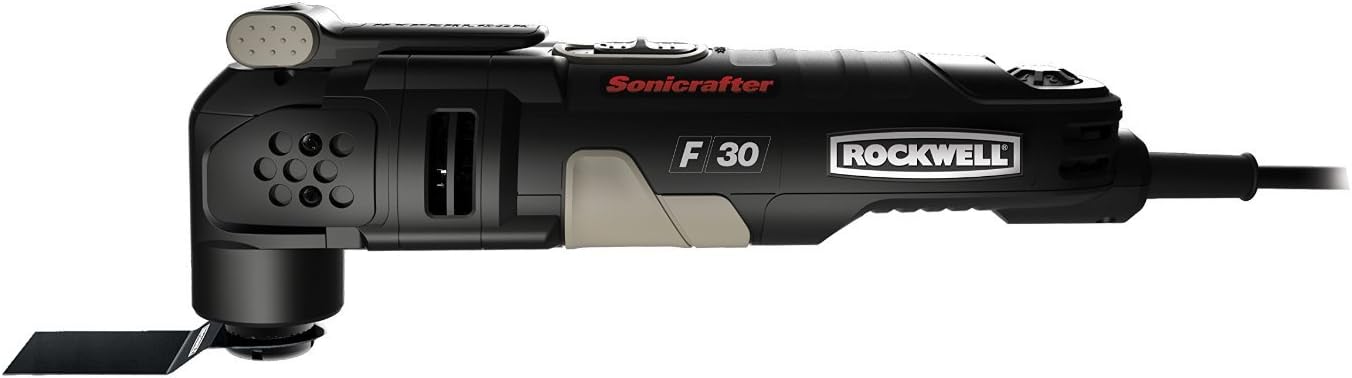
Image 3.1: A detailed side view of the Rockwell Sonicrafter F30, showcasing its design and the 'Sonicrafter F30 Rockwell' branding.
4. Setup and Accessory Installation
4.1 Attaching Accessories (Hyperlock System)
- Ensure the tool is unplugged from the power source before attaching or removing accessories.
- Locate the Hyperlock lever on the top of the tool head.
- Push the Hyperlock lever down firmly to release the accessory clamping mechanism.
- Align the desired accessory (blade, sanding pad) with the universal fit system interface on the tool head. The accessory should fit securely onto the spindle.
- Once the accessory is in place, lift the Hyperlock lever back up until it clicks into its locked position. Ensure the accessory is firmly secured and does not wobble.
The Universal Fit System allows for compatibility with a wide range of oscillating tool accessories from various brands.
5. Operating Instructions
5.1 Powering On/Off
- Plug the tool into a suitable power outlet.
- To turn the tool ON, slide the power switch to the 'I' (ON) position.
- To turn the tool OFF, slide the power switch to the 'O' (OFF) position.
5.2 Variable Speed Control
The variable speed dial is located on the tool body. Rotate the dial to adjust the oscillation speed. Lower settings are suitable for delicate work or softer materials, while higher settings are for faster material removal and harder materials. Always start with a lower speed and increase as needed.
5.3 General Operation Guidelines
- Allow the tool to reach full speed before contacting the workpiece.
- Apply light, consistent pressure. Do not force the tool, as this can lead to overheating and reduced performance.
- Keep a firm grip on the tool with both hands during operation.
- Periodically check accessories for wear and replace them as necessary.
5.4 Specific Applications

Image 5.1: The multi-tool being used to make a precise cut on wooden trim, demonstrating its utility for detailed woodworking tasks.

Image 5.2: The multi-tool cutting a ceramic tile, illustrating its capability for masonry and tiling projects.

Image 5.3: The multi-tool equipped with a grout removal blade, effectively cleaning grout lines between floor tiles.
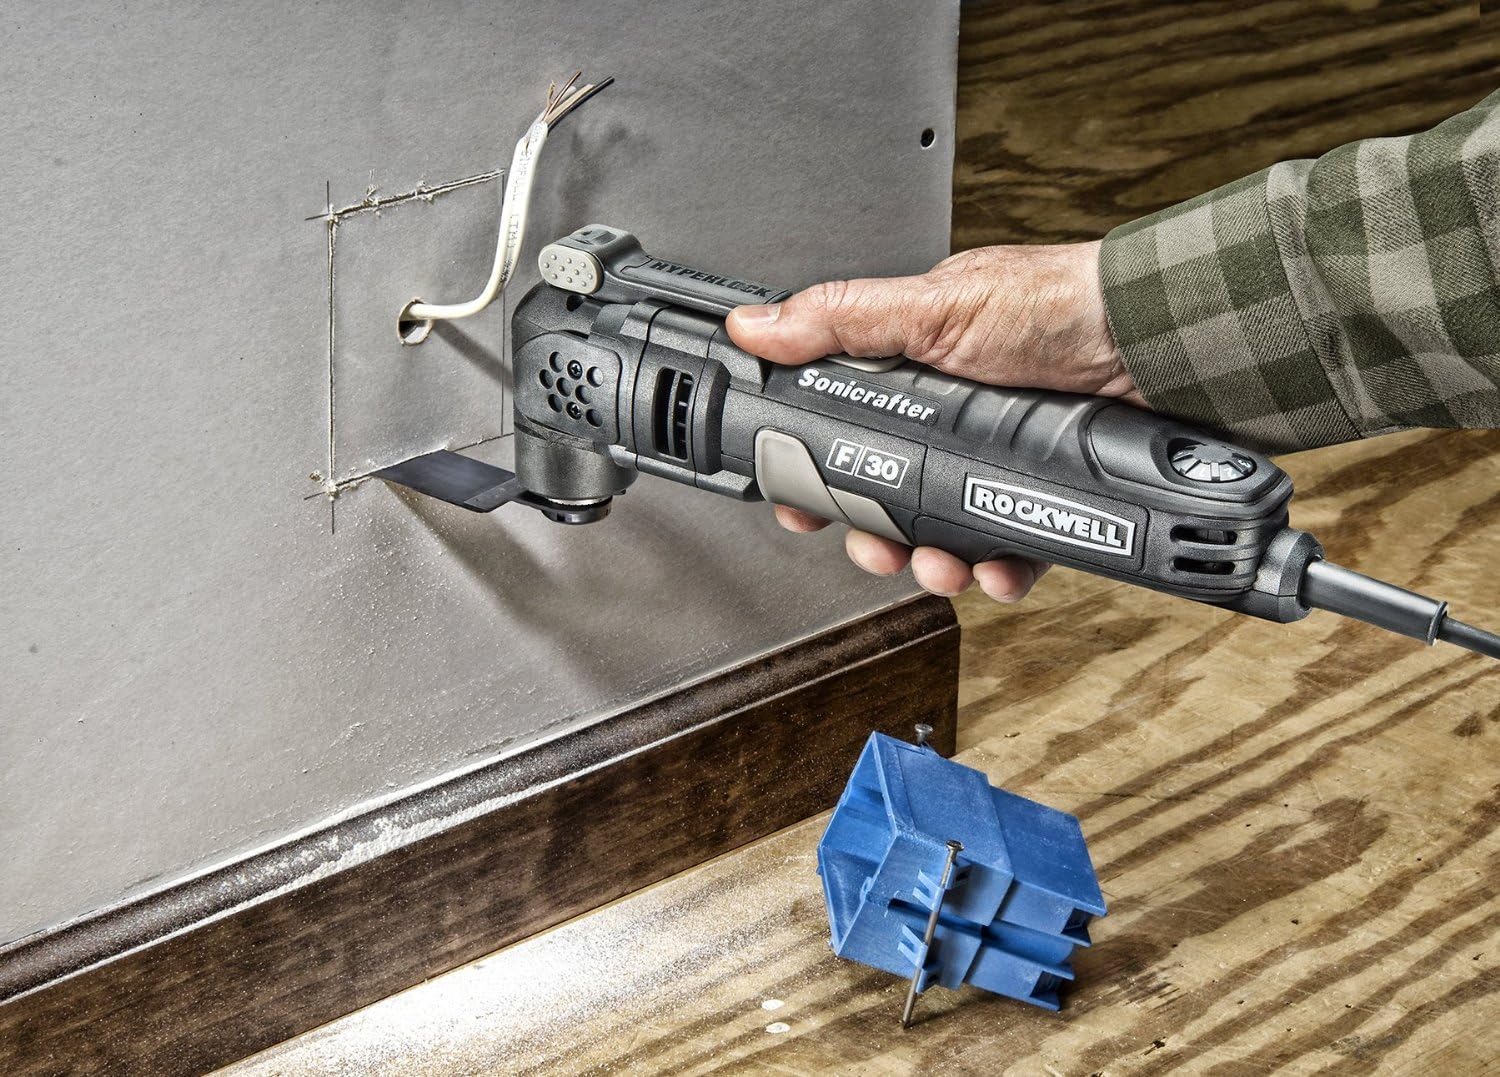
Image 5.4: The multi-tool making a precise cut in drywall to install an electrical box, showcasing its use in renovation tasks.

Image 5.5: The multi-tool cutting a PVC pipe, demonstrating its versatility for plumbing or general construction.

Image 5.6: The multi-tool with a scraping blade, effectively removing old adhesive or material from a surface.

Image 5.7: The multi-tool equipped with a sanding pad, smoothing a wooden chair leg, highlighting its use for finishing tasks.
6. Maintenance
6.1 Cleaning
- Always unplug the tool before cleaning.
- Use a soft brush or compressed air to clean dust and debris from the ventilation openings.
- Wipe the tool housing with a damp cloth. Do not use harsh chemicals or abrasive cleaners.
- Ensure the accessory interface is free of debris to allow for proper accessory attachment.
6.2 Storage
Store the tool and its accessories in the provided carrying case in a dry, secure location, out of reach of children.
7. Troubleshooting
- Tool Does Not Start:
- Check if the tool is properly plugged into a working power outlet.
- Ensure the power switch is in the 'ON' position.
- Inspect the power cord for damage.
- Accessory Slippage:
- Ensure the Hyperlock lever is fully engaged and locked.
- Check if the accessory is correctly seated on the universal fit system interface.
- Clean any debris from the accessory interface and the accessory itself.
- Excessive Vibration or Noise:
- Verify the accessory is securely attached and not damaged.
- Ensure the workpiece is properly secured.
- If the issue persists, discontinue use and contact customer support.
- Tool Overheating:
- Avoid applying excessive pressure during operation.
- Ensure ventilation openings are clear of obstructions.
- Allow the tool to cool down between prolonged uses.
8. Specifications
| Specification | Value |
|---|---|
| Model Number | RK5131K |
| Motor Amperage | 3.5 Amps |
| Voltage | 120 Volts |
| Oscillation Angle | 4 Degrees |
| Item Weight | 3.31 pounds |
| Product Dimensions | 2.5 x 4 x 11.25 inches |
| Manufacturer | Positec USA |
9. Warranty and Support
For warranty information, technical support, or to order replacement parts, please refer to the warranty card included with your product or visit the official Rockwell Tools website. Keep your purchase receipt as proof of purchase for warranty claims.


