1. Introduction
This manual provides comprehensive instructions for the installation, operation, and maintenance of your JENSEN JMPSW800 Amplified Subwoofer. Designed for marine applications, this 8-inch amplified subwoofer delivers enhanced bass performance. Please read this manual thoroughly before installation and use to ensure proper function and longevity of the product.
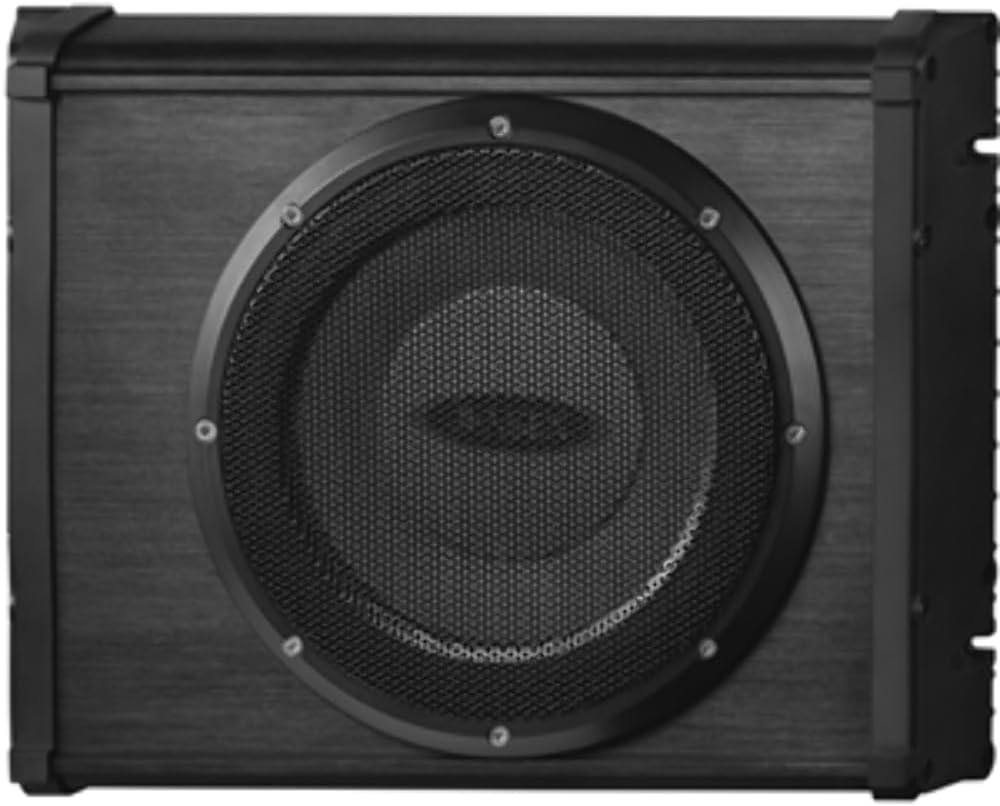
Figure 1.1: Front view of the JENSEN JMPSW800 Amplified Subwoofer, showcasing the 8-inch speaker with protective grille.
2. Safety Information
Always observe the following safety precautions to prevent injury and damage to the unit:
- Ensure all power is disconnected before performing any installation or maintenance.
- Do not expose the unit to extreme temperatures or direct sunlight for prolonged periods.
- This product is designed for marine use and features water-resistant housing. However, it is not fully submersible.
- Use only specified wiring and connectors to avoid electrical hazards.
- Consult a qualified professional if you are unsure about any installation steps.
3. Specifications
| Feature | Description |
|---|---|
| Model | JMPSW800 |
| Speaker Type | Amplified Subwoofer |
| Subwoofer Diameter | 8 Inches |
| Frequency Response | 60Hz - 200Hz |
| Speaker Maximum Output Power | 200 Watts |
| Mounting Type | Boat Mount (Vertical and Horizontal) |
| Water Resistance Level | Water Resistant (Meets ASTM B117 salt, fog and ASTM D4329 specifications) |
| Dimensions (LxWxH) | 18"D x 12.75"W x 11"H |
| Item Weight | 8 Pounds |
| Material | Plastic |
4. Setup and Installation
4.1 Unpacking
Carefully remove the subwoofer from its packaging. Inspect the unit for any signs of damage during transit. Retain the packaging for future transport or storage.
4.2 Mounting Location
The JMPSW800 can be mounted either horizontally or vertically. Choose a location that is secure, provides adequate ventilation, and is protected from direct exposure to heavy water spray or submersion. Ensure there is sufficient space for wiring connections and future access.

Figure 4.1: Side view of the JMPSW800, illustrating the mounting points and compact design suitable for various marine installations.
4.3 Wiring Connections
Proper wiring is crucial for optimal performance and safety. Refer to the wiring diagram below for correct connections.
- Power Connection: Connect the positive (+) wire to the boat's 12V DC power source (battery) via an appropriate fuse (not included). Connect the negative (-) wire to a reliable ground point on the boat chassis.
- Remote Turn-On: Connect the remote turn-on wire to the remote output of your marine stereo or ignition switch. This will power on the subwoofer when your audio system is active.
- Audio Input: Connect the RCA audio input cables from your marine stereo's subwoofer output or full-range output to the JMPSW800's RCA input jacks.
Note: Ensure all connections are secure and insulated to prevent short circuits and corrosion, especially in a marine environment. The unit features conformal coated circuit boards for enhanced durability.
5. Operating Instructions
5.1 Initial Power On
Once all connections are made, turn on your marine stereo system. The JMPSW800 should power on automatically via the remote turn-on wire. A status indicator light (if present) will illuminate.
5.2 Adjusting Settings
The JMPSW800 is designed for simplicity. Adjustments are primarily made through your marine stereo's settings. These may include:
- Subwoofer Level: Control the overall volume of the subwoofer relative to your main speakers.
- Low-Pass Filter (LPF): If your stereo has this feature, set it to allow frequencies below 200Hz to pass to the subwoofer. The JMPSW800's effective frequency range is 60Hz - 200Hz.
- Phase Control: Experiment with 0° or 180° phase settings to achieve the best bass integration with your main speakers.
Start with low volume and gradually increase it, adjusting settings until the bass blends seamlessly with your existing audio system without distortion.
6. Maintenance
Regular maintenance ensures the longevity and optimal performance of your JMPSW800 Amplified Subwoofer.
- Cleaning: Use a soft, damp cloth to wipe down the exterior of the unit. Avoid harsh chemicals or abrasive cleaners.
- Connection Check: Periodically inspect all wiring connections for corrosion or looseness, especially in a marine environment. Clean and re-secure as necessary.
- Environmental Protection: While water-resistant, it is recommended to cover the unit when not in use or during prolonged storage to protect it from excessive moisture, salt spray, and UV exposure.
7. Troubleshooting
If you experience issues with your JMPSW800, refer to the following common problems and solutions:
| Problem | Possible Cause | Solution |
|---|---|---|
| No Sound from Subwoofer |
|
|
| Distorted Sound |
|
|
| Subwoofer Cuts Out Periodically |
|
|
If the problem persists after attempting these solutions, contact JENSEN customer support.
8. Warranty Information
The JENSEN JMPSW800 Amplified Subwoofer comes with a manufacturer's warranty. Please refer to the warranty card included with your product for specific terms, conditions, and duration. Generally, the warranty covers defects in materials and workmanship under normal use. Damage caused by improper installation, accident, misuse, abuse, or unauthorized modification is not covered.
For warranty service, retain your proof of purchase. Do not attempt to repair the unit yourself, as this may void the warranty.
9. Customer Support
For technical assistance, troubleshooting beyond this manual, or information regarding parts and service, please contact JENSEN customer support:
- Website: www.jensenmobile.com (or relevant support page)
- Phone: Refer to the contact information provided on the JENSEN website or product packaging for your region.
When contacting support, please have your product model number (JMPSW800) and proof of purchase readily available.


