1. Introduction
This manual provides essential information for the proper installation and maintenance of the Brandt AP113114 1965 H6 MAEL dryer belt. This elastic belt is designed for use in various washing machines and dryers, ensuring efficient operation of your appliance.
2. Safety Information
Always disconnect the appliance from the power supply before attempting any installation or maintenance. Wear appropriate personal protective equipment, such as gloves, to prevent injury. If you are unsure about any step, consult a qualified technician. Keep children and pets away from the work area.
3. Product Description
The 1965 H6 MAEL belt is an elastic drive belt specifically designed for various dryer and washing machine models. It features a Type H profile with 6 ribs (teeth) and a pitch of 1.56mm. The belt's elasticity allows for a snug fit and efficient power transmission. Its nominal length under tension is 1965 mm, while its new, relaxed length is approximately 1900 mm.
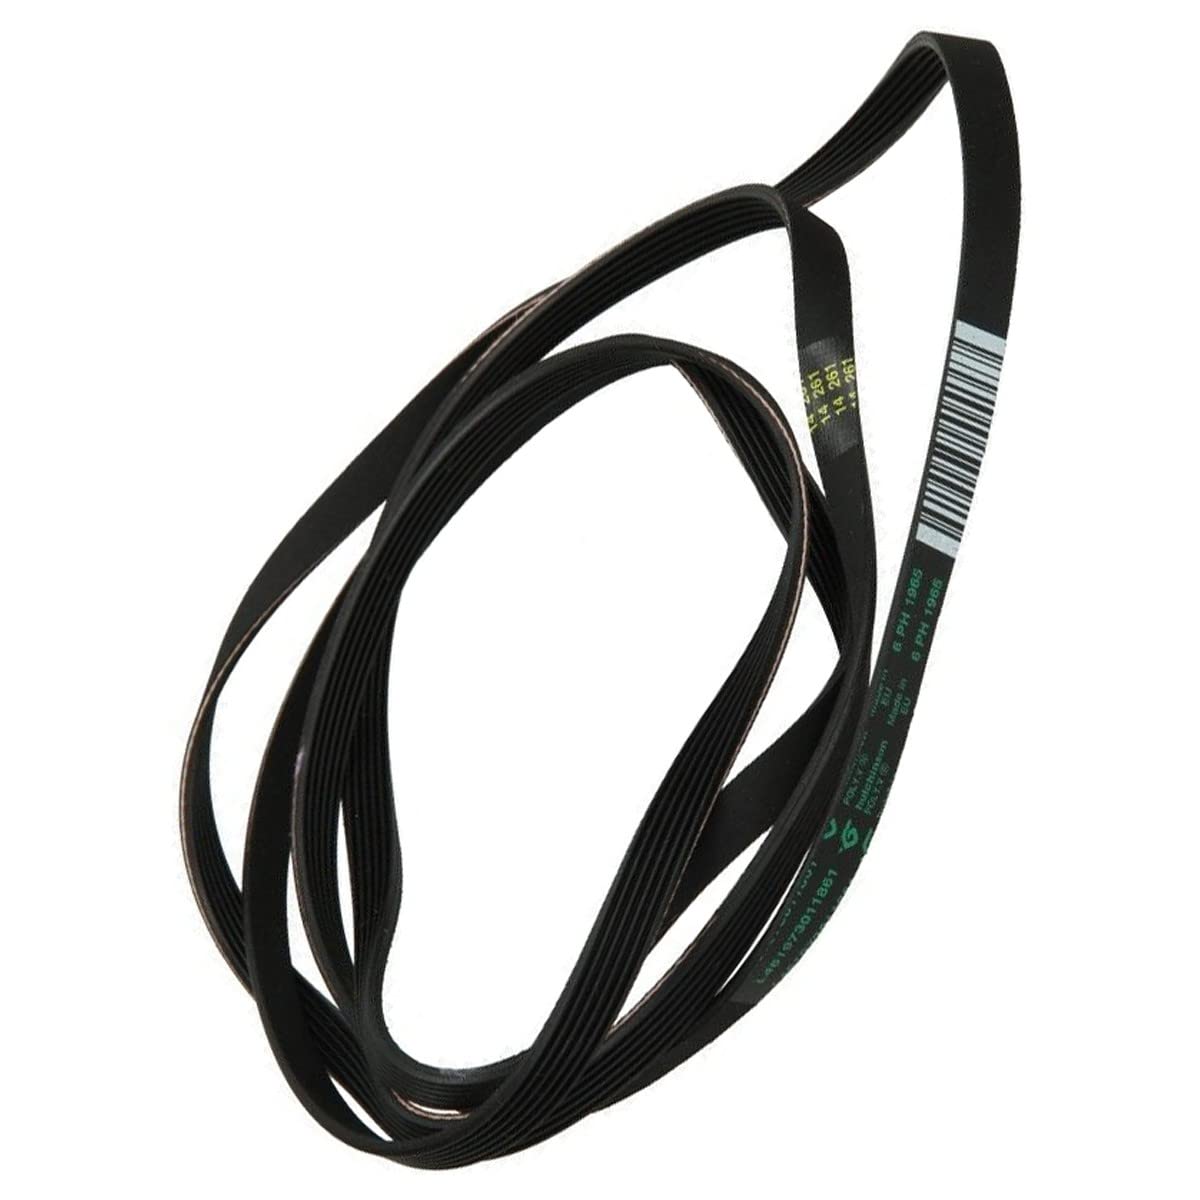
Figure 3.1: General appearance of the 1965 H6 MAEL dryer belt.
4. Compatibility
This belt is compatible with a wide range of washing machines and dryers from various brands. Always verify your appliance's model number to ensure correct fitment. Compatible brands include, but are not limited to, BRANDT, THOMSON, VEDETTE, FAGOR, SANGIORGIO, CURTISS, PROLINE, and CONTINENTAL EDISON.
Known Compatible Models:
- Whirlpool: AWZ420F, SOLE 2000, SOLE 2003, SOLE 2004, SOLE 2005, SOLE 2006
- Bauknecht: TRAK6560, TRAK6561, TRAS6110
- Bosch: WTE84101, WTE84302, WTE86300, WTE86301, WTE86303, WTS84502, WTS84507, WTS84511, WTS84570, WTS84590, WTS86510, WTV74100
- Brandt: ETE100, ETE123, ETE124, ETE331, ETE351, ETE352, ETE353, ETE361, ETE363, ETE364, ETE503, ETE504, ETE525, ETE6116, ETE6330, ETE6505, BTCE45, ETE101F, ETE104F, ETE121F, ETE501F, ETE521F, ETE701F, ETE751F, ETE754F, SC30, SM10, SM15, SM20, SMC23, SME13, ETE102, ETE103, SEC35, SME25
- Proline: SLE65
- Thomson: AIR675T, SL302DDFT, SL502DDFT, SL602T, SL612, AIR403, AIR409C
5. Installation Guidelines
Replacing a dryer belt typically involves accessing the drum and motor assembly. The following steps are general guidelines; always refer to your appliance's specific service manual for detailed instructions.
- Preparation: Disconnect the dryer from the power outlet. Move the dryer away from the wall to allow access to the rear or front panels.
- Access: Depending on your dryer model, you may need to remove the top panel, front panel, or rear panel to gain access to the drum and motor.
- Remove Old Belt: Locate the old belt. It will typically be wrapped around the dryer drum and the motor pulley. Carefully remove the old belt. Note its routing for reference.
- Install New Belt: Place the new 1965 H6 MAEL belt around the dryer drum. Ensure the ribbed side of the belt faces the drum.
- Route Belt: Route the belt around the motor pulley and the idler pulley (if present). The idler pulley provides tension to the belt. This step often requires significant force due to the belt's elasticity. A new belt may appear shorter than the old, stretched belt. Do not hesitate to apply firm pressure to stretch it into place, provided you have confirmed the correct belt dimension.
- Verify Tension: Once installed, rotate the drum manually to ensure the belt is properly seated and moves smoothly without slipping.
- Reassemble: Reattach all panels and secure them.
- Test: Plug the dryer back into the power outlet and run a short cycle to confirm proper operation.
6. Operating Considerations
Once installed, the belt operates automatically as part of the dryer's drive system. Ensure that the dryer is not overloaded, as excessive weight can put undue strain on the belt and motor, potentially leading to premature wear or failure.
7. Maintenance
The dryer belt is a wear-and-tear component. Regular maintenance involves:
- Visual Inspection: Periodically inspect the belt for signs of wear, such as cracks, fraying, or glazing.
- Tension Check: A loose belt can cause the drum to slip. If the drum is not turning or is turning intermittently, the belt may be stretched or broken.
- Replacement: Replace the belt immediately if any signs of significant wear or damage are observed to prevent further damage to the appliance.
8. Troubleshooting
If your dryer is not functioning correctly after belt replacement, consider the following:
- Drum Not Turning:
- Ensure the belt is correctly routed around the drum and motor pulley.
- Verify the belt is not slipping.
- Check for any obstructions preventing the drum from rotating freely.
- Unusual Noises:
- A new belt might make some noise initially as it seats. If noises persist, re-check belt alignment and ensure no other components are rubbing.
- Belt Breaks Quickly:
- Ensure the correct belt size was installed.
- Inspect pulleys for sharp edges or damage that could cut the belt.
- Check for motor or drum bearing issues that could cause excessive friction.
If troubleshooting steps do not resolve the issue, it is recommended to contact a qualified appliance repair technician.
9. Specifications
| Attribute | Detail |
|---|---|
| Model Number | AP113114 |
| Brand | Brandt |
| Belt Type | 1965 H6 MAEL (Elastic) |
| Also Known As | 1965H6, H6EL1965, 1965H6EL |
| Belt Profile | H |
| Number of Ribs | 6 |
| Belt Pitch | 1.56 mm |
| Length (under tension) | 1965 mm |
| Length (new, at rest) | 1900 mm |
| Material | Polymer or Elastomer |
| Color | Black |
| Compatible Appliances | Washing Machine, Dryer |
| Country of Origin | Poland |


