Introduction
Welcome to your new Hamilton Beach Electric Automatic Ice Cream Maker. This appliance is designed to help you create delicious homemade ice cream, frozen yogurt, sorbet, gelato, sherbet, and custard with ease. Please read this manual thoroughly before first use to ensure safe and optimal operation.
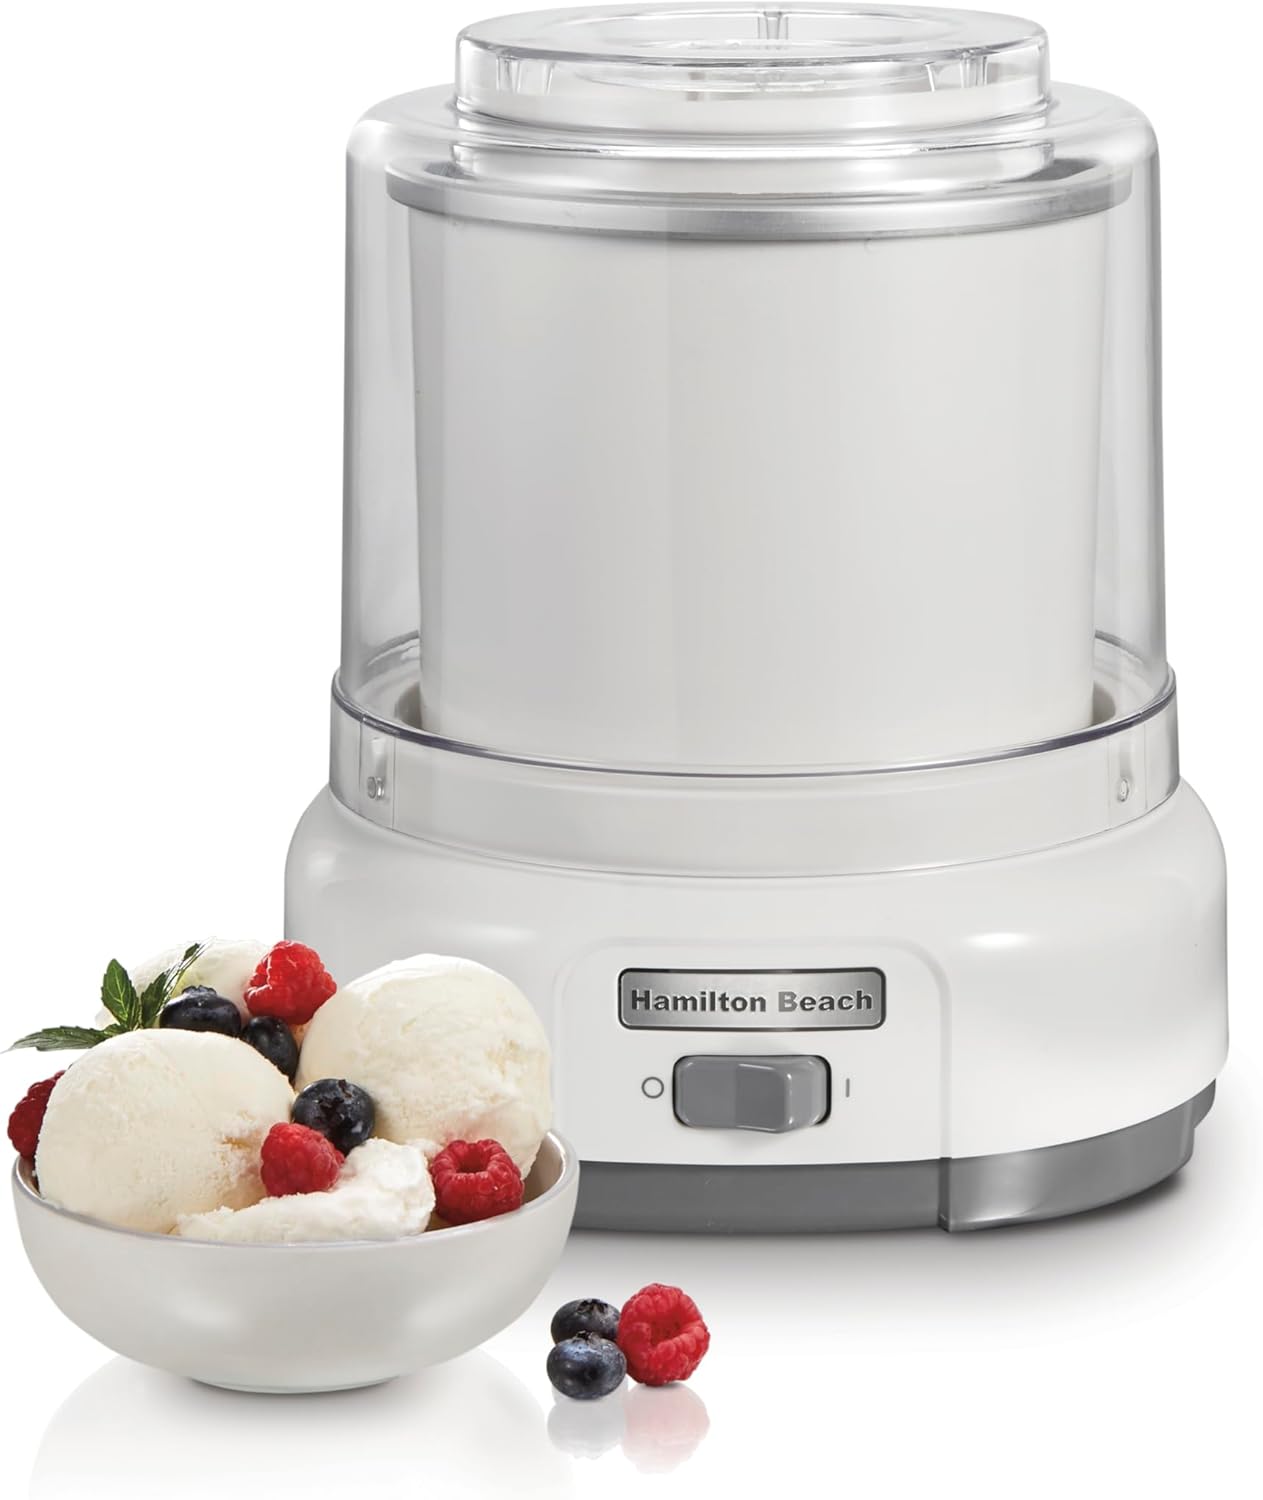
Image: The Hamilton Beach Electric Automatic Ice Cream Maker in white, shown with a bowl of vanilla ice cream topped with fresh berries.
Important Safeguards
When using electrical appliances, basic safety precautions should always be followed to reduce the risk of fire, electric shock, and/or injury to persons, including the following:
- Read all instructions before use.
- Do not immerse the motor base in water or other liquids.
- Close supervision is necessary when any appliance is used by or near children.
- Unplug from outlet when not in use and before cleaning.
- Avoid contact with moving parts.
- Do not operate any appliance with a damaged cord or plug, or after the appliance malfunctions or has been dropped or damaged in any manner.
- Use only attachments recommended or sold by the manufacturer.
- Do not use outdoors.
- Do not let cord hang over edge of table or counter, or touch hot surfaces.
- Keep hands and utensils out of freezer bowl during use to reduce the risk of injury to persons or to the appliance itself.
- The freezer bowl contains a cooling liquid. In case of damage, do not use the freezer bowl.
- This appliance is for household use only.
Parts and Features
Familiarize yourself with the components of your ice cream maker:
- Motor Base: Contains the motor that drives the paddle.
- Freezer Bowl: Double-insulated bowl that must be pre-frozen.
- Paddle (Dasher): Mixes and churns the ingredients.
- Transparent Lid: Allows you to observe the churning process and add mix-ins.
- On/Off Switch: Simple control for operation.

Image: A diagram illustrating the Hamilton Beach 1.5 Quart Ice Cream Maker with its various parts and dimensions clearly marked.
Setup
Follow these steps for the initial setup of your ice cream maker:
- Prepare the Freezer Bowl: Ensure the 1.5-quart freezer bowl is completely frozen. This typically requires 8 to 12 hours in a freezer set to 0°F (-18°C) or colder. The bowl should be solid to the touch.
- Assemble the Unit: Place the motor base on a clean, flat, dry surface. Insert the frozen bowl into the motor base.
- Insert the Paddle: Place the paddle into the center of the freezer bowl, ensuring it sits correctly.
- Secure the Lid: Place the transparent lid onto the motor base, aligning it properly.
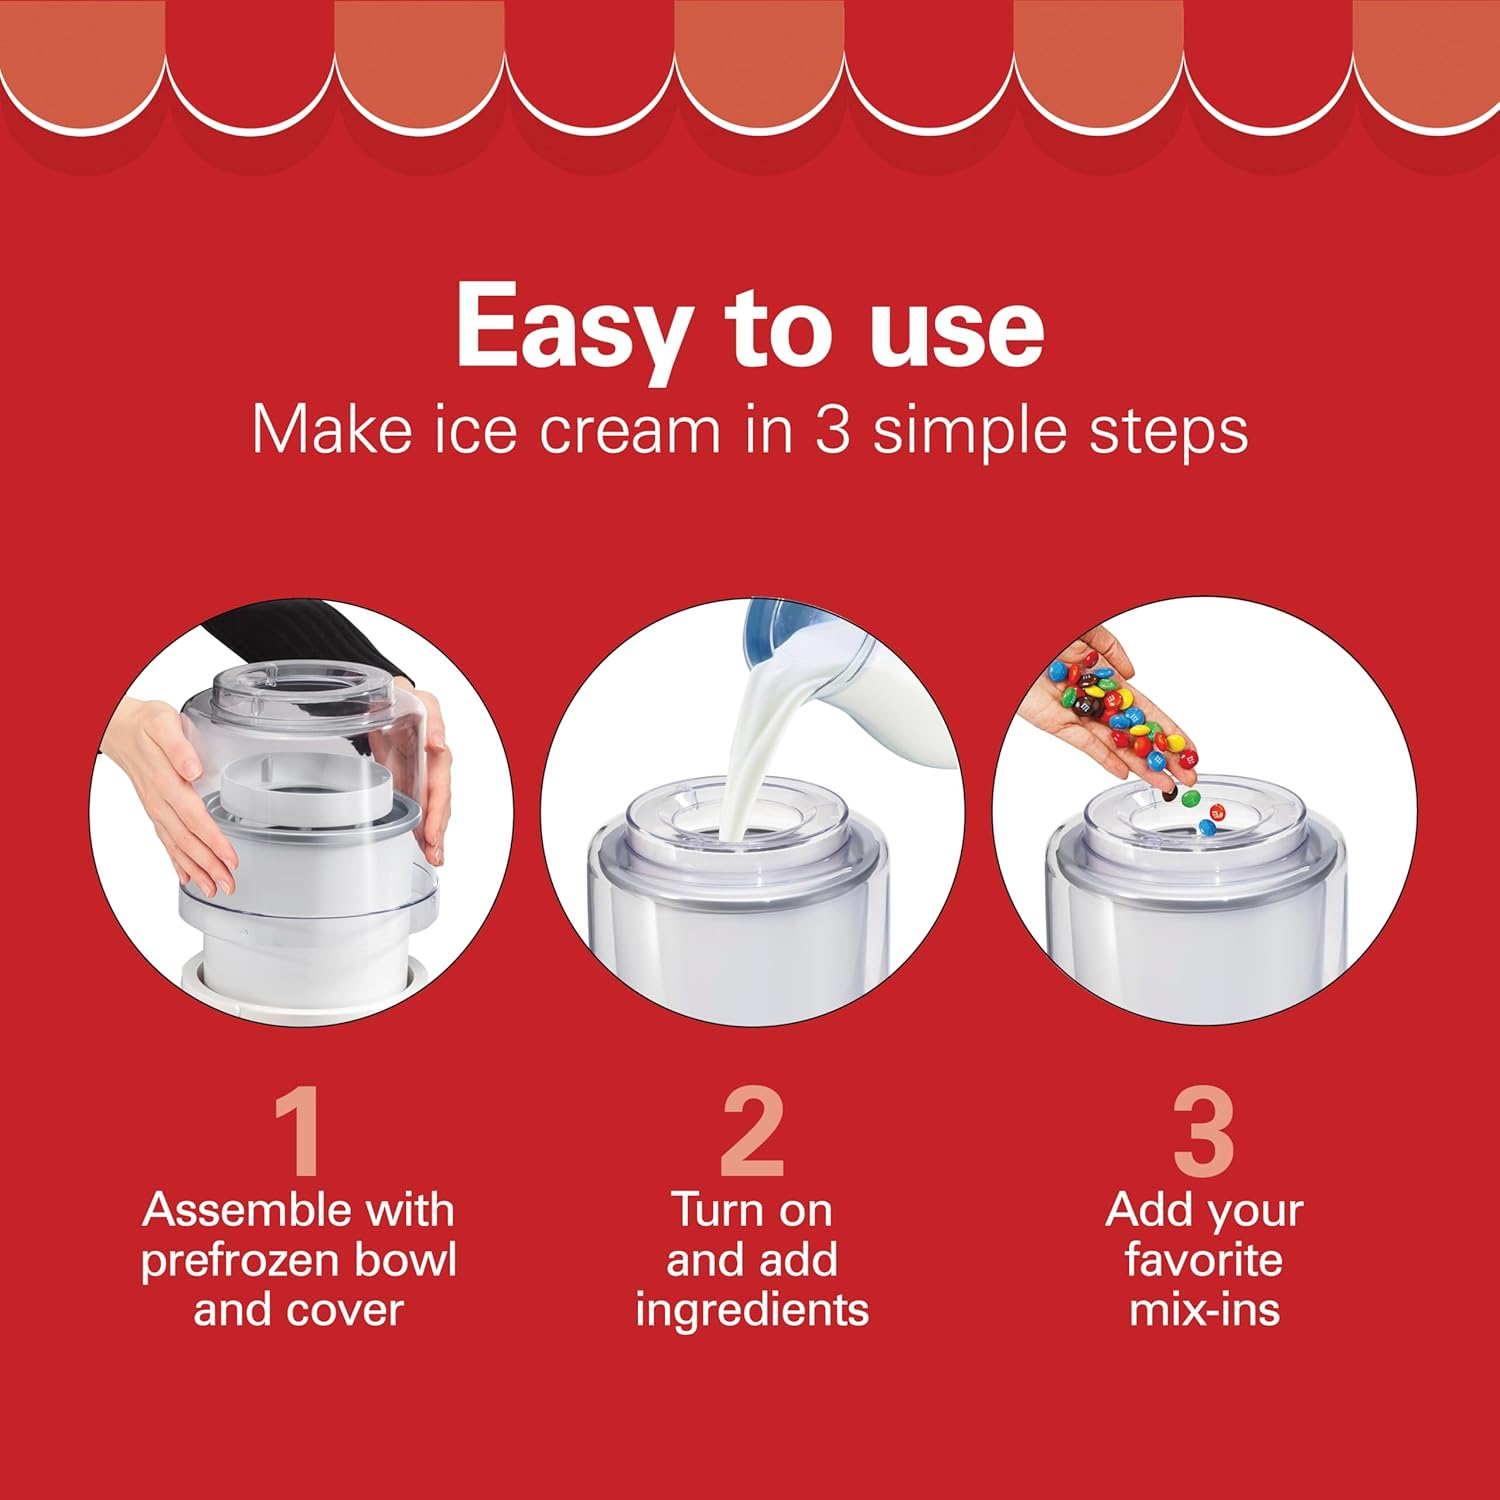
Image: A visual guide demonstrating the three easy steps to assemble the ice cream maker, pour in the mixture, and add desired mix-ins.
Operating Instructions
Creating your favorite frozen treats is simple with these instructions:
- Prepare Your Mixture: Prepare your desired ice cream, frozen yogurt, sorbet, or custard mixture. For best results, ensure the mixture is chilled before adding it to the machine.
- Start the Machine: Turn the ice cream maker ON using the simple on/off switch. The paddle should begin to rotate.
- Add Ingredients: Pour your chilled mixture through the opening in the transparent lid into the freezer bowl while the machine is running.
- Churn: Allow the machine to churn for approximately 20 minutes, or until the desired consistency is reached. Churning time may vary based on the recipe and desired firmness.
- Add Mix-ins: During the last 5 minutes of churning, you can add your favorite mix-ins such as chopped fruit, nuts, chocolate chips, candy pieces, or sprinkles through the lid opening.
- Serve or Store: Once churning is complete, turn off the machine and remove the lid and paddle. Serve immediately for a soft-serve consistency, or transfer to an airtight container and freeze for a firmer texture.

Image: A collection of small white bowls containing various toppings and mix-ins, such as chocolate sandwich cookies, gummy candies, caramel popcorn, peanut butter chips, sprinkles, and mini marshmallows, ready to be added to ice cream.
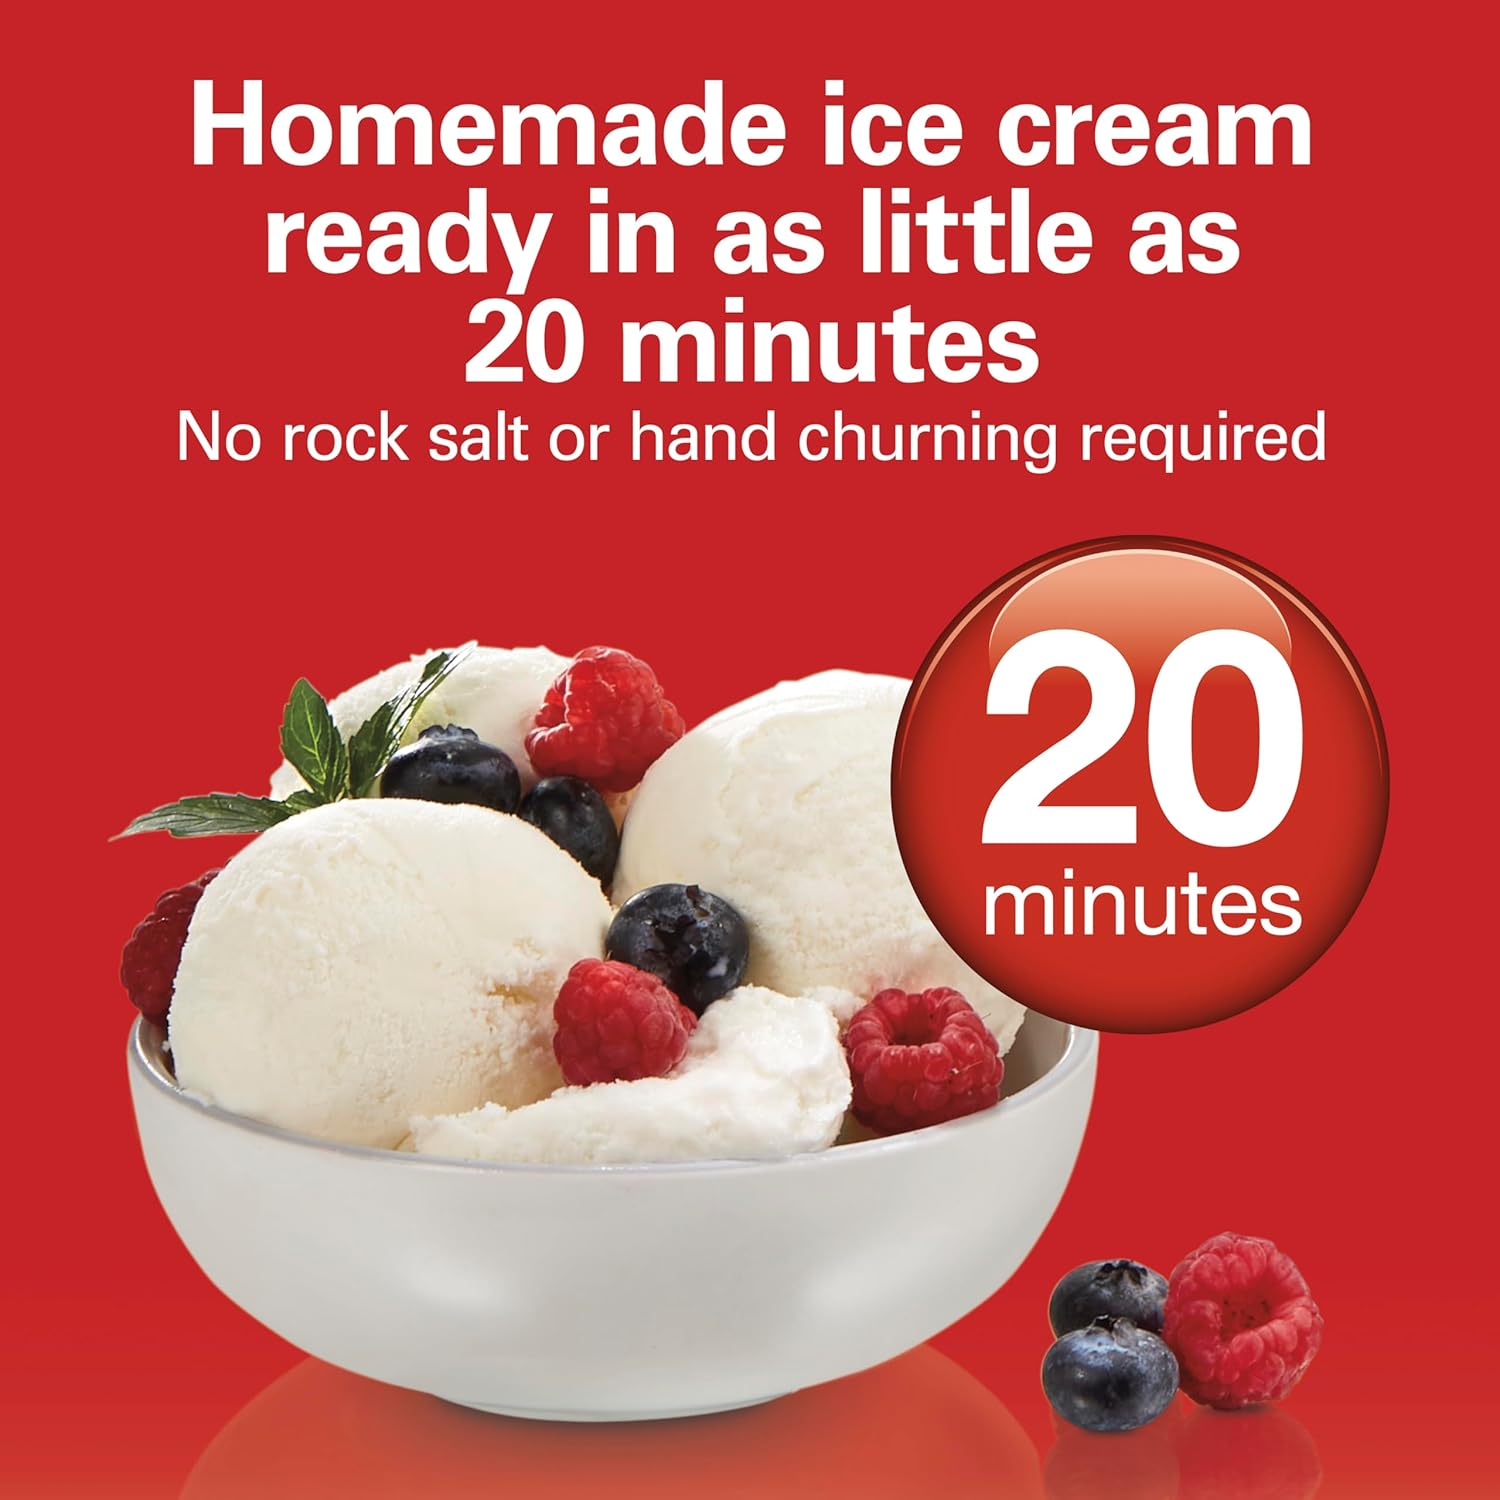
Image: A bowl of creamy vanilla ice cream garnished with fresh blueberries and raspberries, with a graphic highlighting that homemade ice cream is ready in as little as 20 minutes.
Cleaning and Maintenance
Proper cleaning ensures the longevity and hygiene of your ice cream maker:
- Unplug: Always unplug the appliance before cleaning.
- Disassemble: Remove the lid, paddle, and freezer bowl from the motor base.
- Hand Wash: The freezer bowl, paddle, and lid should be hand washed with warm, soapy water. Rinse thoroughly and dry completely.
- Motor Base: Wipe the motor base with a damp cloth. Do not immerse the motor base in water or any other liquid.
- Storage: Ensure all parts are completely dry before reassembling or storing the unit. Store in a cool, dry place.
Note: The freezer bowl is not dishwasher safe.
Troubleshooting
If you encounter issues with your ice cream maker, refer to the following common problems and solutions:
- Ice cream is too soft:
- Ensure the freezer bowl was completely frozen (8-12 hours at 0°F/-18°C).
- Chill your mixture thoroughly before adding it to the machine.
- Increase churning time.
- Machine stops during operation:
- The mixture might be too thick or frozen. Turn off the machine, remove some mixture, and restart.
- Check if the paddle is properly installed.
- Ensure the unit is plugged in securely.
- Loud noise during operation:
- Some noise is normal during churning. If the noise is excessive, ensure all parts are assembled correctly and the mixture is not too thick.
Specifications
| Feature | Detail |
|---|---|
| Brand | Hamilton Beach |
| Model Number | 68880 |
| Capacity | 1.5 Quarts |
| Operation Mode | Automatic |
| Material | Nonstick (Freezer Bowl Interior) |
| Color | White |
| Product Dimensions | 10.13 x 10.13 x 14 inches |
| Item Weight | 7.55 Pounds |
| Care Instructions | Hand Wash (Freezer Bowl, Paddle, Lid) |
Warranty and Support
For warranty information, product registration, or customer support, please refer to the official Hamilton Beach website or contact their customer service department. Keep your purchase receipt as proof of purchase.


