1. Introduction
Thank you for choosing the SunSun HW-505A External Aquarium Filter. This manual provides essential information for the safe and efficient operation, installation, and maintenance of your filter. Please read it thoroughly before use and keep it for future reference.
The SunSun HW-505A is designed to provide superior water filtration for aquariums up to 400 liters. It features a robust 4-stage filtration system, ensuring clear and healthy aquatic environments for both freshwater and saltwater setups. Its energy-efficient design operates quietly while delivering a powerful flow rate.
2. Safety Instructions
- Always disconnect the power supply before performing any maintenance, cleaning, or assembly tasks.
- Ensure the filter is placed on a stable, level surface below the aquarium water level to allow proper siphoning and operation.
- Do not operate the filter if the power cord or plug is damaged.
- This appliance is for indoor use only.
- Keep out of reach of children.
- Ensure all connections are secure and leak-free before powering on the unit.
- Never run the pump dry. Ensure it is fully submerged in water during operation.
3. Package Contents
Verify that all components are present and undamaged upon unpacking. The package typically includes:
- SunSun HW-505A External Filter Unit
- Submersible Pump
- Inlet and Outlet Hoses (approx. 1.5m length, 12mm diameter)
- Inlet and Outlet Pipes with connectors
- Spray Bar
- Suction Cups and Clips for hose and pipe fixation
- Filter Media Baskets (4 units)
- Assorted Filter Media (Ceramic Rings, White Filter Floss, Bio Balls, Filter Sponge)
- Instruction Manual

Figure 3.1: Exploded view of the SunSun HW-505A filter components and assembly diagrams.

Figure 3.2: Dimensions of the SunSun HW-505A filter and accessories.
4. Setup Instructions
4.1. Filter Media Installation
The HW-505A utilizes a 4-stage filtration system. Arrange the filter media in the baskets as follows, from bottom to top:
- First Stage (Bottom Basket): Ceramic Rings for biological filtration, providing a large surface area for beneficial bacteria.
- Second Stage: White Filter Floss for mechanical filtration, removing large particles.
- Third Stage: Bio Balls for biological filtration, supporting beneficial bacteria and biological purification.
- Fourth Stage (Top Basket): 4 cm Filter Sponge for mechanical filtration, trapping finer debris.

Figure 4.1: 4-Stage Filtration System.
4.2. Filter Placement
Place the filter unit on a stable surface next to or below your aquarium. The filter must be positioned lower than the aquarium water level for proper operation.
4.3. Hose and Pipe Connection
- Connect the inlet and outlet hoses to the corresponding ports on the filter head. Ensure a tight fit.
- Assemble the inlet pipe (with strainer) and outlet pipe (with spray bar) components.
- Attach the inlet pipe to one end of the inlet hose and the outlet pipe to one end of the outlet hose.
- Secure the inlet and outlet pipes inside the aquarium using the provided suction cups and clips. The inlet pipe should be placed near the bottom of the aquarium, and the outlet spray bar near the water surface for optimal water circulation and oxygenation.
- Install the submersible pump inside the aquarium, ensuring it is fully submerged. Connect the pump's outlet to the filter's inlet hose.

Figure 4.2: Submersible pump installation.
4.4. Priming the Filter
Before starting, the filter needs to be filled with water. This model uses an external pump, so priming is simpler:
- Ensure all hoses are securely connected and the filter head is properly sealed.
- Place the submersible pump in the aquarium.
- The pump will push water into the filter. Once water flows out of the spray bar, the system is primed.
4.5. Power Connection
Once the filter is primed and all connections are secure, plug the power cord into a grounded electrical outlet. The filter will begin operating.
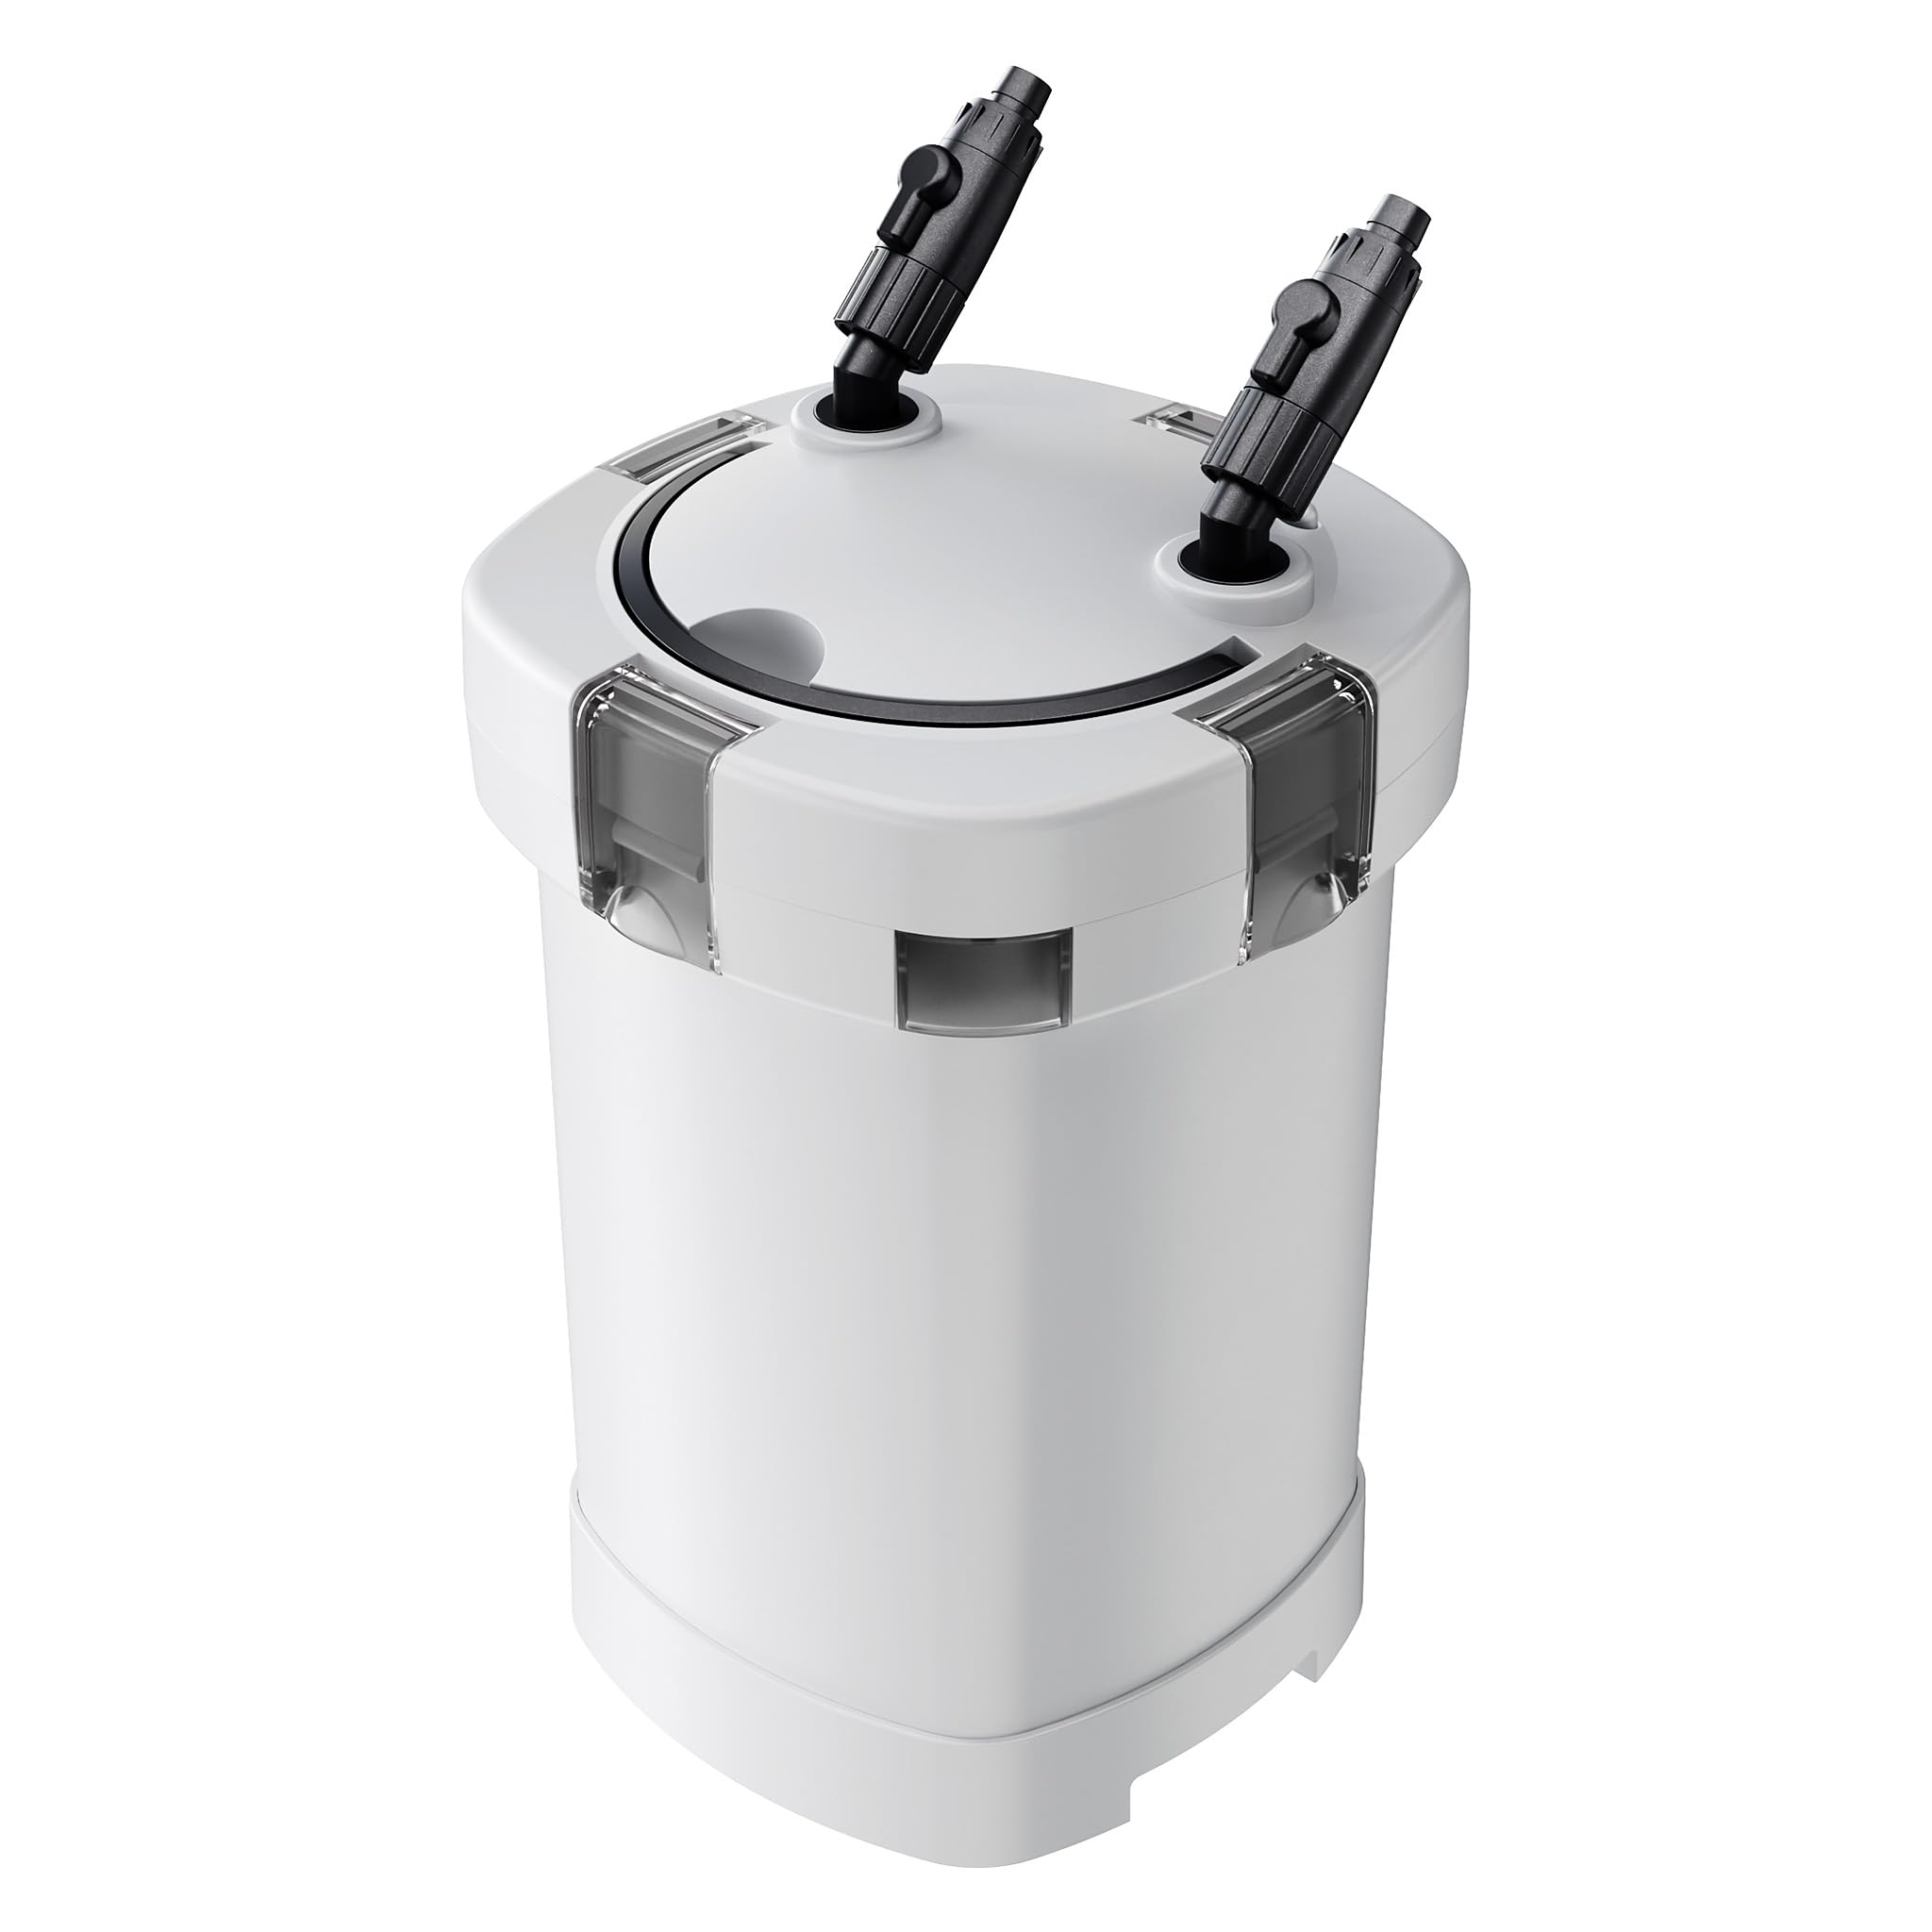
Figure 4.3: Fully set up SunSun HW-505A filter next to an aquarium.
5. Operating Instructions
Once plugged in, the SunSun HW-505A filter will immediately start circulating and filtering your aquarium water. The filter is designed for continuous operation.
- Monitoring: Regularly check the water flow from the spray bar. A reduced flow may indicate clogged filter media or hoses, requiring maintenance.
- Quiet Operation: The filter is designed for quiet performance, typically between 50-70dB. If unusual noises occur, check for air in the system or obstructions in the pump impeller.

Figure 5.1: Quiet operation of the filter.
6. Maintenance
Regular maintenance is crucial for the optimal performance and longevity of your filter and the health of your aquarium inhabitants.
6.1. Cleaning Schedule
- Weekly: Check water flow and visually inspect hoses for blockages.
- Monthly (or as needed): Clean or replace mechanical filter media (filter floss, sponge). Rinse biological media (ceramic rings, bio balls) gently with old aquarium water to preserve beneficial bacteria.
- Every 3-6 Months: Thoroughly clean the filter canister, hoses, and pump impeller.
6.2. Cleaning Procedure
- Disconnect Power: Unplug the filter and pump from the electrical outlet.
- Disconnect Hoses: Close any valves on the hoses (if present) and disconnect them from the filter head.
- Open Filter: Release the clamps on the filter head and carefully lift it off the canister.
- Clean Media: Remove filter baskets. Rinse mechanical media (sponges, floss) under tap water until clean, or replace if heavily soiled. Gently rinse biological media (ceramic rings, bio balls) in a bucket of old aquarium water to avoid killing beneficial bacteria.
- Clean Canister and Head: Rinse the filter canister and head with tap water. Use a brush to remove any stubborn debris.
- Clean Pump: Disassemble the submersible pump and clean the impeller and housing. Remove any debris or mineral buildup.
- Reassemble: Reassemble the filter in reverse order, ensuring all O-rings are properly seated and lubricated (if necessary) to prevent leaks.
- Restart: Reconnect hoses, prime the filter as described in Section 4.4, and plug in the power.
7. Troubleshooting
| Problem | Possible Cause | Solution |
|---|---|---|
| No water flow / Filter not starting | No power; Pump not connected or faulty; Air in system; Clogged impeller. | Check power connection; Ensure pump is connected and working; Re-prime the filter; Clean pump impeller. |
| Reduced water flow | Clogged filter media; Clogged hoses/pipes; Dirty pump impeller. | Clean or replace filter media; Clean hoses and pipes; Clean pump impeller. |
| Excessive noise | Air trapped in filter; Impeller obstruction or wear; Filter not level. | Re-prime the filter to remove air; Clean or replace impeller; Ensure filter is on a stable, level surface. |
| Water leakage | Improperly sealed filter head; Damaged O-ring; Loose hose connections. | Ensure filter head clamps are secure; Inspect and replace O-ring if damaged; Tighten all hose connections. |
8. Specifications
| Feature | Detail |
|---|---|
| Model | HW-505A |
| Manufacturer | SunSun |
| Aquarium Volume (Max) | 400 Liters |
| Flow Rate | 800 Liters per hour |
| Power Consumption | 15 W |
| Voltage | 230 Volts |
| Filtration Stages | 4 (Ceramic Rings, Filter Floss, Bio Balls, Filter Sponge) |
| Product Dimensions (L x W x H) | 22.5 x 22.5 x 42.5 cm |
| Weight | 4.06 Kilograms |
| Material | PVC |
| Pump Max Immersion Depth | 1.2 m |
| Pump IP Rating | IPX8 |
| Filter IP Rating | IPX4 |

Figure 8.1: Filter performance overview.
9. Warranty and Support
For warranty information and customer support, please refer to the documentation provided with your purchase or contact your retailer. Keep your proof of purchase for any warranty claims.