
1. Introduction
The SABRE Water Leakage Alarm is designed to provide early warning of water leaks or flooding in your home or office. This device features an all-directional water sensor and a loud 110 dB alarm, audible up to 1,500 feet (457 meters), to alert you to potential water damage. It operates on batteries and requires no wiring, making installation quick and easy. This manual provides detailed instructions for the proper setup, operation, and maintenance of your water leakage alarm.
2. Safety Information
- Loud Alarm: The alarm produces a very loud sound (110 dB). Avoid prolonged exposure to the alarm at close range to prevent hearing discomfort.
- Battery Safety: Use only the specified battery type (2 AAA batteries). Do not mix old and new batteries, or different types of batteries. Dispose of used batteries responsibly.
- Placement: Ensure the alarm unit is placed in a location where it will not be easily damaged by water, while the sensor is positioned to detect leaks.
- Proposition 65 Warning: This product may contain chemicals known to the State of California to cause cancer and birth defects or other reproductive harm. Wash hands after handling.
3. Package Contents
Verify that your package contains the following items:
- SABRE Water Leakage Alarm Unit (Model HS-WLA) with attached water sensor
- Adhesive attachments for mounting
- Note: Two AAA batteries are required and are not included.
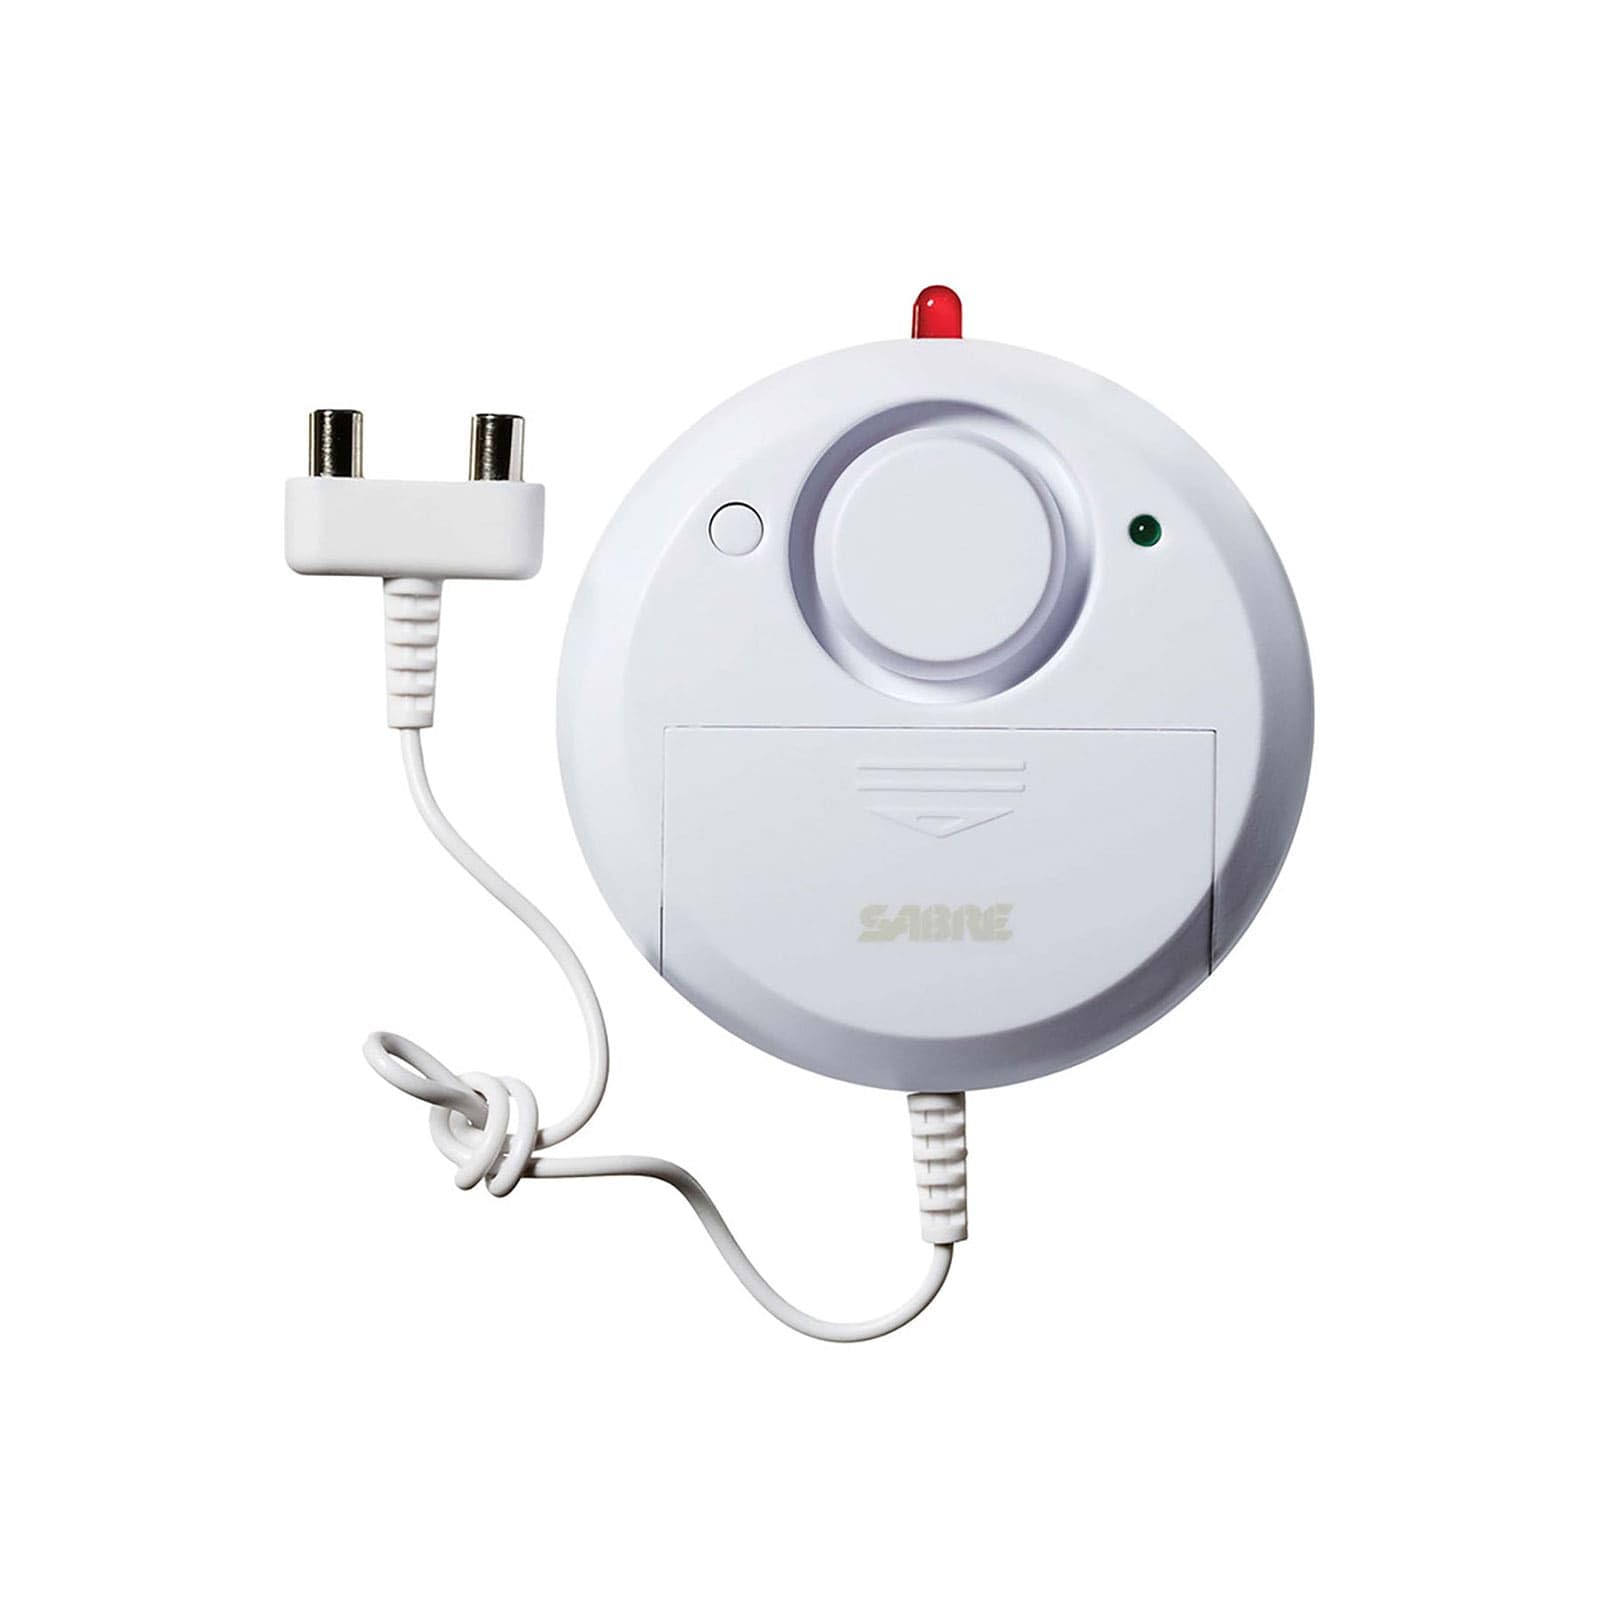
4. Setup
- Install Batteries:
Open the battery compartment on the back of the alarm unit. Insert two new AAA batteries, ensuring correct polarity (+/-). Close the battery compartment securely.

Image 2: Rear view of the alarm unit, indicating the battery compartment for AAA batteries. - Select Volume Setting:
On the side of the alarm unit, locate the volume switch. Slide it to your desired setting: HIGH for maximum alert volume or LOW for a slightly reduced but still very audible alert.

Image 3: Side of the alarm unit, highlighting the volume selection switch. - Mount the Alarm Unit:
Choose a suitable location for the alarm unit, such as a wall or cabinet, ensuring it is easily accessible for testing and battery replacement. Use the provided adhesive attachments to secure the unit. The unit should be placed where it will not be directly exposed to water.
- Position the Water Sensor:
Place the water sensor (the small disc attached by a wire) directly on the surface where water leakage is most likely to occur. This could be on the floor near a water heater, washing machine, sink, or in a basement. Ensure the two metal contacts on the bottom of the sensor are touching the surface. You may use a small piece of tape to keep the sensor in place if needed.

Image 4: Example placement of the water sensor on the floor to detect leaks. - Activate the Alarm:
Locate the ON/OFF switch on the side of the alarm unit. Slide the switch to the ON position. The alarm is now active and ready to detect water.
Setup Video Guide
Video 1: Official SABRE guide demonstrating the DIY installation of the Water Leak Flood Alarm Sensor.
5. Operating Instructions
- Water Detection: When the two metal contacts on the water sensor detect water, the alarm will sound at the selected volume (HIGH or LOW) and a red light will flash. The alarm will continue to sound until the water is removed from the sensor and the unit is manually turned off.
- Turning Off the Alarm: To silence the alarm after detection, slide the ON/OFF switch to the OFF position. Once the water is cleared, you can slide the switch back to ON to reactivate the alarm.
- Battery Test Button: Press the "TEST" button on the front of the alarm unit. If the green light illuminates, the batteries are good. If no light appears, the batteries need to be replaced.
6. Maintenance
- Battery Replacement: Replace batteries when the "TEST" button does not illuminate the green light. Always use two new AAA batteries.
- Regular Testing: It is recommended to test the alarm monthly using the "TEST" button to ensure it is functioning correctly. Periodically, you may also test by placing the sensor contacts in a small amount of water to verify the alarm sounds.
- Cleaning: Keep the water sensor contacts clean and free from debris to ensure accurate detection. Wipe the unit with a dry cloth as needed.
7. Troubleshooting
| Problem | Possible Cause | Solution |
|---|---|---|
| Alarm does not sound when water is detected. |
|
|
| Alarm sounds continuously without water. |
|
|
| Test button does not light up. |
|
|
8. Specifications
- Model: HS-WLA
- Alarm Volume: 110 dB
- Audibility Range: Up to 1,500 feet (457 meters)
- Sensor Type: All-directional water sensor (contact sensor)
- Power Source: 2 x AAA batteries (not included)
- Voltage: 3V DC
- Dimensions (Alarm Unit): Approximately 3.5" L x 0.75" W x 5.25" H
- Mounting Type: Wall Mount (with adhesive attachments)
- Color: White
9. Warranty and Support
Specific warranty details are not provided in this manual. For warranty information, technical support, or to access additional resources, please refer to the official SABRE website or contact SABRE customer service.
Additional documentation, including a User Manual and Installation Manual in PDF format, may be available for download:

