1. Introduction
This manual provides detailed instructions for the installation, operation, and maintenance of your Blaupunkt LAS VEGAS 530 car multimedia system. This unit features a 6.2-inch digital TFT touch screen display, built-in Bluetooth for hands-free communication and audio streaming, and supports various media formats including DVD, VCD, CD, USB, and Micro SDHC. Please read this manual thoroughly before using the device to ensure proper operation and to prevent damage.
2. Safety Information
- Professional Installation: It is highly recommended that this product be installed by a qualified professional to ensure correct wiring and functionality, and to avoid damage to the vehicle or the unit.
- Driving Safety: Do not operate the system's complex functions or watch videos while driving. Distraction can lead to accidents. Ensure the parking brake is engaged when accessing certain features.
- Power Supply: Connect the unit only to a 12V DC power supply with a negative ground. Incorrect voltage can cause fire or malfunction.
- Avoid Moisture: Do not expose the unit to rain or moisture to prevent fire or electric shock.
- Temperature: Avoid extreme temperatures. The operating temperature range is typically between -10°C and +60°C.
- Cleaning: Use a soft, dry cloth for cleaning. Do not use abrasive cleaners or solvents.
3. Package Contents
Verify that all items are present in the package before proceeding with installation:
- Blaupunkt LAS VEGAS 530 Multimedia System
- Power/Speaker Harness
- Remote Control
- Mounting Hardware (screws, brackets)
- User Manual (this document)
- GPS Antenna (if applicable, not explicitly mentioned but common for such units)
- External Microphone (for Bluetooth hands-free, if applicable)
4. Product Overview
4.1 Front Panel
The front panel features a 6.2-inch digital TFT touch screen display, providing intuitive control over all system functions. Key controls and ports are located on the front for easy access.
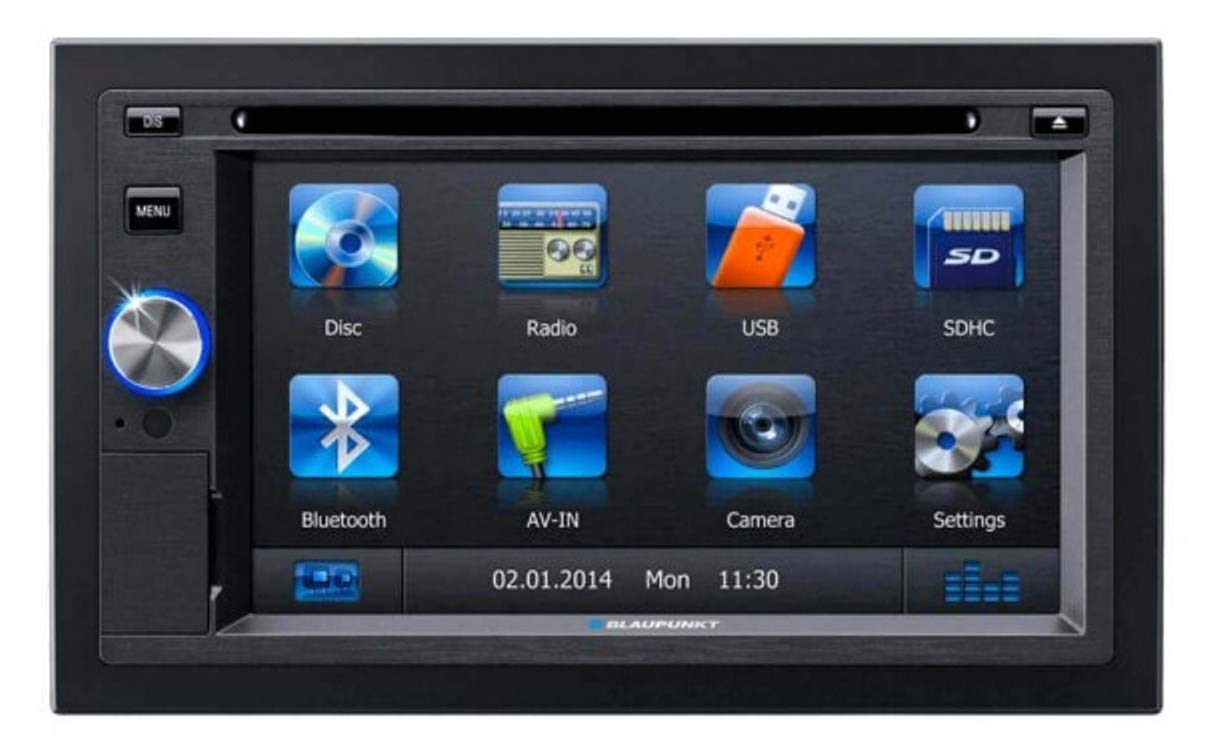
Image: Front view of the Blaupunkt LAS VEGAS 530 multimedia system, showing the 6.2-inch touch screen and physical buttons.
- 6.2" Touch Screen: Primary interface for navigation and control.
- Power/Volume Knob: Turns the unit on/off and adjusts volume.
- USB Port: For connecting USB storage devices.
- Micro SDHC Slot: For inserting SDHC memory cards.
- Menu/Home Button: Returns to the main menu.
- Eject Button: For removing discs from the DVD/CD slot.
4.2 Rear Connections
The rear of the unit houses various input and output connections for power, speakers, external devices, and video signals.
- Power Harness Connector: Connects to the vehicle's power supply and speaker outputs.
- Antenna Input: For connecting the car's radio antenna.
- Front A/V Input: For connecting external audio/video sources.
- Rear View Camera Input: Dedicated input for a reverse camera.
- Steering Wheel Control Input: For integrating with vehicle's steering wheel controls.
- Video Output: For connecting external monitors.
- Pre-amplifier Outputs: For connecting external amplifiers (4-channel).
5. Installation
Proper installation is crucial for the optimal performance and safety of your multimedia system. It is strongly recommended that installation be performed by a professional car audio technician.
5.1 Wiring Diagram
Refer to the detailed wiring diagram provided with your unit for specific connections. General connections include:
- Yellow Wire (Constant 12V): Connect to a constant 12V power source.
- Red Wire (Accessory 12V): Connect to a switched 12V power source (ignition).
- Black Wire (Ground): Connect to a clean chassis ground point.
- Blue Wire (Antenna/Amp Remote): Connect to power antenna or amplifier remote turn-on.
- Speaker Wires: Connect to the vehicle's speakers (Front Left, Front Right, Rear Left, Rear Right). Ensure correct polarity.
- Reverse Gear Signal Wire: Connect to the vehicle's reverse light circuit for automatic camera activation.
- Parking Brake Wire: Connect to the parking brake switch for safety features.
5.2 Mounting the Unit
- Remove the existing car stereo from the dashboard.
- Install the mounting sleeve or brackets into the dashboard opening.
- Connect all necessary wiring harnesses to the rear of the Blaupunkt LAS VEGAS 530.
- Carefully slide the unit into the mounting sleeve until it clicks into place.
- Reassemble the dashboard trim.
6. Basic Operation
6.1 Power On/Off
Press the Power/Volume knob briefly to turn the unit on. Press and hold the knob for approximately 2 seconds to turn the unit off.
6.2 Volume Adjustment
Rotate the Power/Volume knob clockwise to increase volume and counter-clockwise to decrease volume.
6.3 Main Menu Navigation
From any screen, press the Menu/Home button to return to the main menu. Tap the desired function icon on the touch screen to select it (e.g., Radio, Disc, USB, Bluetooth, Settings).
7. Radio Operation
7.1 Selecting Radio Mode
From the main menu, tap the "Radio" icon to enter radio mode.
7.2 Tuning Stations
- Automatic Search: Tap the "Seek Up" or "Seek Down" icons on the touch screen to automatically search for the next strong station.
- Manual Tuning: Tap the "Tune Up" or "Tune Down" icons to manually adjust the frequency step by step.
7.3 Storing Presets
To store a station as a preset:
- Tune to the desired station.
- Press and hold one of the preset number buttons (e.g., P1-P6) on the touch screen until you hear a beep, indicating the station is saved.
7.4 Recalling Presets
Tap a preset number button briefly to recall the stored station.
8. Media Playback
8.1 DVD/CD Playback
- Gently insert a DVD or CD into the disc slot with the label side facing up. The unit will automatically switch to Disc mode and begin playback.
- Use the on-screen controls for Play/Pause, Skip Track, Fast Forward/Rewind, and Menu navigation.
- To eject a disc, press the Eject button on the front panel.
8.2 USB Playback
- Insert a USB storage device into the front USB port.
- From the main menu, tap the "USB" icon. The unit will read the device and display playable files.
- Navigate through folders and files using the touch screen. Tap a file to begin playback.
8.3 SDHC Playback
- Insert a Micro SDHC card into the SDHC slot.
- From the main menu, tap the "SD" or "Card" icon. The unit will read the card and display playable files.
- Navigate through folders and files using the touch screen. Tap a file to begin playback.
Supported Media Types: DVD, VCD, CD, MP3, WMA, JPEG, AVI, MPEG.
9. Bluetooth Operation
The built-in Bluetooth module allows for hands-free calling and wireless audio streaming.
9.1 Pairing a Bluetooth Device
- From the main menu, tap the "Bluetooth" icon.
- Ensure Bluetooth is enabled on your mobile phone and set to "discoverable" mode.
- On the LAS VEGAS 530, tap "Search" or "Pair Device". The unit will display a list of available devices.
- Select your phone from the list. You may be prompted to enter a PIN (default is usually "0000" or "1234") on your phone or confirm a pairing request.
- Once paired, the unit will show a "Connected" status.
9.2 Hands-Free Calling
- Making Calls: Use the on-screen dial pad, access your phone's contacts (after phone book download), or redial previous numbers.
- Answering Calls: When an incoming call is received, the unit will display the caller ID. Tap the "Answer" icon on the screen.
- Ending Calls: Tap the "End Call" icon on the screen.
- Phone Book Download: The unit supports downloading your phone's contact list for easy dialing.
9.3 Bluetooth Audio Streaming (A2DP)
Once your phone is paired, you can stream audio wirelessly to the LAS VEGAS 530.
- Ensure your phone is playing audio.
- From the Bluetooth menu, select "A2DP" or "Music" mode.
- Use the on-screen controls (Play/Pause, Skip) to manage playback.
10. Equalizer Settings
The LAS VEGAS 530 features a 10-band parametric equalizer to customize your audio experience.
- From the main menu, tap the "Settings" or "Audio" icon, then navigate to the "Equalizer" section.
- Adjust the frequency bands to fine-tune the sound output.
- Select from various preset equalizer modes (e.g., Pop, Rock, Classic) or create and save your custom settings.
- Adjust other audio settings such as Bass, Treble, Balance, and Fader as desired.
11. Advanced Features
11.1 Rear View Camera
When a compatible rear view camera is connected and the vehicle is shifted into reverse gear, the system will automatically display the camera feed on the screen, aiding in safe parking and maneuvering.
11.2 Steering Wheel Control
The unit supports integration with your vehicle's existing steering wheel controls. After proper wiring and configuration (refer to the installation section and your vehicle's manual), you can control basic functions like volume, track skip, and mode selection directly from your steering wheel.
12. Troubleshooting
| Problem | Possible Cause | Solution |
|---|---|---|
| No power | Blown fuse; incorrect wiring; loose connection. | Check vehicle's fuse box and unit's fuse. Verify all power connections (constant 12V, accessory 12V, ground). |
| No sound | Volume too low; mute activated; incorrect speaker wiring; amplifier issues. | Increase volume. Check if mute is active. Verify speaker connections and polarity. Check external amplifier if used. |
| Bluetooth not connecting | Bluetooth not enabled on phone; incorrect pairing procedure; device already paired to another unit. | Ensure phone's Bluetooth is on and discoverable. Delete previous pairings and re-attempt pairing. Try restarting both devices. |
| Disc/USB/SDHC not playing | Incompatible file format; damaged media; incorrect insertion. | Check media for damage. Ensure files are in supported formats (MP3, WMA, AVI, MPEG). Reinsert media correctly. |
| Touch screen unresponsive | System freeze; temporary software glitch. | Perform a soft reset (if available, usually a small reset button) or turn the unit off and on again. |
If problems persist, consult a qualified service technician or contact Blaupunkt customer support.
13. Specifications
| Brand | Blaupunkt |
| Model | LYSB00M2VPTOC-ELECTRNCS |
| Screen Size | 6.2 Inches |
| Display Type | LCD, Digital TFT Touch Screen |
| Hardware Interface | Bluetooth, USB |
| Connector Type | Auxiliary, Bluetooth, USB |
| Media Type Supported | DVD, CD, VCD, USB, Micro SDHC |
| Special Features | 10-Band Parametric Equalizer, 24-bit D/A Converter 192 kHz, Hands-free Calling, Phone Book Download, Audio Streaming |
| Audio Output Type | Speakers, 4-channel Pre-amplifier |
| Audio Wattage | 100 Watts (Max) |
| Input | Front A/V, Rear View Camera, Steering Wheel Control |
| Output | Video Out |
| Product Dimensions | 30.99 x 24.41 x 16.99 cm |
| Item Weight | 3.66 kg |
14. Warranty and Support
Blaupunkt products are manufactured to the highest quality standards. For information regarding your product's warranty period and terms, please refer to the warranty card included in your package or visit the official Blaupunkt website.
For technical assistance, troubleshooting beyond this manual, or service inquiries, please contact Blaupunkt customer support. Contact details can typically be found on the official website or in your product documentation.
Online Resources: www.blaupunkt.com


