1. Introduction
This manual provides comprehensive instructions for the safe and efficient operation, setup, and maintenance of your Einhell TE-AC 270/24/10 air compressor. Please read this manual thoroughly before using the compressor and keep it for future reference. This compressor is designed for various applications requiring compressed air, offering a powerful 1800W motor and a 24-liter tank capacity.
2. Safety Instructions
Always observe basic safety precautions to reduce the risk of fire, electric shock, and personal injury. This includes, but is not limited to:
- Ensure the compressor is placed on a stable, level surface.
- Do not operate the compressor in wet or damp conditions.
- Wear appropriate personal protective equipment (PPE) such as safety glasses and hearing protection.
- Never direct compressed air at people or animals.
- Disconnect the power supply before performing any maintenance or adjustments.
- Regularly check all connections and hoses for leaks or damage.
- The compressor is equipped with a non-return valve and a safety valve for optimal user safety. Do not tamper with these components.
3. Product Components and Features
The Einhell TE-AC 270/24/10 compressor is designed for ease of use and durability. Key components include:
- Motor Unit: 1800W motor providing efficient air compression.
- Air Tank: 24-liter capacity for sufficient compressed air reserves.
- Pressure Regulator: Allows precise adjustment of output pressure up to 10 bar.
- Pressure Gauges: Two gauges display tank pressure and regulated output pressure.
- Quick-Lock Coupling: For easy connection of air tools and accessories.
- Drain Valve: Located at the bottom of the tank for condensate removal.
- Wheels and Handle: For easy transport and maneuverability.
- Anti-Vibration Foot: Reduces vibration and noise during operation.

Figure 1: Overview of the Einhell TE-AC 270/24/10 Air Compressor, showing its red tank, black motor housing, wheels, and handle.

Figure 2: Close-up view of the pressure gauges and the red pressure regulator knob, indicating tank pressure and adjustable output pressure.
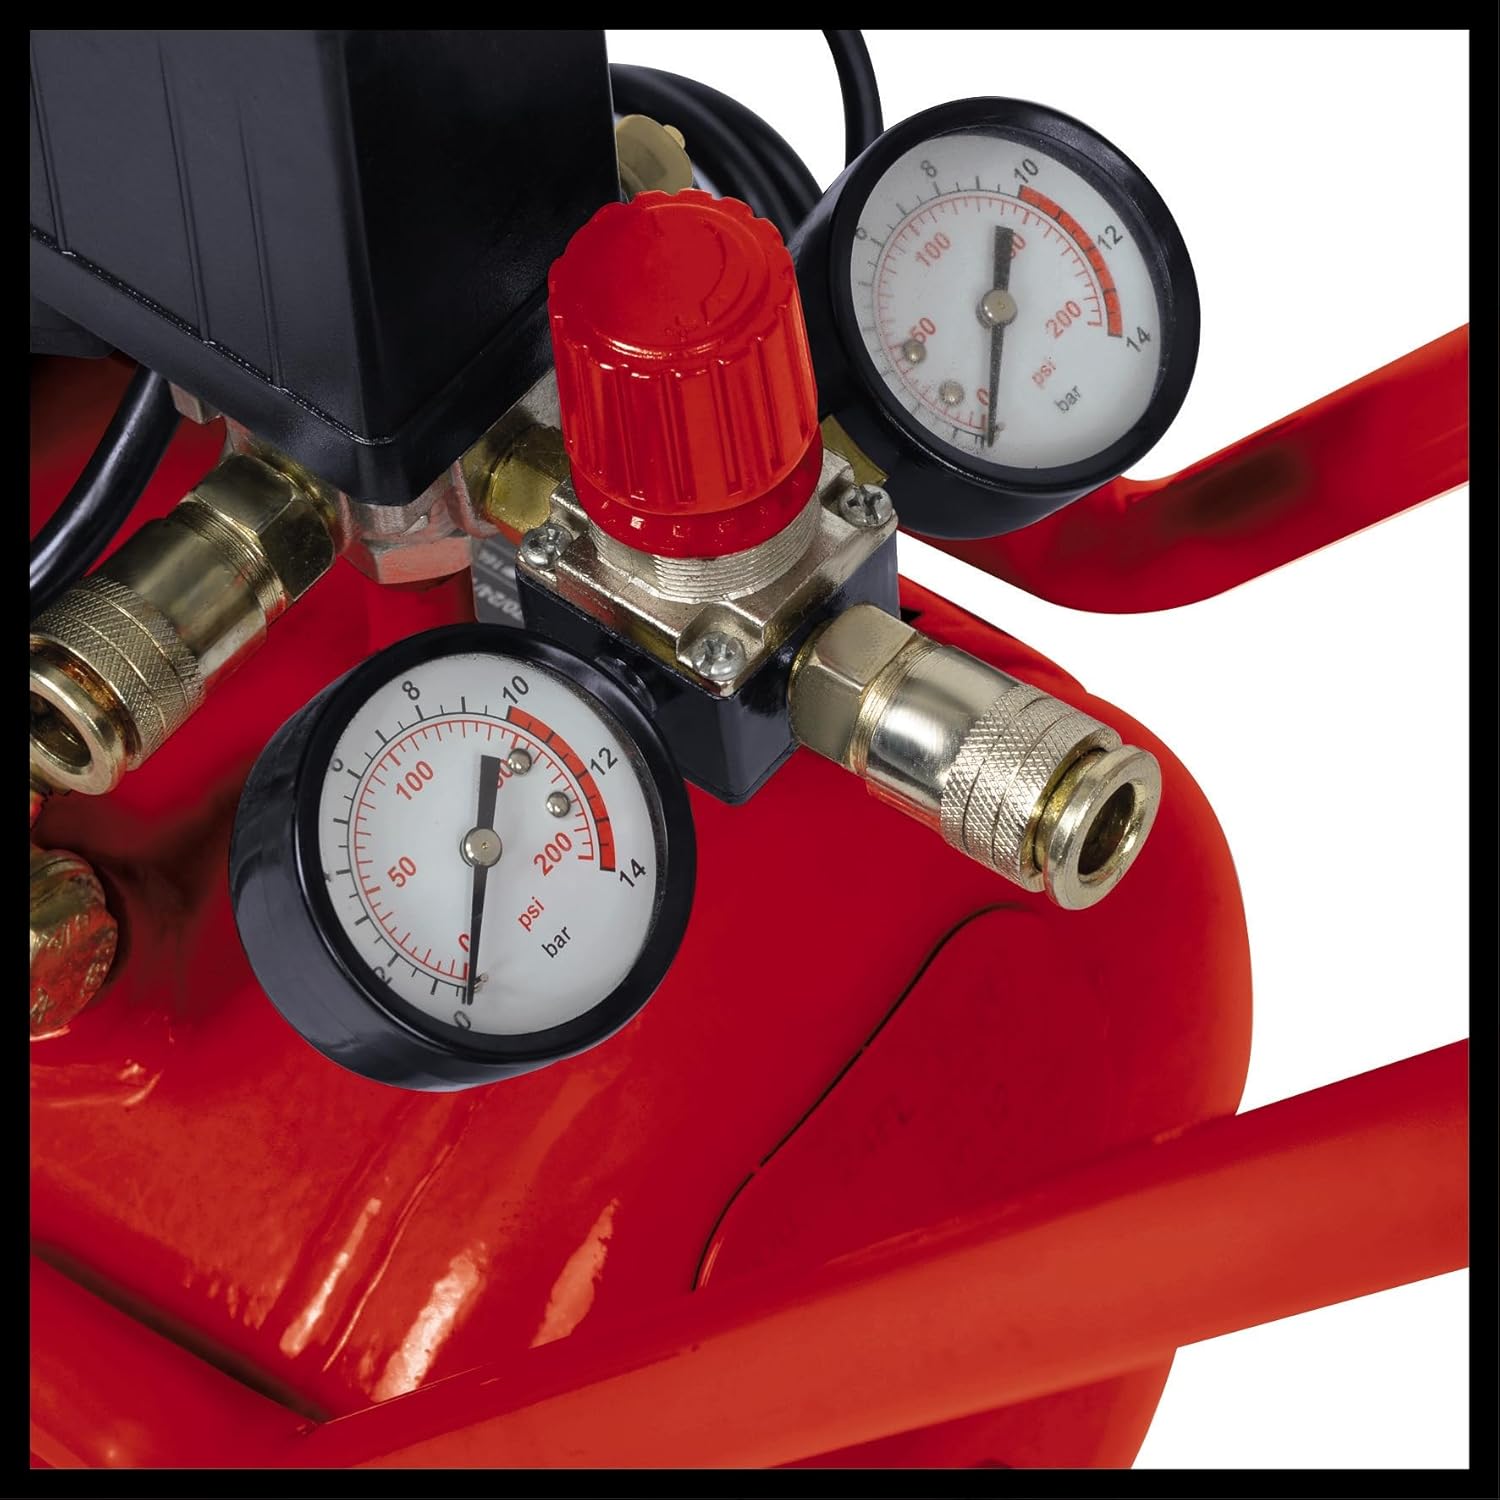
Figure 3: Detail of one of the compressor's wheels, designed for easy mobility.

Figure 4: Close-up of the anti-vibration foot, which helps stabilize the compressor and reduce operational noise.

Figure 5: The drain valve located at the bottom of the air tank, used for releasing accumulated condensate.
4. Setup
- Unpacking: Carefully remove all components from the packaging. Check for any damage during transit.
- Wheel Assembly: Attach the wheels to the designated axles on the compressor frame using the provided nuts and bolts.
- Handle Installation: Secure the transport handle to the compressor body with the screws and Allen key provided.
- Anti-Vibration Foot: Install the rubber anti-vibration foot at the front support point using the screw and nut.
- Oil Level Check: Before first use, verify the oil level in the motor unit. The compressor is typically supplied with the necessary oil, but a check is recommended. Ensure the oil filler cap is securely in place.
- Placement: Position the compressor on a firm, level surface in a well-ventilated area. Ensure adequate space around the unit for air circulation.
- Power Connection: Connect the compressor to a suitable 230V power outlet.
5. Operating Instructions
- Starting the Compressor:
- Ensure the power switch is in the "OFF" position before plugging in.
- Plug the compressor into a grounded electrical outlet.
- Turn the power switch to the "ON" position. The compressor will begin to fill the air tank until it reaches its maximum pressure (10 bar), then it will automatically shut off.
- Connecting Air Tools:
- Attach your air hose to the quick-lock coupling.
- Connect your desired air tool to the other end of the hose.
- Adjusting Output Pressure:
- Use the red pressure regulator knob to set the desired working pressure.
- Monitor the regulated output pressure on the corresponding pressure gauge.
- Applications: The compressor is suitable for various tasks including tire inflation, blowing dust, operating spray guns, impact wrenches, and staplers/nailers.

Figure 6: Visual representation of various applications for the compressor, including blow guns, paint spray guns (gravity and suction feed), staplers/nailers, impact wrenches, ratchet wrenches, and tire inflators.
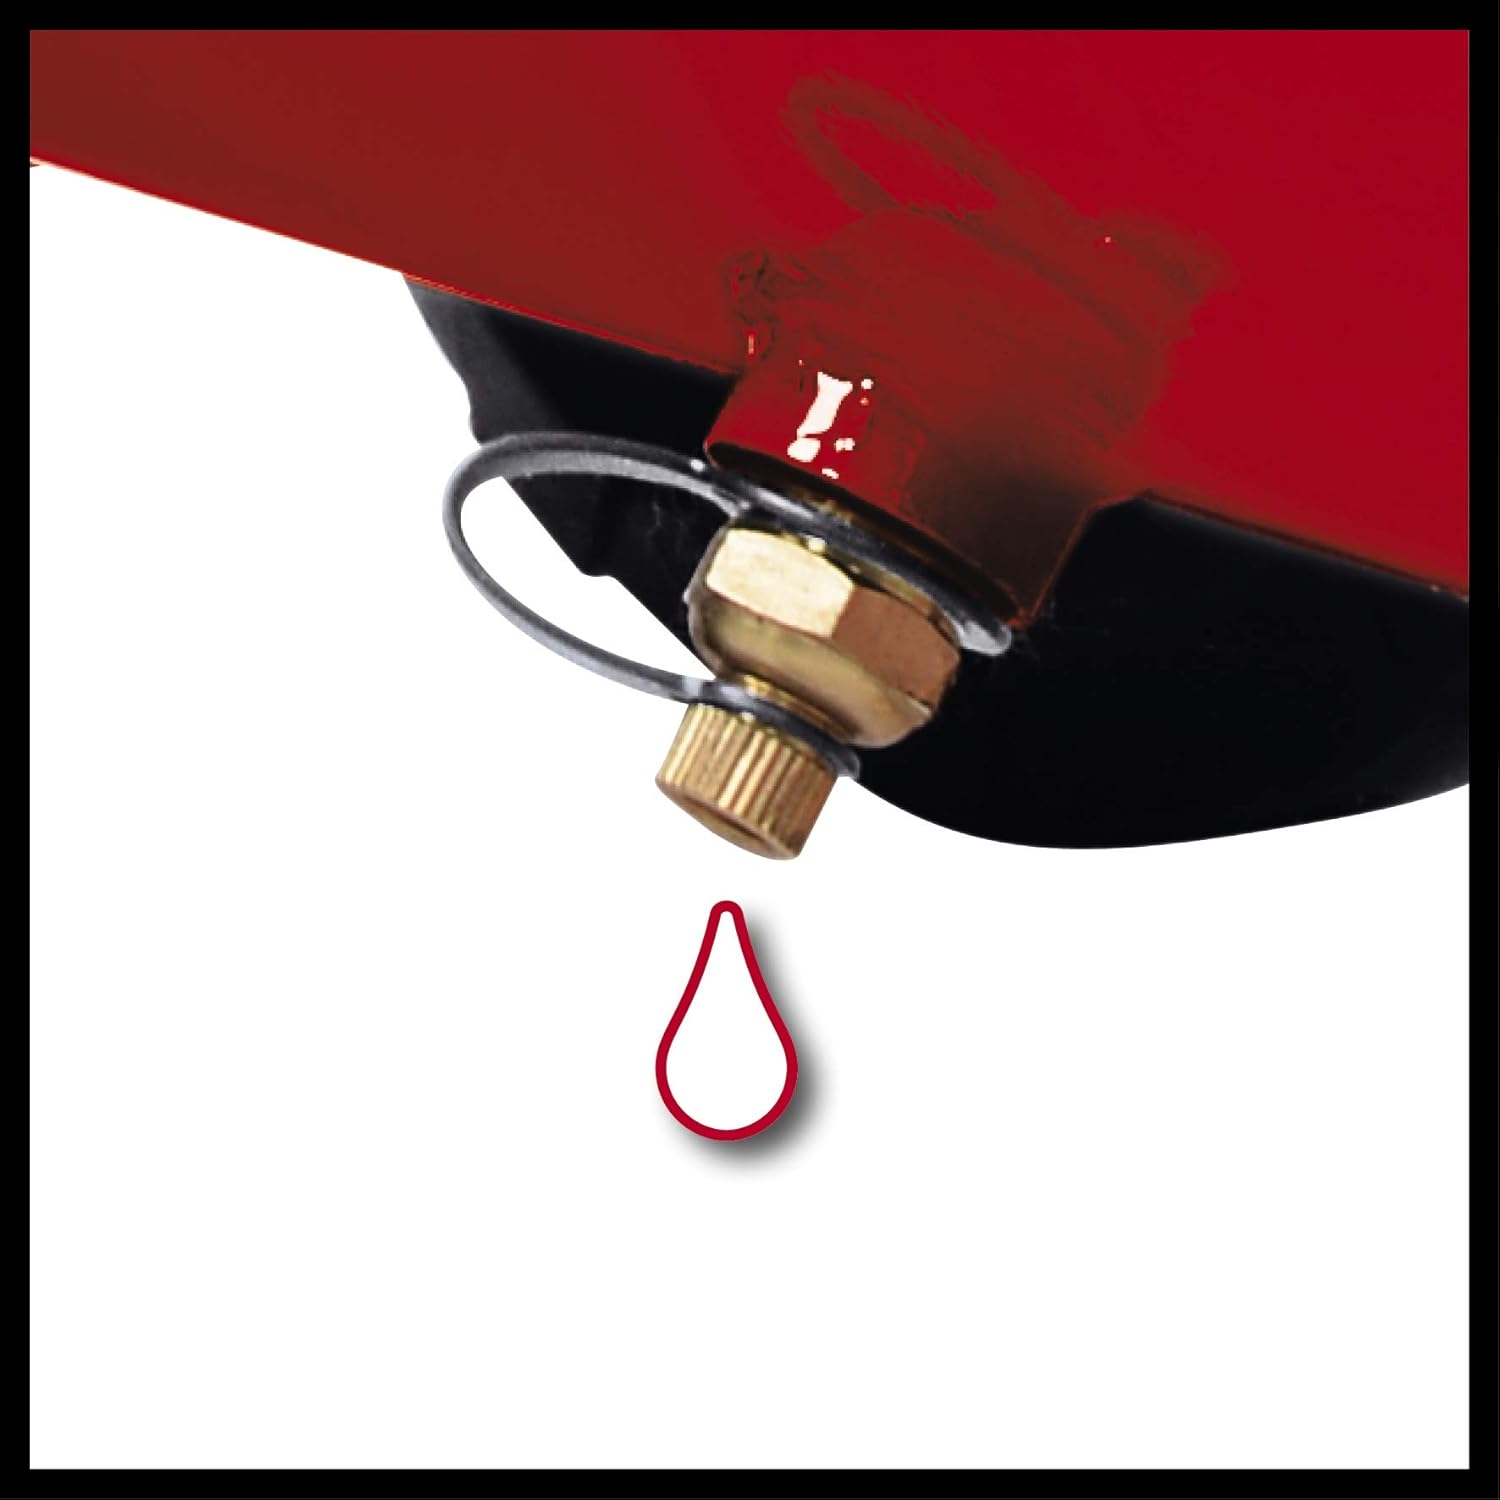
Figure 7: An individual using a spray gun, powered by an air compressor, to paint a car panel. This demonstrates a typical application for the Einhell compressor.
6. Maintenance
Regular maintenance ensures the longevity and optimal performance of your compressor.
- Condensate Drainage: After each use, or at least daily, drain the condensate from the air tank. Place a container under the drain valve (Figure 5) and slowly open the valve to release accumulated moisture. Close the valve securely afterward. This prevents rust and corrosion inside the tank.
- Oil Level Check: Periodically check the oil level using the oil level indicator. If necessary, top up with appropriate compressor oil.
- Air Filter Cleaning: Inspect and clean the air filter regularly. A clogged air filter can reduce compressor efficiency.
- General Cleaning: Keep the compressor clean and free from dust and debris.
7. Troubleshooting
This section addresses common issues you might encounter with your compressor.
| Problem | Possible Cause | Solution |
|---|---|---|
| Compressor does not start. | No power supply; power switch off; thermal overload activated. | Check power connection; turn power switch on; allow compressor to cool down. |
| Compressor runs continuously or frequently. | Air leak in system; heavy air consumption; faulty pressure switch. | Check hoses and connections for leaks; reduce air tool usage; contact service if pressure switch is suspected. |
| Low output pressure. | Pressure regulator set too low; air leak; clogged air filter. | Adjust pressure regulator; check for leaks; clean or replace air filter. |
| Excessive noise or vibration. | Loose components; compressor not on a stable surface; worn parts. | Tighten all fasteners; ensure stable placement; inspect for worn parts and contact service if needed. |
If you encounter issues not listed here or if solutions do not resolve the problem, please contact Einhell customer support.
8. Specifications
| Feature | Value |
|---|---|
| Model | TE-AC 270/24/10 |
| Power Input | 1800 W |
| Voltage | 230 V |
| Tank Capacity | 24 Liters |
| Max. Operating Pressure | 10 Bar |
| Air Delivery Rate | 270 Liters per minute |
| Sound Power Level | 94 dB |
| Product Dimensions (L x W x H) | 61 x 28 x 63 cm |
| Weight | 26.95 kg |
| Model Number | 4010450 |
9. Warranty and Support
The Einhell TE-AC 270/24/10 compressor tank is guaranteed for 10 years against rust. For all other components, please refer to the standard warranty terms provided with your purchase documentation. For technical support, spare parts, or warranty claims, please contact your authorized Einhell dealer or visit the official Einhell website for customer service information.
You can visit the official Einhell store for more information: Einhell Store


