1. Introduction
The Intel NUC DE3815TYKHE is a compact, fanless mini PC designed for various applications, including thin clients, digital signage, and embedded solutions. This kit provides a flexible platform with support for a 2.5-inch storage drive, offering a customizable computing experience in a small form factor.
2. Package Contents
Verify that all items are present in your package:
- Intel NUC DE3815TYKHE Unit
- AC Power Adapter
- VESA Mounting Bracket (with screws)
- Quick Start Guide (if included)
3. Physical Overview
3.1 Front Panel
The front panel provides essential connectivity and controls.

Image 1: Front view of the Intel NUC DE3815TYKHE. This image displays the compact, fanless design of the unit, highlighting the power button and a single blue USB 3.0 port on the front for easy access.
- Power Button: Used to turn the unit on or off.
- USB 3.0 Port: For connecting high-speed USB devices.
3.2 Rear Panel
The rear panel houses various ports for display, network, and peripherals.

Image 2: Rear view of the Intel NUC DE3815TYKHE. This image details the available rear ports, including VGA, HDMI, two USB ports, an Ethernet port, and a headphone/microphone jack, along with the power input.
- VGA Port: For connecting to older monitors or projectors.
- HDMI Port: For connecting to modern displays with audio support.
- USB 2.0 Ports (x2): For connecting standard USB devices.
- Ethernet Port (RJ-45): For wired network connectivity.
- Headphone/Microphone Jack: For audio input and output.
- DC Power Input: For connecting the AC power adapter.
3.3 Internal Components
Accessing the internal components is necessary for memory and storage installation.
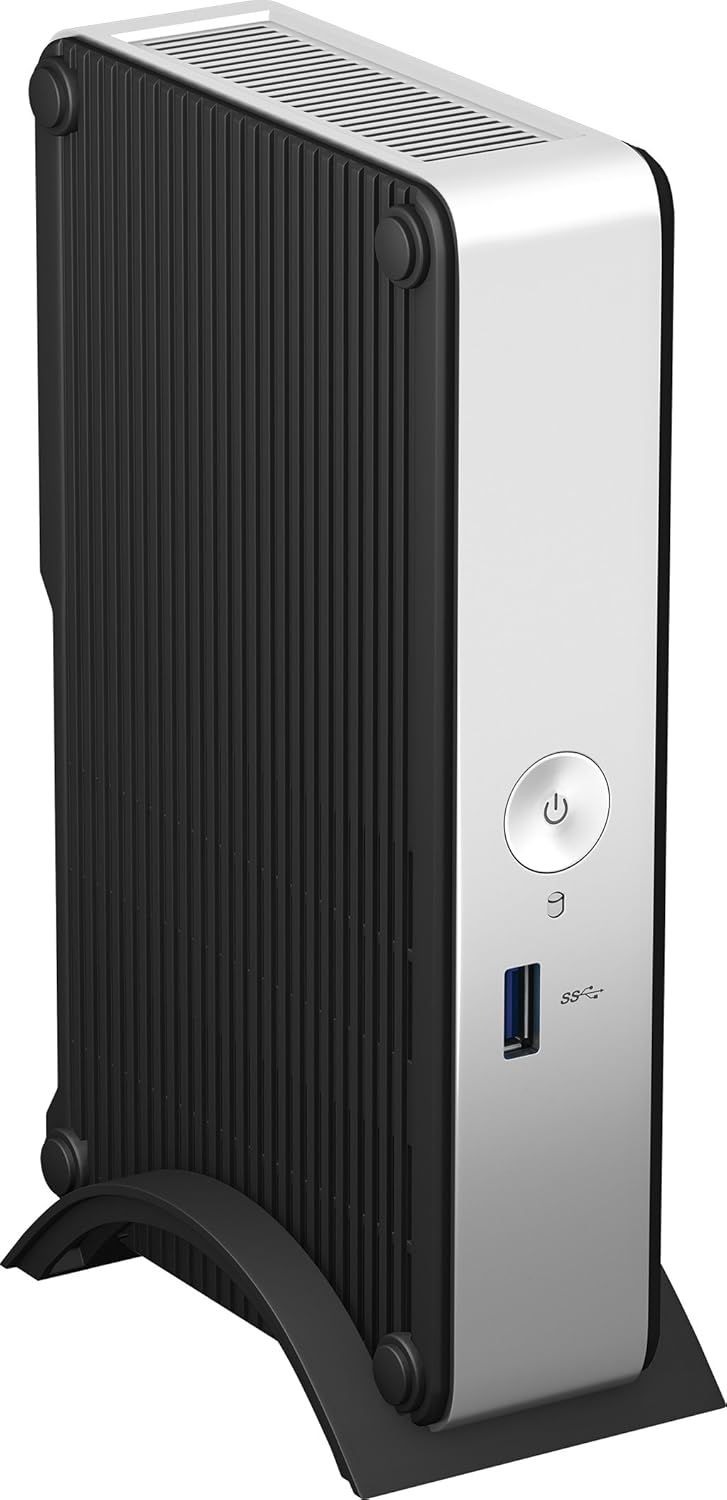
Image 3: Intel NUC DE3815TYKHE unit displayed alongside its internal motherboard. This view illustrates the compact size of the main unit and the layout of the internal components, including the processor, memory slot, and connectors for storage.
- DDR3L SODIMM Slot: For installing system memory.
- 2.5-inch Drive Bay: For installing a SATA HDD or SSD.
- Wireless Antennas: Built-in for wireless connectivity.
- eMMC Storage: 4GB embedded storage for operating system or data.
4. Setup
Follow these steps to prepare your Intel NUC for operation.
4.1 Installing Memory (RAM)
- Unscrew and remove the bottom cover of the NUC unit.
- Locate the DDR3L SODIMM slot on the motherboard.
- Align the notch on the SODIMM module with the notch in the slot.
- Insert the module at a 45-degree angle and press down until the retaining clips snap into place.
4.2 Installing a 2.5-inch Storage Drive
- With the bottom cover removed, locate the 2.5-inch drive bay.
- Connect the SATA data and power cables from the NUC to your 2.5-inch HDD or SSD.
- Secure the drive within the bay using the provided screws (if applicable).
- Replace the bottom cover and secure it with screws.
4.3 Connecting Peripherals
- Display: Connect your monitor to the HDMI or VGA port.
- Keyboard and Mouse: Connect USB keyboard and mouse to any available USB ports.
- Network: For wired internet, connect an Ethernet cable to the RJ-45 port. For wireless, ensure antennas are clear.
- Audio: Connect headphones or speakers to the audio jack if needed.
4.4 Powering On
- Connect the AC power adapter to the DC power input on the rear panel.
- Plug the power adapter into a wall outlet.
- Press the power button on the front panel to turn on the NUC.
5. Operating System Installation
The Intel NUC DE3815TYKHE supports multiple operating systems. You will need to install your preferred OS onto the internal eMMC storage or the 2.5-inch drive you installed.
- Prepare a bootable USB drive with your chosen operating system (e.g., Windows, Linux).
- Connect the USB drive to a USB port on the NUC.
- Power on the NUC and enter the BIOS/UEFI setup (usually by pressing F2 during boot) to configure the boot order.
- Follow the on-screen instructions to install the operating system.
6. Maintenance
The fanless design of the Intel NUC DE3815TYKHE minimizes maintenance requirements.
- Cleaning: Periodically wipe the exterior with a soft, dry cloth. Avoid using liquid cleaners directly on the unit.
- Ventilation: Ensure the ventilation slots are not obstructed to allow for proper passive cooling.
- Software Updates: Keep your operating system and drivers updated for optimal performance and security.
7. Troubleshooting
If you encounter issues, refer to the following common troubleshooting steps.
- No Power: Ensure the power adapter is securely connected to both the NUC and a working power outlet. Test the outlet with another device.
- No Display: Verify that the monitor is powered on and correctly connected to the NUC's HDMI or VGA port. Try a different cable or monitor if possible.
- Operating System Not Booting: Check the boot order in the BIOS/UEFI settings. Ensure the installed storage drive is detected and contains a valid operating system.
- Peripheral Not Detected: Ensure USB devices are properly seated in the ports. Try a different USB port or device.
- No Network Connectivity: For wired connections, check the Ethernet cable and router. For wireless, ensure Wi-Fi is enabled in the OS and the NUC is within range of a network.
8. Specifications
| Feature | Detail |
|---|---|
| Model Name | DE3815TYKHE |
| Processor | Intel Atom Processor (e.g., E3815) |
| RAM | 4 GB DDR3L 1333 (SODIMM slot for expansion) |
| Internal Storage | 4GB eMMC (embedded MultiMediaCard) |
| Storage Expansion | Internal 2.5-inch SATA HDD/SSD bay |
| Graphics | Integrated Intel Graphics |
| Video Output | HDMI, VGA |
| USB Ports | 1x USB 3.0 (front), 2x USB 2.0 (rear) |
| Audio | Headphone/Microphone Combo Jack |
| Network | Ethernet (RJ-45), Built-in Wireless Antennas |
| Design | Fanless |
| Operating System Support | Multiple OS options (e.g., Windows, Linux) |
| Color | Metallic gray plastic ring with black sides |
9. Warranty and Support
For warranty information and technical support, please refer to the official Intel website or contact your point of purchase. Keep your proof of purchase for warranty claims.
- Online Support: Visit Intel Support for DE3815TYKHE for drivers, downloads, and troubleshooting resources.
- Contact: Refer to the Intel support page for contact options.


