1. Introduction
The Celestron TrekGuide 48006-DS is a versatile 4-in-1 digital outdoor device designed for various outdoor activities. It integrates a digital compass, barometer, altimeter, and thermometer into a single, compact unit. This manual provides detailed instructions for setup, operation, and maintenance to ensure optimal performance and longevity of your device.

Figure 1.1: The Celestron TrekGuide 48006-DS device shown in its retail packaging, highlighting its 4-in-1 functionality as a digital compass, barometer, altimeter, and thermometer.
2. Package Contents
Verify that all items listed below are present in your package:
- Celestron TrekGuide 48006-DS Digital Device
- Lanyard / Wrist Strap
- 2 x CR2032 Lithium-ion Batteries (pre-installed or separate)
- This User Manual
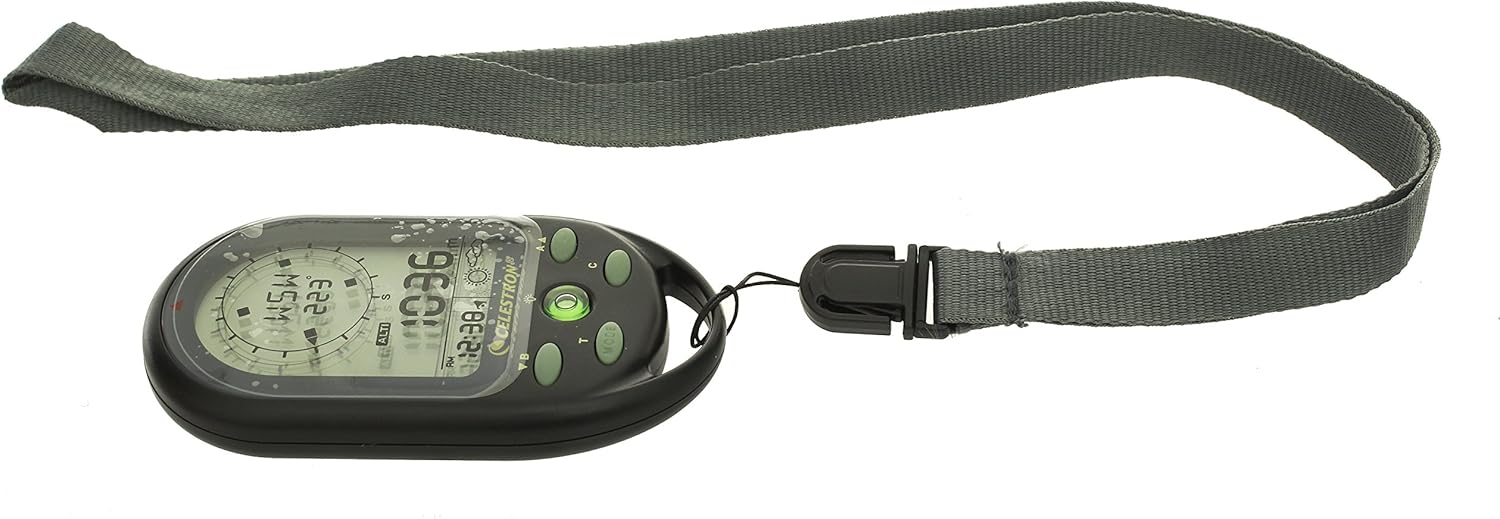
Figure 2.1: All components included with the Celestron TrekGuide: the main device, a gray lanyard, and two CR2032 batteries.
3. Device Overview
Familiarize yourself with the various parts and controls of your TrekGuide device.

Figure 3.1: Front view of the TrekGuide display, showing the digital compass, altitude reading, time, and weather forecast icon. Buttons for navigation and mode selection are visible below the screen.

Figure 3.2: Rear view of the TrekGuide device, displaying the "TrekGuide Digital Compass" logo, model number 48006, and regulatory markings. The battery compartment is located on the back.
3.1. Buttons and Display
- MODE Button (M): Cycles through different functions (Compass, Altimeter, Barometer, Thermometer, Time).
- SET Button (S): Used to enter settings mode for the currently displayed function.
- UP/DOWN Buttons (A/B): Adjust values or navigate menu options in settings mode.
- LIGHT Button (L): Activates the display backlight.
- LCD Display: Shows readings, time, and settings.
4. Setup
4.1. Battery Installation
- Locate the battery compartment on the back of the device (refer to Figure 3.2).
- Using a small Phillips head screwdriver, carefully remove the screws securing the battery cover.
- Insert two CR2032 Lithium-ion batteries, ensuring correct polarity (+/-).
- Replace the battery cover and secure it with the screws.
4.2. Initial Power On and Basic Settings
Upon first power-on or after battery replacement, you may need to set the time, date, and measurement units.
- Press and hold the MODE button to turn on the device.
- Press the MODE button repeatedly until the Time display is shown.
- Press and hold the SET button to enter time setting mode. The hour digit will flash.
- Use the UP/DOWN buttons to adjust the hour. Press SET to confirm and move to the next setting (minutes, 12/24 hour format, year, month, day).
- Repeat step 4 for all time and date settings.
- After setting the date, you may be prompted to set units (e.g., Celsius/Fahrenheit for temperature, meters/feet for altitude, hPa/inHg for pressure). Use UP/DOWN to select and SET to confirm.
- Press MODE to exit settings.
5. Operating Instructions
The TrekGuide features multiple functions accessible via the MODE button.
5.1. Digital Compass
The digital compass provides directional bearings. For accurate readings, ensure the device is held level and away from strong magnetic fields.
- Press the MODE button until the compass display appears (showing cardinal directions and degrees).
- Compass Calibration: For first use or if accuracy issues arise, calibrate the compass.
- In compass mode, press and hold the SET button to enter calibration mode.
- Follow the on-screen instructions, typically involving rotating the device slowly in a figure-eight motion or 360-degree horizontal rotation.
- Once calibrated, the device will return to compass display.
- Hold the device horizontally and point the top edge in the desired direction. The display will show the cardinal direction (e.g., N, NE, E) and the bearing in degrees.
5.2. Altimeter
The altimeter measures current altitude based on atmospheric pressure. For best accuracy, calibrate it at a known altitude.
- Press the MODE button until the altimeter display appears (showing altitude in meters or feet).
- Altimeter Calibration:
- If you know your current altitude (e.g., from a map or sign), press and hold the SET button in altimeter mode.
- Use the UP/DOWN buttons to adjust the displayed altitude to the known value.
- Press SET to confirm.
- The device will now display your current altitude. Note that altitude readings can fluctuate with changes in atmospheric pressure.
5.3. Barometer
The barometer measures atmospheric pressure and can provide a basic weather forecast.
- Press the MODE button until the barometer display appears (showing pressure in hPa or inHg).
- The device may also display a weather forecast icon (e.g., sun for clear, cloud for cloudy, rain for precipitation) based on recent pressure trends. This is an estimation and should not replace official weather forecasts.
5.4. Thermometer
The thermometer measures ambient temperature.
- Press the MODE button until the thermometer display appears (showing temperature in Celsius or Fahrenheit).
- For accurate readings, remove the device from your body and allow it to acclimate to the ambient air temperature for several minutes.
5.5. Clock, Calendar, and Alarm
The TrekGuide also functions as a clock with date display and an alarm feature.
- Time/Date Display: Press the MODE button until the time and date are shown.
- Setting Alarm: In time mode, press the SET button until the alarm setting appears. Use UP/DOWN to adjust the alarm time and SET to confirm. You can usually toggle the alarm on/off in this mode.
5.6. Backlight Operation
Press the LIGHT button to illuminate the display for better visibility in low-light conditions. The backlight will typically remain on for a few seconds before automatically turning off to conserve battery power.
6. Maintenance
6.1. Cleaning
Wipe the device with a soft, damp cloth. Do not use abrasive cleaners or solvents, as these can damage the casing or display. Ensure the device is dry before storage.
6.2. Battery Replacement
When the display becomes dim or the device functions erratically, it is time to replace the batteries. Refer to Section 4.1 for battery installation instructions. Always use two new CR2032 Lithium-ion batteries. Dispose of old batteries responsibly according to local regulations.
6.3. Storage
Store the TrekGuide in a cool, dry place away from direct sunlight and extreme temperatures. If storing for an extended period, it is recommended to remove the batteries to prevent leakage.
7. Troubleshooting
| Problem | Possible Cause | Solution |
|---|---|---|
| Device does not power on. | Dead or incorrectly installed batteries. | Check battery polarity. Replace batteries with new CR2032 cells. |
| Inaccurate compass readings. | Needs calibration; strong magnetic interference. | Perform compass calibration (Section 5.1). Move away from electronic devices or metal objects. |
| Inaccurate altimeter readings. | Needs calibration; changes in atmospheric pressure. | Calibrate altimeter at a known altitude (Section 5.2). Note that pressure changes affect readings. |
| Display is dim or flickering. | Low battery power. | Replace batteries. |
| Device unresponsive. | Temporary software glitch. | Remove batteries for 30 seconds, then reinsert. This performs a soft reset. |
8. Specifications
- Model: Celestron TrekGuide 48006-DS
- Functions: Digital Compass, Barometer, Altimeter, Thermometer, Clock, Calendar, Alarm
- Display: LCD with Backlight
- Water Resistance: Yes (Splash-proof, not submersible)
- Power Source: 2 x CR2032 Lithium-ion Batteries
- Dimensions: Approximately 104.5 x 26.3 x 50 mm (4.1 x 1.0 x 2.0 inches)
- Weight: Approximately 130 grams (0.29 lbs)
- Operating Temperature: (Not specified, typical for electronics)
- Altitude Range: (Not specified, typical for similar devices)
- Pressure Range: (Not specified, typical for similar devices)
- Temperature Range: (Not specified, typical for similar devices)
Note: Specific ranges for altitude, pressure, and temperature are not provided in the product data. Refer to the device's on-screen display or packaging for precise details if available.
9. Warranty and Support
For warranty information and technical support, please refer to the official Celestron website or contact their customer service department. Keep your purchase receipt as proof of purchase for any warranty claims.
Celestron Official Website: www.celestron.com


