1. Introduction
The Intermatic DT121K is an indoor 7-day digital plug-in timer designed for automated control of electrical devices. It offers flexible programming options, including 24-hour or 7-day schedules, and can manage up to 7 on/off events. Key features include an astronomic function for automatic sunrise/sunset adjustments, automatic daylight saving time correction, and a random mode to enhance home security by varying light activation times. This timer is equipped with a single 2-prong receptacle and is suitable for various indoor applications, such as controlling Christmas tree lights or seasonal decorations.
2. Safety Information
- Read all instructions before use to ensure proper operation and to prevent damage to the timer or connected devices.
- This timer is designed for indoor use only. Do not expose to water or moisture.
- Do not exceed the electrical ratings of the timer (15A, 125VAC, 60Hz, 1/2 HP Motor Load, 1000W Tungsten, 500VA Electronic Ballast, 120VAC 8.3A Standard Ballast). Overloading can cause overheating and potential fire hazards.
- Ensure the timer is securely plugged into a properly grounded outlet.
- Do not attempt to disassemble or repair the timer. Refer all servicing to qualified personnel.
- Keep out of reach of children.
3. Product Overview and Features
The DT121K timer features an intuitive interface with a digital display and control buttons for easy programming. Its compact design allows it to plug directly into a standard wall outlet.

Figure 3.1: Front view of the DT121K timer, showing the digital display and control buttons (PROGRAM, TIME, RESUME, MODE, +, -).
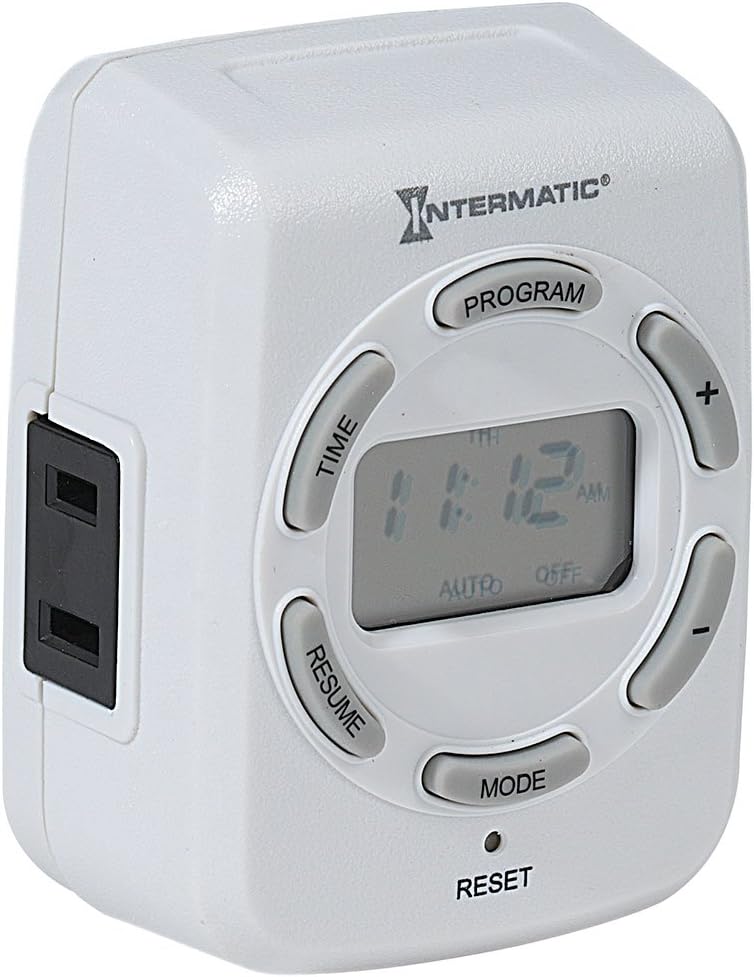
Figure 3.2: Side view of the DT121K timer, highlighting the single 2-prong receptacle for connecting devices.
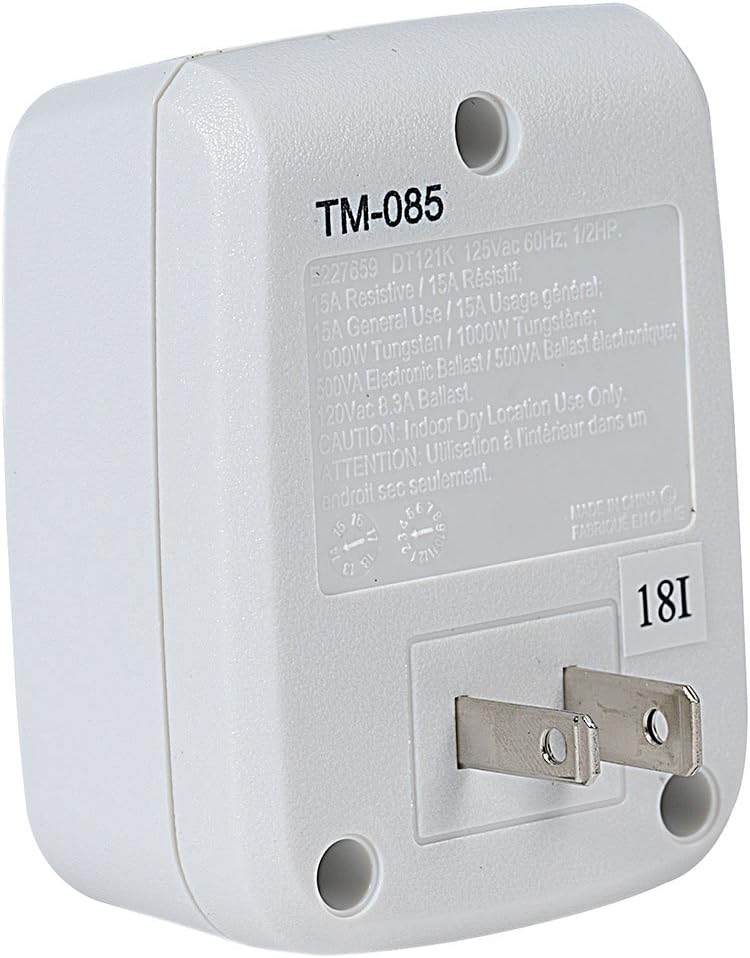
Figure 3.3: Rear view of the DT121K timer, displaying the 2-prong plug for wall outlet insertion and the product specification label.
Key Features:
- 7-Day/24-Hour Programming: Allows for flexible scheduling of connected devices throughout the week.
- 7 ON/OFF Events: Program up to seven distinct on and off times per day or week.
- Astronomic Feature: Automatically adjusts ON/OFF times based on daily sunrise and sunset changes, ideal for outdoor lighting simulation.
- Automatic Daylight Saving Time Adjustment: Simplifies time management by automatically adjusting for DST changes.
- Random Feature: Varies programmed ON/OFF times by a few minutes to create a "lived-in" appearance, enhancing security.
- Rechargeable Battery Backup: Maintains programmed settings and current time during power outages.
- Single 2-Prong Receptacle: Provides a convenient outlet for controlling a single device.
4. Setup
4.1 Initial Power-Up and Charging
- Plug the DT121K timer into a standard 125VAC wall outlet.
- Allow the timer to charge for at least 30 minutes before initial programming. The internal rechargeable battery will charge automatically when plugged in.
- If the display is blank or dim, press the RESET button (located at the bottom of the timer, may require a pointed object like a pen tip) to clear all settings and restart the timer.
4.2 Setting Current Time and Day
- Press and hold the TIME button until the display flashes.
- Use the + and - buttons to adjust the current hour. Pay attention to AM/PM indicators.
- Press the TIME button again to move to minutes, then use + and - to adjust.
- Press the TIME button again to select the current day of the week (MO, TU, WE, TH, FR, SA, SU). Use + and - to select.
- Press the TIME button one last time to save the settings and exit time setting mode.
5. Operating Instructions
5.1 Programming ON/OFF Events
The timer allows for up to 7 ON and 7 OFF programmed events. Each event can be set for specific days or groups of days.
- Press the PROGRAM button. The display will show "1 ON" and the time will flash.
- Use the + and - buttons to set the desired ON time for Program 1.
- Press the PROGRAM button again. The display will show "1 OFF" and the time will flash.
- Use the + and - buttons to set the desired OFF time for Program 1.
- Press the PROGRAM button again to select the days for Program 1. Use + and - to cycle through day options (e.g., MO-SU, MO-FR, SA-SU, individual days).
- Repeat steps 1-5 for additional ON/OFF programs (up to 7).
- To exit programming mode, press the RESUME button or wait approximately 30 seconds for the timer to automatically return to normal operation.
5.2 Using Astronomic (Dusk-to-Dawn) Feature
The astronomic feature allows the timer to turn ON at sunset and OFF at sunrise, or at a set time relative to them.
- When setting an ON or OFF program, cycle through the time options using the + or - buttons until "DUSK" or "DAWN" appears on the display.
- You can also set an offset (e.g., DUSK + 30 minutes, DAWN - 15 minutes) by continuing to press + or - after DUSK/DAWN appears.
- Save the program as usual by pressing PROGRAM.
5.3 Activating Random Mode
The random mode varies the programmed ON/OFF times by a few minutes (typically +/- 30 minutes) to simulate occupancy.
- Press the MODE button repeatedly until "RDM" (Random) appears on the display.
- The timer will now operate in random mode, slightly adjusting your programmed ON/OFF times.
- To deactivate random mode, press MODE until "RDM" disappears.
5.4 Manual Override
To temporarily override the current program without deleting it:
- Press the MODE button to cycle through ON, OFF, and AUTO modes.
- Selecting ON will keep the connected device on until the next programmed OFF event or until manually changed.
- Selecting OFF will keep the connected device off until the next programmed ON event or until manually changed.
- Selecting AUTO returns the timer to its programmed schedule.
6. Maintenance
- Clean the timer with a soft, dry cloth. Do not use abrasive cleaners or solvents.
- Ensure the timer is unplugged before cleaning.
- The internal battery is rechargeable and designed for long life. No user maintenance is required for the battery.
7. Troubleshooting
| Problem | Possible Cause | Solution |
|---|---|---|
| Display is blank or dim. | Battery not charged or needs reset. | Plug timer into an active outlet for at least 30 minutes. Press the RESET button. |
| Device does not turn ON/OFF at programmed times. | Incorrect programming, timer in manual override mode, or power outage. | Verify programmed ON/OFF times and days. Ensure timer is in AUTO mode. Check power to the outlet. |
| Random mode not working. | Random mode not activated. | Press the MODE button until "RDM" appears on the display. |
| Time is incorrect after power outage. | Battery backup depleted or not fully charged. | Ensure timer is regularly plugged in to keep the battery charged. Reset and reprogram time if necessary. |
8. Specifications
- Model: DT121K
- Input Voltage: 125 VAC, 60 Hz
- Max Load: 15 Amps Resistive, 1000W Tungsten, 500VA Electronic Ballast, 1/2 HP Motor Load
- Number of Programs: Up to 7 ON/OFF events
- Receptacle Type: 2-prong
- Battery: Rechargeable Lithium Ion (included)
- Dimensions: 6.75 x 5 x 2.5 inches
- Weight: 4.6 ounces
- Material: Resin, Plastic
- Color: Black (Note: Product images show white, but specification lists black. Please refer to product packaging for exact color.)
- Certifications: UL Listed
- UPC: 078275143388
9. Warranty and Support
For warranty information and technical support, please refer to the official Intermatic website or contact their customer service directly. Keep your purchase receipt as proof of purchase for any warranty claims.
Intermatic Customer Support:
- Website: www.intermatic.com
- Contact information can typically be found in the "Support" or "Contact Us" section of their website.


