Introduction
This manual provides essential information for the safe and effective operation and maintenance of your Banshee 12 Volt Battery Charger. This versatile unit is designed to charge and maintain 12V lead-acid batteries (SLI or Deep Cycle) and also features an engine start function for emergency situations. Please read this manual thoroughly before initial use.
Safety Information
Always observe the following safety precautions to prevent injury or damage to the charger or battery:
- Ventilation: Operate the charger in a well-ventilated area. Batteries can produce explosive gases.
- Eye and Skin Protection: Always wear safety glasses and gloves when working with batteries.
- Battery Type: This charger is designed for 12V lead-acid batteries only (SLI or Deep Cycle). Do not attempt to charge other battery types.
- Connections: Ensure all connections are secure before plugging the charger into an AC outlet. Connect the positive (+) clamp to the positive battery terminal and the negative (-) clamp to the negative battery terminal or vehicle chassis away from the battery.
- Unplug Before Disconnecting: Always unplug the charger from the AC outlet before disconnecting the battery clamps.
- Avoid Sparks: Do not allow battery clamps to touch each other or a grounded surface when the charger is plugged in.
- Damaged Equipment: Do not operate the charger if it has been dropped, damaged, or exposed to moisture.
Product Features
The Banshee Battery Charger offers a range of features for efficient battery management:
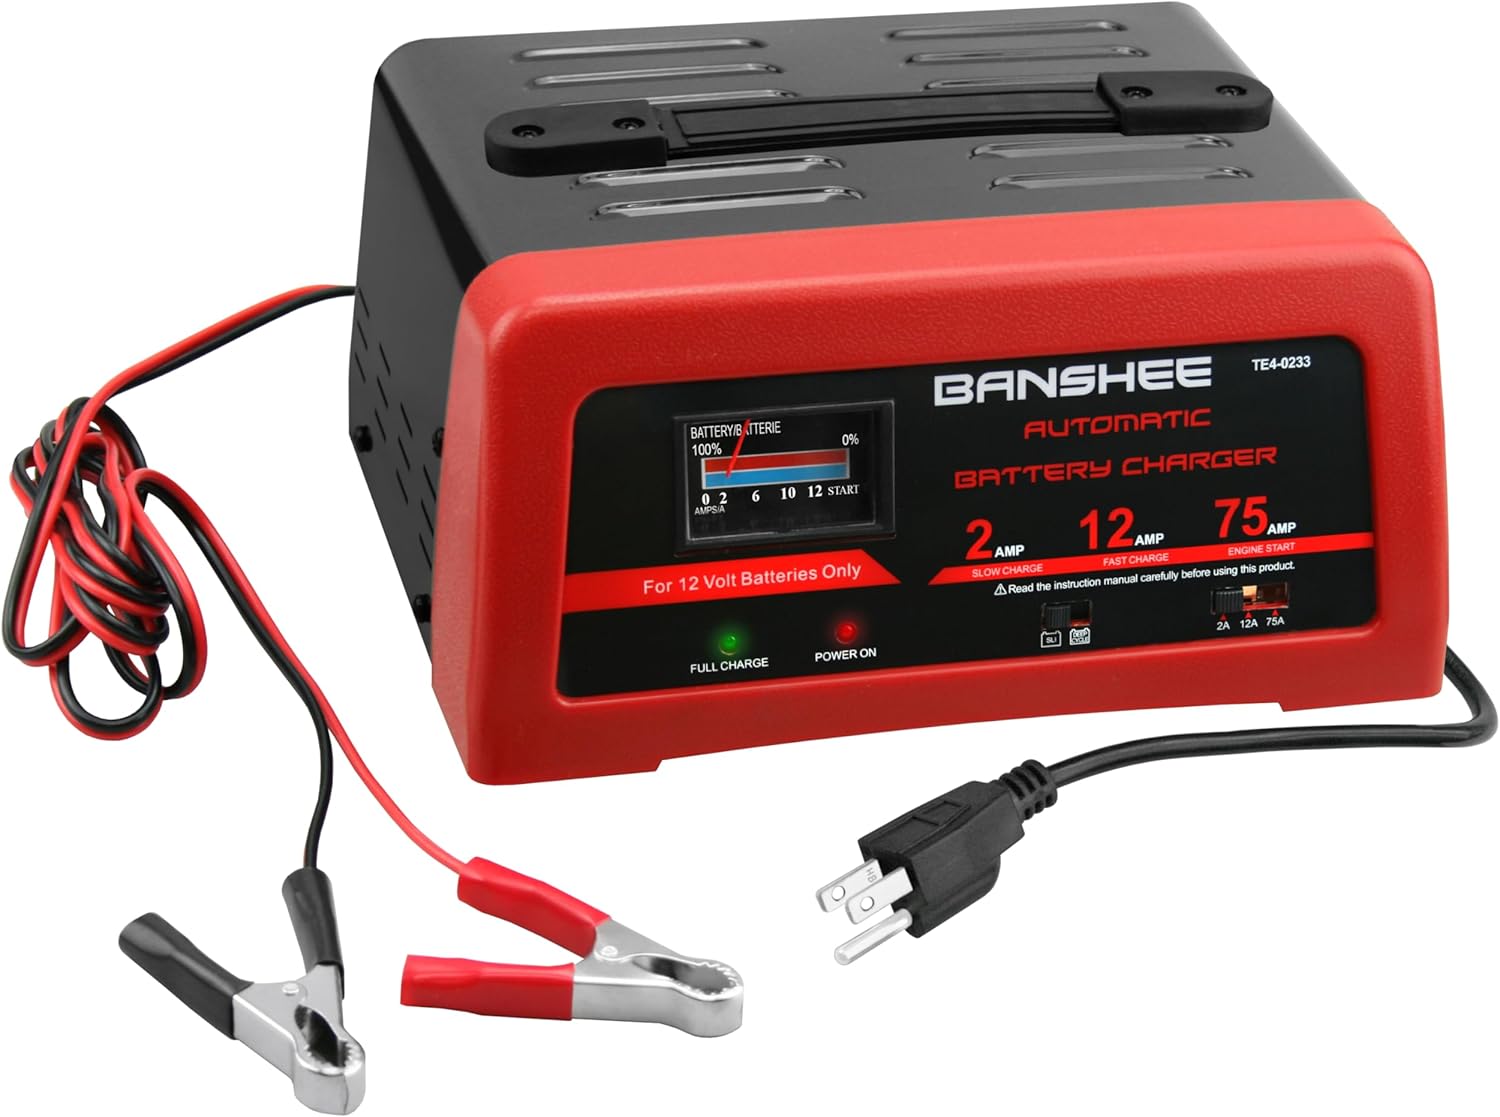
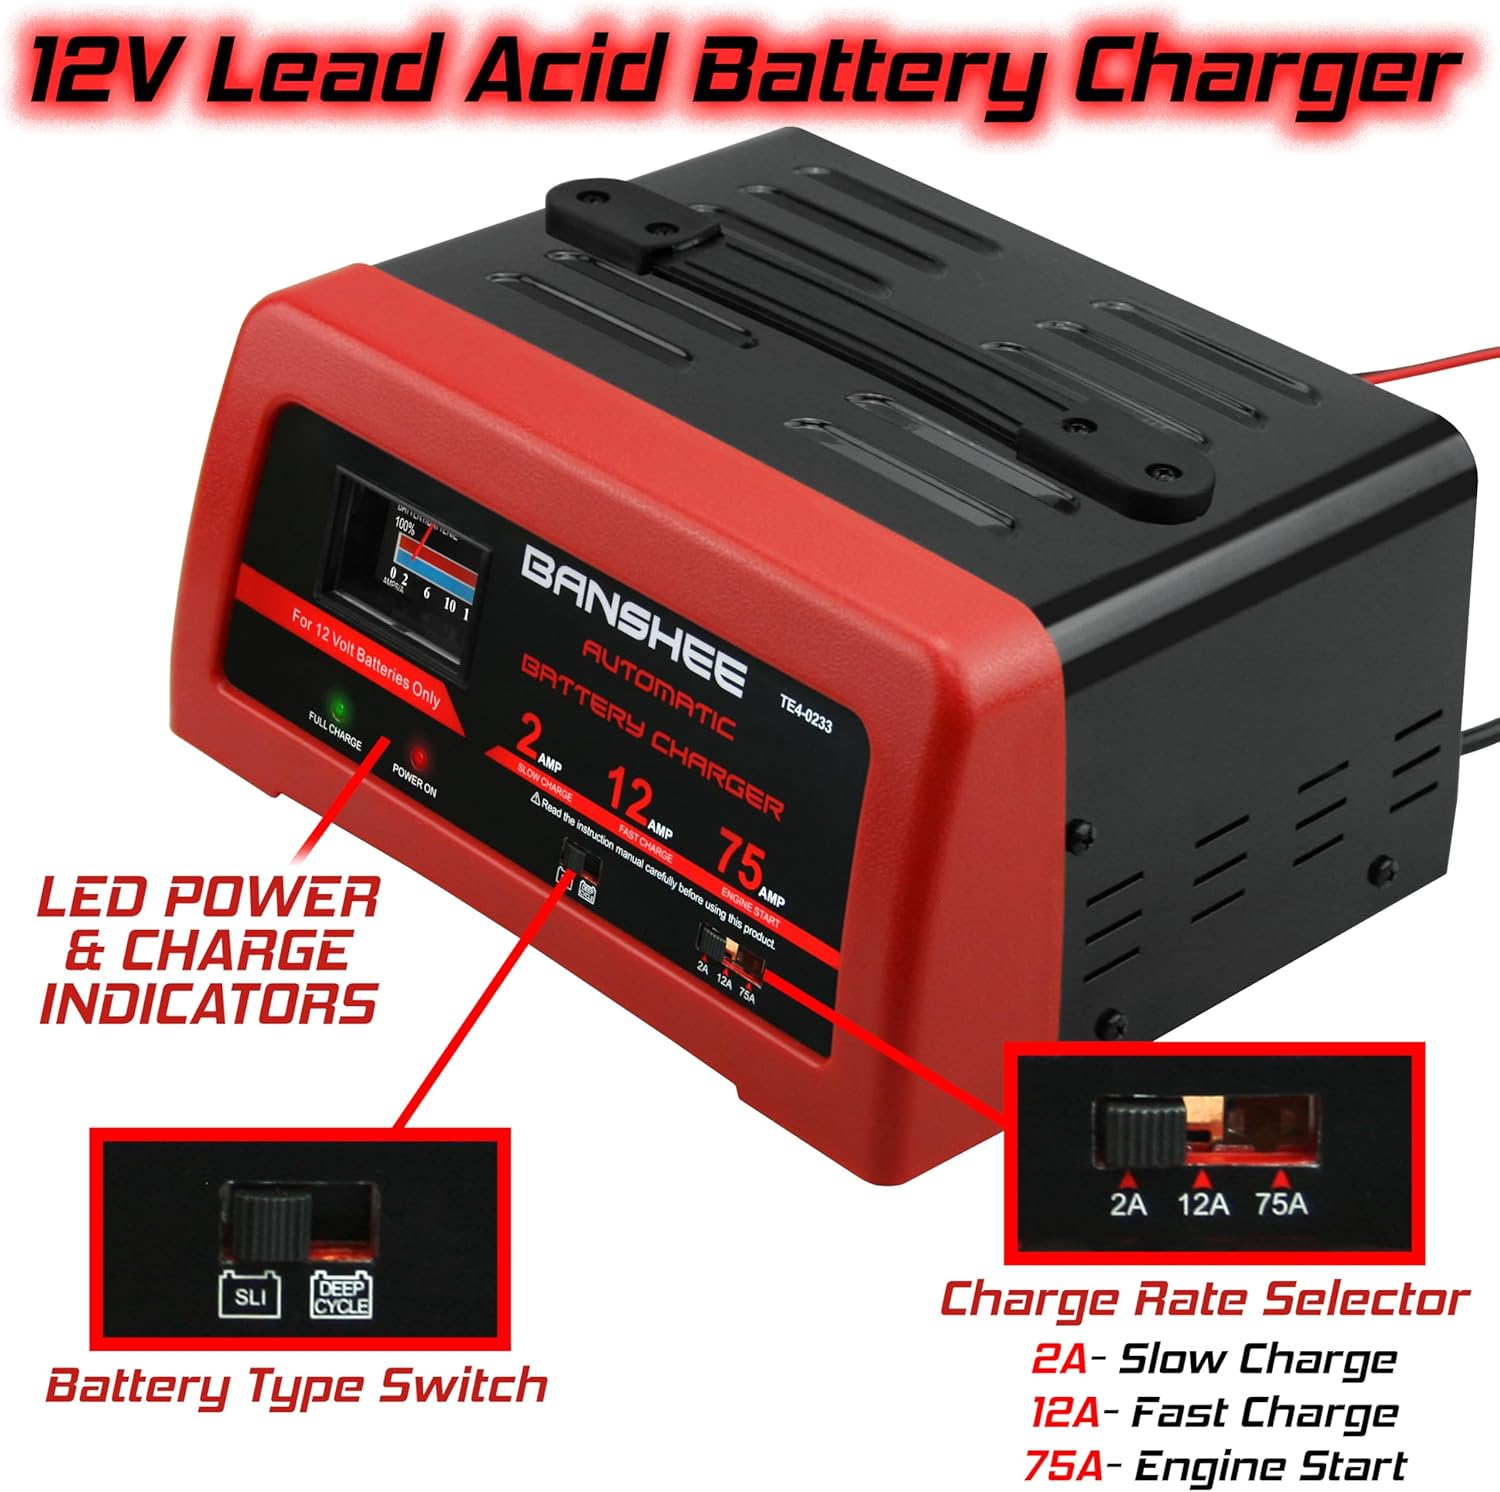
- Multiple Charge Modes: Includes Slow Charge (2A), Fast Charge (12A), and Engine Start (75A) for various needs.
- Automatic Maintainer Mode: Automatically switches to maintainer mode once the battery is fully charged, preventing overcharging.
- Built-in Ammeter: Displays the current charge rate.
- LED Indicators: "Power On" and "Full Charge" LEDs provide clear status updates.
- Portability: Features a 6-foot long cable with alligator clamps and a built-in carrying handle for ease of use and transport.
- Battery Type Selector: A switch allows selection between SLI (Starting, Lighting, Ignition) and Deep Cycle battery types for optimized charging.
- Efficient Cooling: Designed with all-around venting to ensure proper heat dissipation during operation.


Setup
- Prepare Battery: Ensure the battery terminals are clean and free of corrosion. If necessary, clean them with a wire brush.
- Position Charger: Place the charger on a stable, dry surface, ensuring adequate ventilation around the unit. Do not place it directly on the battery.
- Connect Clamps:
- Connect the RED positive (+) clamp to the positive (+) battery terminal.
- Connect the BLACK negative (-) clamp to the negative (-) battery terminal. For in-vehicle charging, connect the negative clamp to a non-painted metal part of the vehicle chassis away from the battery and fuel line.
- Select Battery Type: Use the SLI/Deep Cycle switch on the charger to match your battery type.
- Select Charge Rate: Choose the desired charge rate (2A, 12A, or 75A) using the selector switch.
- Connect to Power: Plug the charger's AC power cord into a standard 110V AC electrical outlet. The "Power On" LED will illuminate.
Operating Instructions
Charging a Battery (2A Slow Charge / 12A Fast Charge)
- Follow steps 1-6 in the "Setup" section.
- The charger will begin charging. The built-in Ammeter will show the current flowing into the battery.
- Monitor the "Full Charge" LED. Once the battery is fully charged, this LED will illuminate, and the charger will automatically switch to maintainer mode.
- To disconnect, first unplug the charger from the AC outlet, then disconnect the negative (-) clamp, followed by the positive (+) clamp.

Engine Start (75A)
The 75A Engine Start mode provides a quick burst of power to help start vehicles with a weak battery. This is not a charging mode.
- Ensure all vehicle accessories are turned off.
- Follow steps 1-3 in the "Setup" section for connecting clamps.
- Set the charge rate selector to 75A.
- Plug the charger's AC power cord into a standard 110V AC electrical outlet.
- Attempt to start the vehicle. If the vehicle does not start within 5 seconds, wait at least 3 minutes before attempting again to allow the charger to cool. Do not crank the engine for more than 5 seconds at a time.
- Once the vehicle starts, immediately unplug the charger from the AC outlet, then disconnect the negative (-) clamp, followed by the positive (+) clamp.
Maintenance
- Cleaning: Disconnect the charger from power and battery. Wipe the case with a soft, dry cloth. Do not use solvents or abrasive cleaners.
- Cable Inspection: Regularly inspect the AC power cord and battery cables for any signs of damage, fraying, or corrosion. Replace if damaged.
- Storage: Store the charger in a cool, dry place when not in use. Keep cables neatly coiled.
Troubleshooting
| Problem | Possible Cause | Solution |
|---|---|---|
| Charger not turning on / "Power On" LED off | No AC power; loose connection; faulty outlet. | Check AC outlet; ensure power cord is fully plugged in. |
| Battery not charging / Ammeter shows no current | Incorrect battery connection; battery is already fully charged; severely discharged battery; faulty battery. | Verify clamp connections; check "Full Charge" LED; allow more time for severely discharged batteries; test battery condition. |
| Engine Start mode not working | Battery too weak; vehicle issue; charger overload protection. | Ensure battery is connected correctly; allow charger to cool if it tripped overload protection; consult vehicle manual. |
Specifications
| Attribute | Value |
|---|---|
| Brand | Banshee |
| Model Number | TE4-0233 |
| Input Voltage | 110 Volts (AC) |
| Output Voltage | 12 Volts (DC) |
| Charge Modes | 2A (Slow Charge), 12A (Fast Charge), 75A (Engine Start) |
| Compatible Battery Types | 12V Lead-Acid (SLI, Deep Cycle) |
| Item Weight | 6 pounds |
| Product Dimensions | 8 x 10.25 x 5 inches |
| Manufacturer | BatteryJack inc. |
Warranty and Support
This Banshee Automatic Battery Charger comes with a 2-year warranty. For warranty claims, technical assistance, or product inquiries, please contact Banshee customer support. Refer to your purchase documentation or the official Banshee website for contact details.
For more information and product updates, visit the official Banshee Store: Banshee Premium Motorsports Batteries Store


