1. Introduction
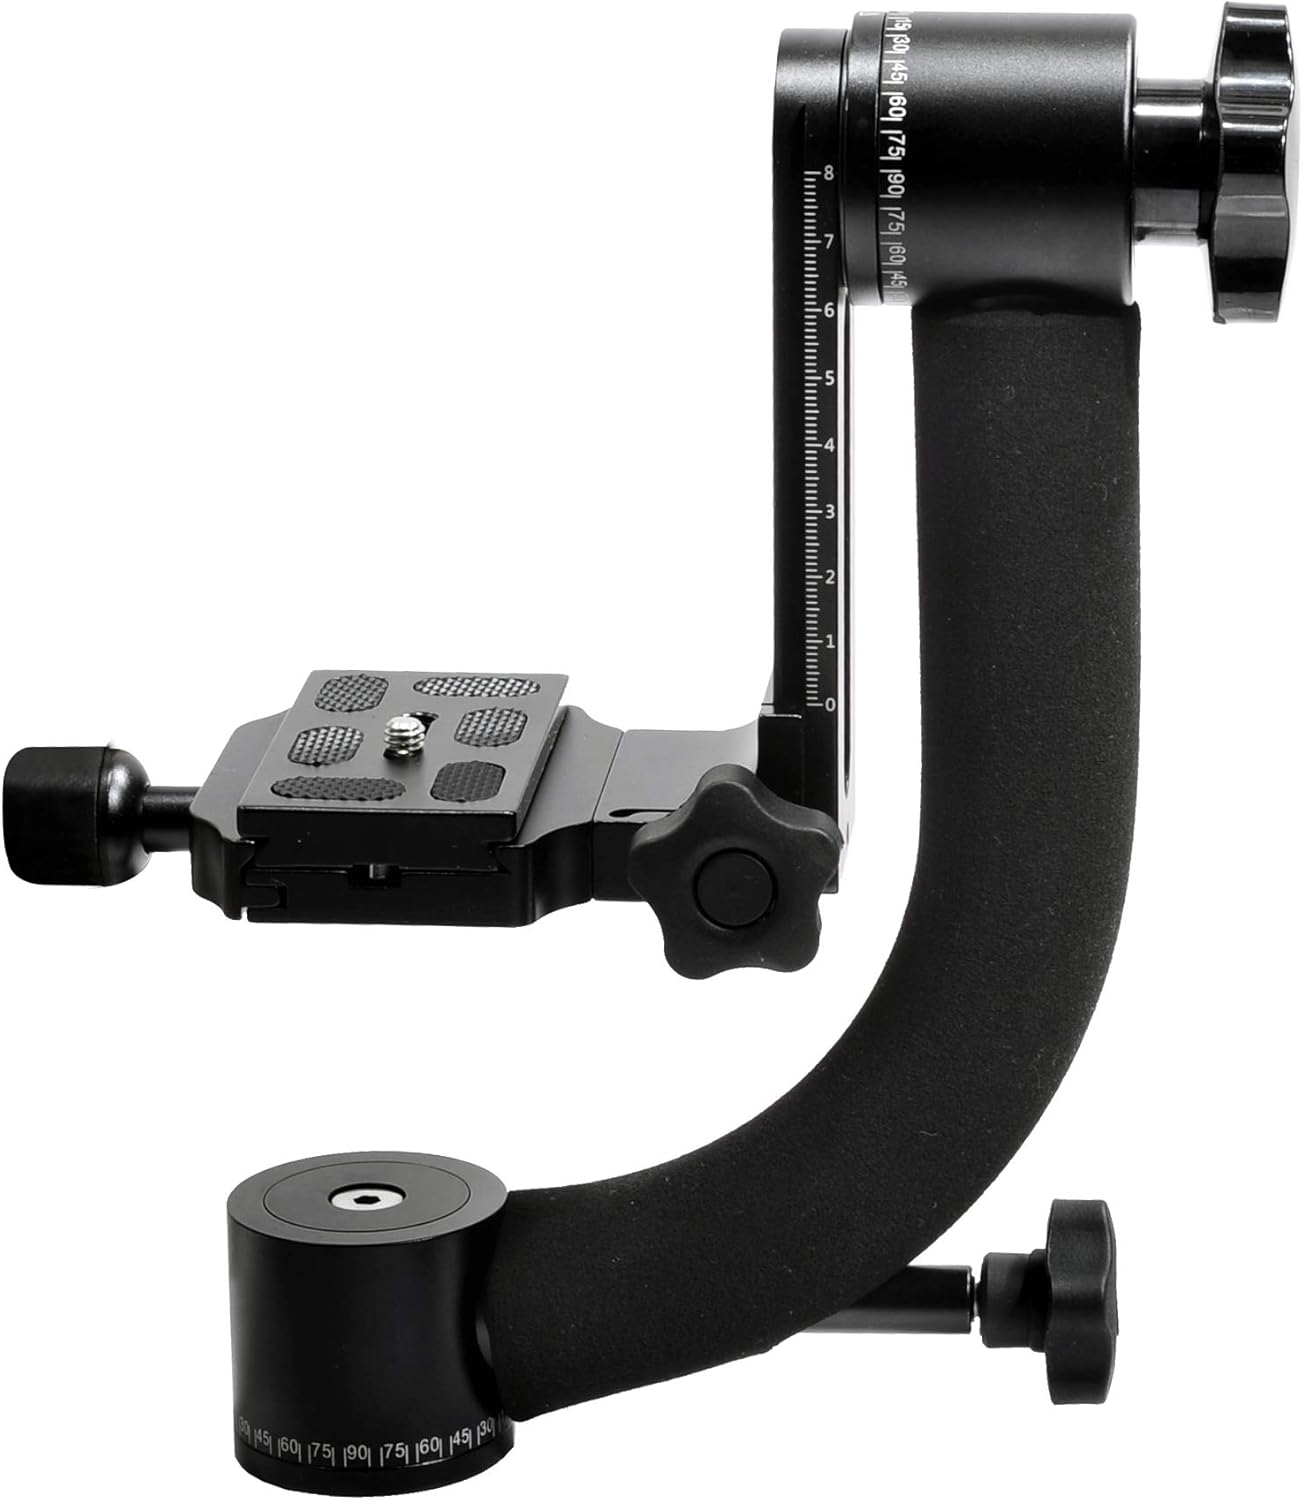
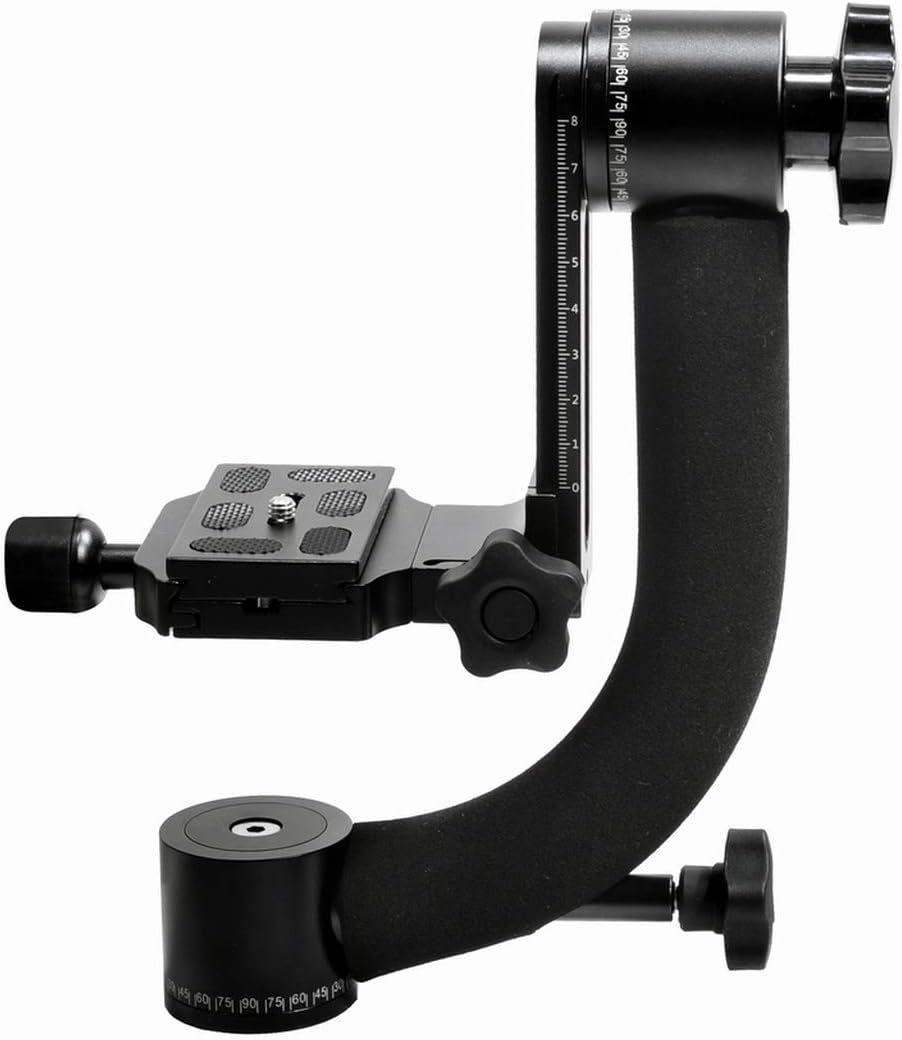
The ProMaster 5111 GH-10 Professional Gimbal Head is engineered for photographers and videographers requiring precise, stable, and fluid movement for heavy camera and lens setups. Constructed from lightweight aluminum alloy, it is designed to manage long telephoto lenses with ease, providing a steady platform for capturing dynamic action and intricate shots.
2. Product Overview
The GH-10 Gimbal Head features a robust design optimized for performance and durability. Its key attributes include:
- Material: Precision machined from lightweight aluminum alloy.
- Load Capacity: Supports a maximum load of 26 lb (12 kg).
- Weight: The unit itself weighs 1 lb 15 oz (0.87 kg).
- Vertical Working Height: Adjustable from a minimum of 4 1/2" (11.5 cm) to a maximum of 8" (20.4 cm).
- Quick Release Plate: Utilizes an industry-standard interlocking quick release plate with a 1/4"-20 screw.
- Movement: Offers fully adjustable height and tilt control, along with 360° panning and working arc for smooth, precise camera positioning.
3. Setup
- Attaching to a Tripod: Secure the gimbal head to your tripod's mounting plate using the standard 3/8"-16 screw. Ensure it is tightened firmly to prevent any wobble.
- Mounting the Camera/Lens: Attach your camera or lens (if it has a tripod collar) to the quick release plate. The plate features a 1/4"-20 screw for secure attachment.
- Balancing the Setup:
- Loosen the vertical and horizontal locking knobs.
- Adjust the position of the quick release plate along the horizontal arm until the camera and lens are balanced. The camera should remain stationary when released.
- Adjust the vertical height of the camera platform until the center of gravity is aligned with the tilt axis. This ensures smooth tilting motion.
- Once balanced, tighten all locking knobs to secure the position.
4. Operating Instructions
The ProMaster GH-10 is designed for intuitive operation, allowing for fluid control over your camera's movement.
- 360° Panning: The base of the gimbal head allows for full 360° rotation. Loosen the base locking knob to pan the camera smoothly. Tighten the knob to lock the position.
- Vertical Tilting: The vertical arm provides a wide range of tilt motion. Loosen the tilt locking knob to adjust the camera's vertical angle. Tighten the knob to secure the desired tilt.
- Adjusting Tension: Both the panning and tilting mechanisms feature adjustable tension controls. These can be set to your preference for smoother or more resistant movement, allowing for precise control during tracking shots.
- Quick Release Plate Usage: The quick release plate allows for rapid attachment and detachment of your camera. Ensure the plate is securely clamped before use.
5. Maintenance
Proper maintenance ensures the longevity and optimal performance of your gimbal head.
- Cleaning: Use a soft, dry cloth to clean the gimbal head. Avoid abrasive cleaners or solvents that could damage the finish or internal components.
- Lubrication: The moving parts are factory-lubricated. Do not attempt to lubricate internal mechanisms unless specifically instructed by ProMaster support.
- Storage: Store the gimbal head in a dry, dust-free environment. If storing for extended periods, consider using a protective bag.
- Inspection: Periodically check all screws and knobs for tightness. Ensure the quick release plate mechanism operates smoothly.
6. Troubleshooting
If you encounter issues with your ProMaster GH-10, consider the following common solutions:
- Stiff Movement: If panning or tilting feels stiff, ensure that the tension knobs are not overtightened. Loosen them slightly to achieve desired fluidity.
- Loose Joints/Wobble: Check all locking knobs and mounting screws for tightness. Ensure the gimbal head is securely attached to the tripod and the camera/lens is firmly mounted on the quick release plate.
- Difficulty Balancing: Re-evaluate the balance of your camera and lens setup. Ensure the quick release plate is positioned correctly to achieve a neutral balance point on both the horizontal and vertical axes.
7. Specifications
| Feature | Specification |
|---|---|
| Product Dimensions | 1 x 1 x 1 inches |
| Item Weight | 2 pounds (0.87 kg) |
| Maximum Load | 26 lb (12 kg) |
| Maximum Vertical Working Height | 8 inches (20.4 cm) |
| Minimum Vertical Working Height | 4 1/2 inches (11.5 cm) |
| Plate Type | Industry standard interlocking quick release with 1/4"-20 screw |
| Panning | 360° Panning and Working Arc |
| Model Number | 4332320772 |
| UPC | 029144051112 |
| Color | Black |
| Manufacturer | Promaster |
8. Warranty Information
For specific warranty details regarding your ProMaster 5111 GH-10 Professional Gimbal Head, please refer to the warranty card included with your product or visit the official ProMaster website. Warranty terms typically cover manufacturing defects and material flaws under normal use.
9. Support
Should you require further assistance, technical support, or have questions not covered in this manual, please contact ProMaster customer service. Contact information can typically be found on the ProMaster website or on the product packaging.


