
Introduction
Thank you for purchasing the Living Basix LB200 Digital Oil-Free Fryer. This appliance uses a combination of convection and infrared heat to cook a variety of foods with little to no oil, offering a healthier alternative to traditional frying. Please read this manual thoroughly before first use to ensure safe operation and optimal performance.
Important Safety Information
- Always place the appliance on a stable, heat-resistant surface.
- Do not immerse the main unit, cord, or plug in water or other liquids.
- Ensure the voltage indicated on the appliance matches your local power supply before connecting.
- Keep children and pets away from the appliance during operation.
- Do not block air vents during operation.
- Unplug the appliance when not in use and before cleaning.
- Allow the appliance to cool completely before handling or cleaning.
- Do not operate the appliance if the cord or plug is damaged, or if the appliance malfunctions.
- Avoid using metal utensils inside the basket to prevent damage to the non-stick coating.
Product Overview
The Living Basix LB200 features a compact design with intuitive digital controls. Familiarize yourself with the components below.
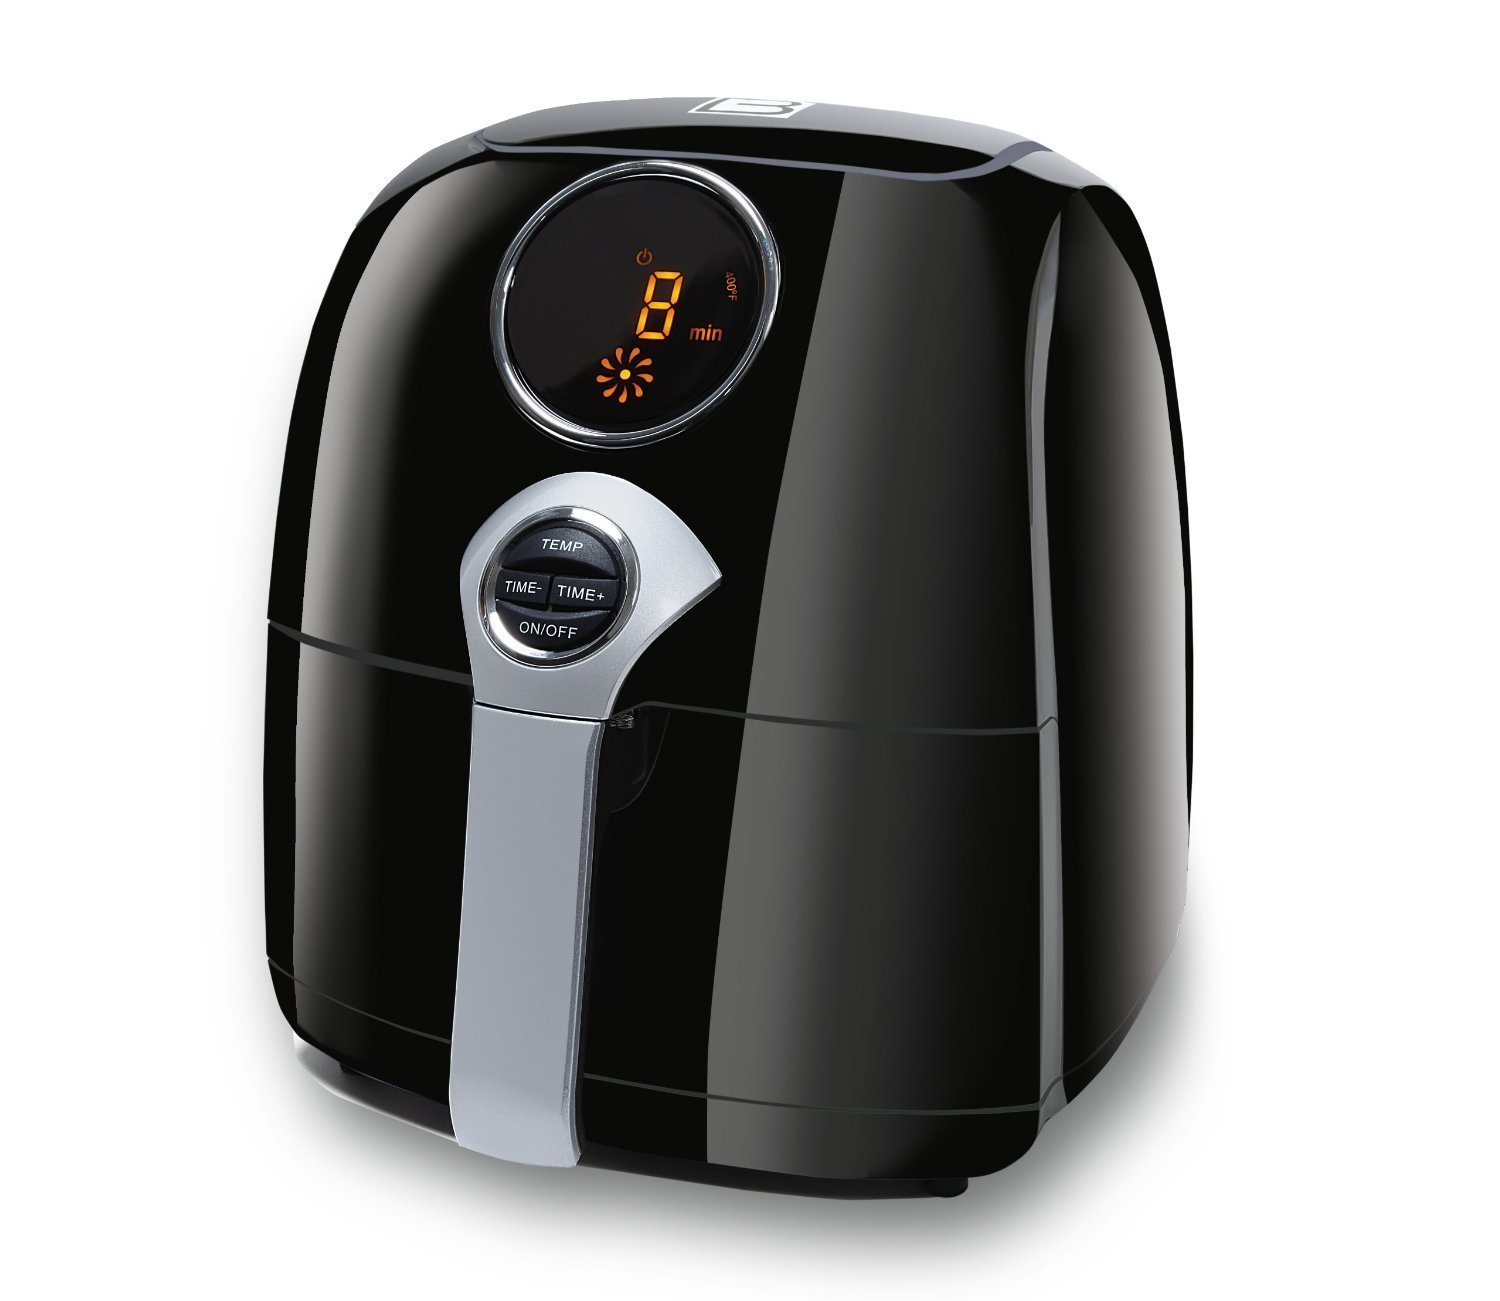
Figure 1: Living Basix LB200 Digital Oil-Free Fryer. This image displays the black exterior of the fryer, featuring a digital display on the top front, and a control panel with buttons for temperature and time adjustments, along with an on/off button, located above the handle.
Key Components:
- Digital Display: Shows time and temperature settings.
- Control Panel: Buttons for adjusting temperature (TEMP), time (TIME- / TIME+), and power (ON/OFF).
- Food Basket: Removable, non-stick basket for holding food during cooking.
- Handle: For safely pulling out and inserting the food basket.
- Air Vents: Located at the rear and bottom for proper air circulation.
Setup
- Unpack: Carefully remove all packaging materials and promotional labels from the fryer.
- Clean: Before first use, wash the food basket and any removable parts with warm, soapy water. Rinse thoroughly and dry completely. Wipe the exterior of the main unit with a damp cloth.
- Placement: Place the fryer on a flat, stable, heat-resistant surface, ensuring there is adequate space (at least 6 inches) around the back and sides for proper ventilation. Do not place it near flammable materials.
- Power Connection: Plug the power cord into a grounded electrical outlet.
Operating Instructions
Basic Operation:
- Prepare Food: Place your desired food items into the food basket. Do not overfill the basket; ensure there is enough space for air to circulate. For best results, avoid stacking food too high.
- Insert Basket: Slide the food basket firmly back into the main unit until it clicks into place.
- Power On: Press the ON/OFF button to turn on the fryer. The digital display will illuminate.
- Set Temperature: Press the TEMP button, then use the TIME- and TIME+ buttons to adjust the cooking temperature.
- Set Time: Press the TIME- or TIME+ buttons to set the desired cooking time.
- Start Cooking: The fryer will automatically begin the cooking cycle a few seconds after the time and temperature are set.
- Shake Basket (Optional): For even cooking and crispiness, especially with items like fries or nuggets, pull out the basket halfway through the cooking time and gently shake its contents. Then, reinsert the basket to resume cooking.
- Completion: The fryer will beep when the cooking time is complete. Carefully pull out the basket and remove the cooked food.
- Power Off: Press the ON/OFF button to turn off the fryer, then unplug it from the wall outlet.
Cooking Tips:
- Pre-fried items (e.g., frozen fries, chicken nuggets) generally achieve a crispier texture.
- For fresh ingredients like chicken or fish, the result will be closer to oven-baked with a crispy skin. A light spray of oil can enhance crispiness.
- Avoid overcrowding the basket to ensure even air circulation and cooking. Cook in smaller batches if necessary.
- Cooking times may vary based on food quantity, density, and desired crispiness. Experimentation may be required to find optimal settings for specific foods.
Maintenance and Cleaning
Regular cleaning ensures the longevity and hygienic operation of your fryer.
- Unplug and Cool: Always unplug the fryer and allow it to cool completely before cleaning.
- Clean Basket: The food basket is dishwasher safe. Alternatively, wash it with warm, soapy water and a non-abrasive sponge. Rinse and dry thoroughly.
- Clean Interior: Wipe the interior of the fryer with a damp cloth. For stubborn residue, use a mild detergent. Avoid abrasive cleaners or metal scouring pads.
- Clean Exterior: Wipe the exterior of the fryer with a soft, damp cloth. Do not use harsh chemicals.
- Storage: Ensure all parts are clean and dry before storing the fryer in a cool, dry place.
Troubleshooting
| Problem | Possible Cause | Solution |
|---|---|---|
| Fryer does not turn on. | Not plugged in; power outlet issue. | Ensure the power cord is securely plugged into a working outlet. |
| Food is not crispy. | Basket overcrowded; insufficient cooking time/temperature; no oil applied to fresh food. | Cook in smaller batches. Increase cooking time or temperature. Lightly spray fresh food with oil. Shake basket halfway through. |
| White smoke coming from the appliance. | Grease residue from previous use; high-fat food. | Clean the basket and interior thoroughly. This is usually harmless, but ensure proper ventilation. |
| Appliance smells during first use. | Manufacturing residues burning off. | This is normal for first use and will dissipate. Ensure good ventilation. |
Specifications
- Model: LB200
- Brand: Living Basix
- Power Output: 1500 Watts
- Capacity: 6.17 Liters
- Material: Plastic (Outer), Nonstick Coating (Basket)
- Color: Black
- Dimensions: 11.5 x 12.75 x 13 inches
- Item Weight: 13.6 Pounds
- Special Features: Dishwasher Safe (Basket), Programmable, Touch Control
- UPC: 855744004261
Warranty and Support
For warranty information or technical support, please refer to the warranty card included with your purchase or visit the official Living Basix website. Keep your proof of purchase for any warranty claims.
For further assistance, you may contact Living Basix customer service through their official channels.