Introduction
This manual provides detailed instructions for the safe and efficient operation of your Icom ID-5100A DELUXE 144/440 Amateur Radio Mobile Transceiver. Please read this manual thoroughly before using the device to ensure proper functionality and to prevent damage.
Product Overview
The Icom ID-5100A is a VHF/UHF dual-band mobile transceiver featuring a responsive touch screen, D-STAR digital voice capabilities, and an integrated GPS receiver. It is designed for amateur radio enthusiasts seeking advanced communication features.
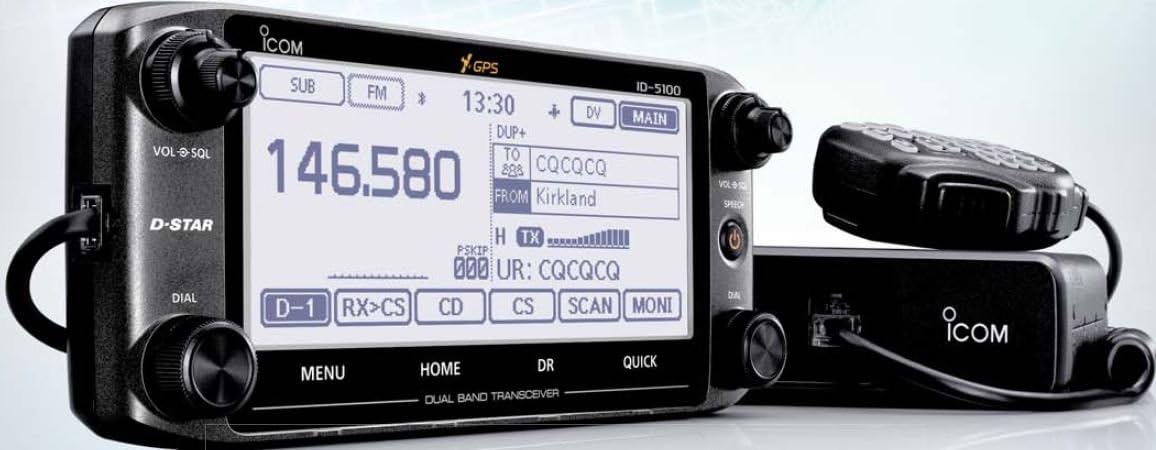
Figure 1: Icom ID-5100A DELUXE Mobile Transceiver. This image displays the main unit with its detachable control head, featuring a large touch screen display, various control knobs, and a connected microphone.
Key Features:
- VHF/UHF Dual Band Operation
- Intuitive Touch Screen Display
- D-STAR Digital Voice and Data Modes
- Integrated GPS Receiver
- Optional Bluetooth Connectivity (requires optional module)
- Detachable Control Head for flexible installation
Setup
1. Unpacking and Inspection
Carefully remove all components from the packaging. Verify that all items listed in the packing list are present and undamaged. If any items are missing or damaged, contact your dealer immediately.
2. Mounting the Transceiver
The ID-5100A features a detachable control head for flexible installation. The main unit should be mounted in a secure, well-ventilated location, away from direct sunlight and excessive heat. The control head can be mounted separately using the optional MBA-2 Remote Head Mounting Bracket (if included or purchased separately).
- Main Unit: Secure the main unit using the supplied mounting bracket and screws. Ensure adequate airflow around the unit.
- Control Head: Attach the control head to the main unit or to the MBA-2 bracket using the supplied cable. Position the control head for optimal visibility and accessibility.
3. Power Connection
Connect the supplied DC power cable directly to a 12V DC power source capable of supplying sufficient current (typically 13.8V DC ±15%). Ensure correct polarity: red wire to positive (+), black wire to negative (-). Avoid connecting to the vehicle's cigarette lighter socket for high-power operation.
4. Antenna Connection
Connect a suitable 144/440 MHz dual-band antenna to the antenna connector on the rear of the main unit. Use a high-quality coaxial cable with appropriate connectors. Ensure the antenna is properly tuned for the operating frequencies to prevent damage to the transceiver.
5. Microphone Connection
Connect the supplied HM-207 microphone to the microphone jack on the control head. Ensure the connector is fully inserted and secured.
Operating Instructions
1. Power On/Off
Press and hold the power button (usually located on the control head) for approximately one second to turn the transceiver on or off.
2. Basic Frequency Selection
- Direct Entry: Use the touch screen keypad to directly enter the desired frequency.
- Tuning Dial: Rotate the main tuning dial to adjust the frequency in steps.
- Memory Channels: Access stored frequencies by navigating through memory channels.
3. Volume and Squelch Adjustment
- Volume (VOL): Rotate the VOL knob to adjust the audio output level.
- Squelch (SQL): Rotate the SQL knob to set the squelch level, which mutes background noise when no signal is present. Adjust until the noise disappears but weak signals can still be heard.
4. D-STAR Operation
The ID-5100A supports D-STAR digital voice and data communication. To operate in D-STAR mode:
- Select the D-STAR mode from the touch screen menu.
- Configure your call sign and other D-STAR parameters in the settings.
- Use the DR (D-STAR Repeater) function to easily select and connect to D-STAR repeaters.
5. GPS Functions
The integrated GPS receiver provides location data for D-STAR operations (e.g., sending position data) and other features. Ensure the GPS antenna has a clear view of the sky for optimal reception.
6. Menu Navigation
Access various settings and functions through the touch screen menu. Tap the "MENU" button to enter the main menu, then navigate using the on-screen icons and buttons.
Maintenance
1. Cleaning
Wipe the transceiver and control head with a soft, dry cloth. For stubborn dirt, use a cloth lightly dampened with water. Avoid using harsh chemicals, solvents, or abrasive cleaners, as these can damage the finish and display.
2. Firmware Updates
Periodically check the ICOM website for available firmware updates. Firmware updates can improve performance, add new features, or fix bugs. Follow the instructions provided by ICOM carefully when performing updates.
3. Storage
When not in use for extended periods, store the transceiver in a cool, dry place, away from direct sunlight and extreme temperatures. Disconnect the power cable and antenna.
Troubleshooting
| Problem | Possible Cause | Solution |
|---|---|---|
| No power | Power cable disconnected; Blown fuse; Incorrect polarity. | Check power cable connections; Replace fuse; Verify correct polarity. |
| No audio | Volume too low; Squelch set too high; Speaker disconnected. | Increase volume; Decrease squelch level; Check speaker connection. |
| Cannot transmit | Antenna not connected; Incorrect frequency/mode; Microphone not connected. | Connect antenna; Verify frequency and mode settings; Connect microphone. |
| GPS not acquiring signal | GPS antenna obstructed; Poor satellite visibility. | Ensure GPS antenna has clear view of sky; Move to an open area. |
Specifications
| Feature | Detail |
|---|---|
| Model Name | ID-5100A Deluxe |
| Frequency Range | 144/440 MHz (VHF/UHF Dual Band) |
| Display | Touchscreen, 5.5 Inches |
| Special Features | D-STAR, Internal GPS, Detachable Control Head |
| Connectivity | USB (for data/programming), Optional Bluetooth |
| Power Requirement | 13.8V DC (nominal) |
| Dimensions (Main Unit) | Approximately 12.52 x 10.98 x 5.55 inches (Package Dimensions) |
| Weight | Approximately 9.3 ounces (Item Weight) |
| Included Components | GPS Receiver, Antenna |
Warranty and Support
For warranty information, please refer to the warranty card included with your product or visit the official ICOM website. Technical support is available through authorized ICOM dealers or directly from ICOM customer service. Please have your model number and serial number ready when contacting support.
Note: Specifications are subject to change without notice for product improvement.