1. Product Overview
This manual provides instructions for the Homelite 13-inch Electric String Trimmer, Model UT41112B. This tool is designed for trimming grass and light weeds in residential settings. It features a 13-inch cutting width and can be converted for edging tasks. The shaft length is adjustable to suit user preferences. The trimmer is powered by a 4 Amp electric motor, which eliminates the need for gasoline or oil.

Figure 1.1: Homelite 13-inch Electric String Trimmer, showing the full assembly with handle, shaft, and trimmer head.
2. Important Safety Information
Read and understand all safety warnings and instructions before operating this product. Failure to follow the warnings and instructions may result in electric shock, fire, and/or serious injury.
- Always wear eye protection, such as safety glasses or goggles, and sturdy shoes when operating the trimmer.
- Ensure bystanders, children, and pets are kept at a safe distance (at least 50 feet or 15 meters) from the operating area.
- Do not operate the trimmer near flammable materials, liquids, or gases, as sparks could ignite them.
- Keep hands and feet away from the cutting line and trimmer head at all times, especially when the tool is running.
- Inspect the work area for objects that could be thrown or entangled in the cutting line.
- Always disconnect the power cord before performing any adjustments, cleaning, or maintenance.
- Do not operate in wet conditions or rain.
- Use only the recommended cutting line for this model.
3. Assembly
Before first use, some assembly is required. Ensure all components are present and undamaged before proceeding.
- Attach the Guard: Align the guard with the mounting slots on the trimmer head. Secure it using the provided screws and a screwdriver. Ensure it is firmly attached to prevent debris from being thrown towards the user.
- Install the Auxiliary Handle: Slide the auxiliary handle onto the shaft. Adjust its position for comfortable operation and tighten the locking mechanism or screws to secure it.
- Connect the Shaft Sections (if applicable): If your model has a two-piece shaft, connect the upper and lower sections, ensuring the locking collar is securely tightened.
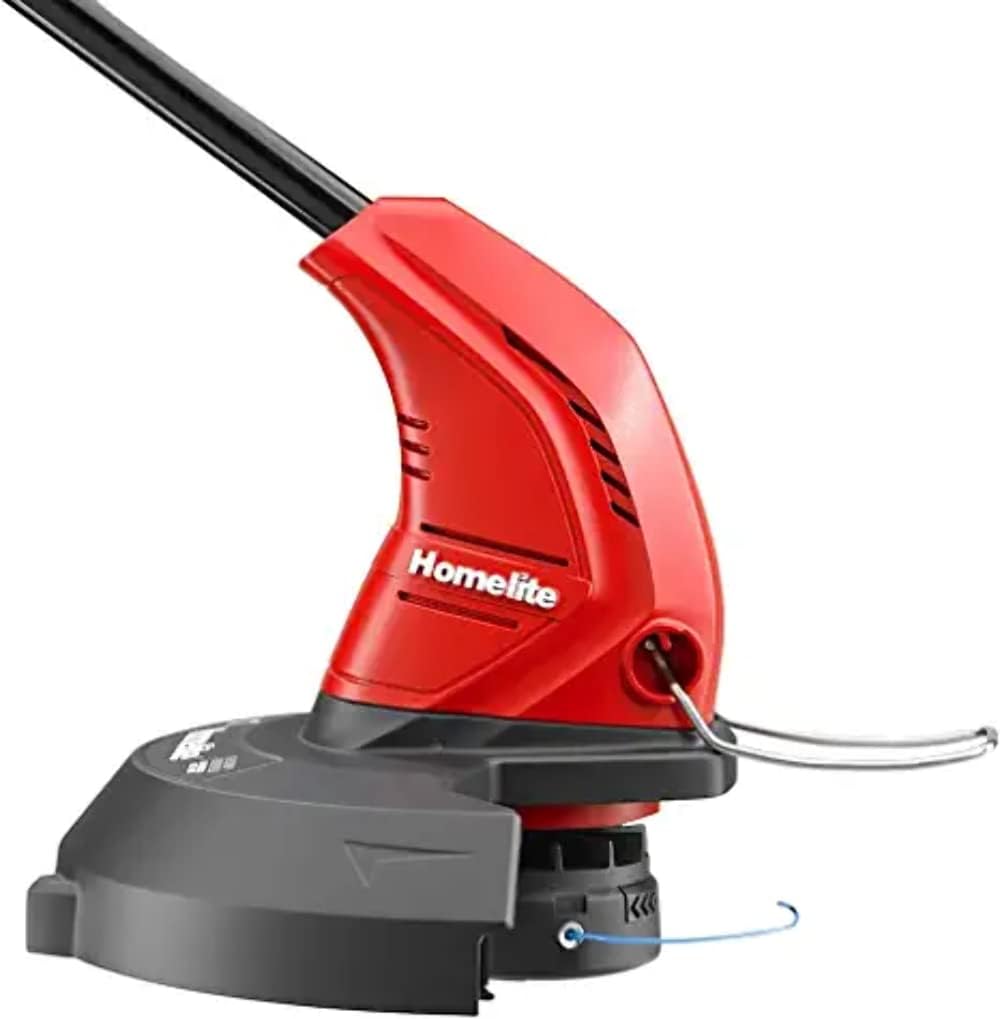
Figure 3.1: Close-up view of the trimmer head and guard, illustrating the area where the guard is attached and the cutting line exits.
4. Operation
Follow these steps for safe and effective operation of your electric string trimmer.
- Pre-Operation Check: Before each use, inspect the trimmer for any loose parts, damaged cords, or worn cutting line. Ensure the guard is securely in place.
- Connect Power: Plug the trimmer into a suitable outdoor-rated extension cord, ensuring the cord is in good condition and rated for outdoor use.
- Starting the Trimmer: Hold the trimmer firmly with both hands. Press the safety lock-off button (if present) and then squeeze the trigger switch to start the motor.
- Trimming: Hold the trimmer at a comfortable angle, keeping the cutting head parallel to the ground. Move the trimmer slowly and steadily across the area to be trimmed. Avoid hitting hard objects like rocks, fences, or concrete.
- Edging (if applicable): To convert to edger mode, rotate the trimmer head or shaft as per the specific design of your model. Hold the trimmer with the cutting line perpendicular to the ground and guide it along the edge of sidewalks or driveways.
- Adjusting Shaft Length: Loosen the shaft adjustment collar, extend or retract the shaft to the desired length, and then securely tighten the collar.
- Stopping the Trimmer: Release the trigger switch to stop the motor. Disconnect the power cord from the outlet after use.
5. Maintenance
Regular maintenance ensures optimal performance and extends the life of your trimmer.
- Cleaning: After each use, disconnect the power and clean the trimmer head and guard. Remove any grass clippings, dirt, or debris using a brush or cloth. Do not use water directly on electrical components.
- Line Replacement: When the cutting line becomes too short or breaks, it needs to be replaced. Refer to the specific instructions for your trimmer head type (e.g., bump feed, automatic feed). Use only the recommended diameter and type of cutting line (typically 0.065 inches).
- Cord Inspection: Regularly inspect the power cord and any extension cords for cuts, fraying, or damage. Replace damaged cords immediately.
- Storage: Store the trimmer in a dry, secure location, out of reach of children. Avoid storing it in direct sunlight or extreme temperatures.
6. Troubleshooting
This section addresses common issues you might encounter with your trimmer.
| Problem | Possible Cause | Solution |
|---|---|---|
| Trimmer does not start. | No power supply; faulty cord; trigger not fully engaged. | Check power outlet and extension cord. Inspect cord for damage. Ensure safety lock-off and trigger are fully pressed. |
| Cutting line breaks frequently. | Incorrect line type/diameter; hitting hard objects; line worn out. | Use recommended 0.065-inch line. Avoid contact with hard surfaces. Replace line as needed. |
| Motor runs but line does not spin. | Line tangled or jammed; spool incorrectly installed. | Disconnect power. Clear any obstructions from the trimmer head. Reinstall the spool correctly. |
| Excessive vibration. | Damaged cutting head; unbalanced line. | Disconnect power. Inspect cutting head for damage. Ensure line is evenly wound on the spool. |
If the problem persists after attempting these solutions, contact Homelite customer support.
7. Product Specifications
| Brand | Homelite |
| Model Number | UT41112B |
| Power Source | Corded Electric (4 Amp Motor) |
| Cutting Width | 13 inches |
| Item Weight | 5.3 Pounds (approximately 2.4 kg) |
| Product Dimensions | 13"L x 13"W (approximate cutting head dimensions) |
| Assembly Required | Yes |
| Cordless | No |
| UPC | 046396005342 |
| Manufacturer | Homelite |

Figure 7.1: Diagram illustrating the approximate overall length (101.6 cm or 40 inches) and a cutting head width of 25.4 cm (10 inches) of the Homelite Electric String Trimmer. Note: The product description and specifications state a 13-inch cutting width.
8. Warranty and Support
For information regarding warranty coverage, service, or replacement parts for your Homelite 13-inch Electric String Trimmer (Model UT41112B), please refer to the warranty card included with your product or visit the official Homelite website. You may also contact Homelite customer support directly for assistance.
Homelite Customer Support: Please refer to your product packaging or the official Homelite website for the most current contact information.


