
1. Introduction
This manual provides essential instructions for the proper setup, operation, and maintenance of your SentrySafe SFW205GQC Fireproof and Waterproof Home Safe. Please read this manual thoroughly before using your safe to ensure optimal performance and security.
The SentrySafe SFW205GQC is designed to protect your valuable documents, digital media, and other irreplaceable items from fire, water, and theft. It features a digital keypad lock, solid steel construction, and a pry-resistant hinge bar for enhanced security.
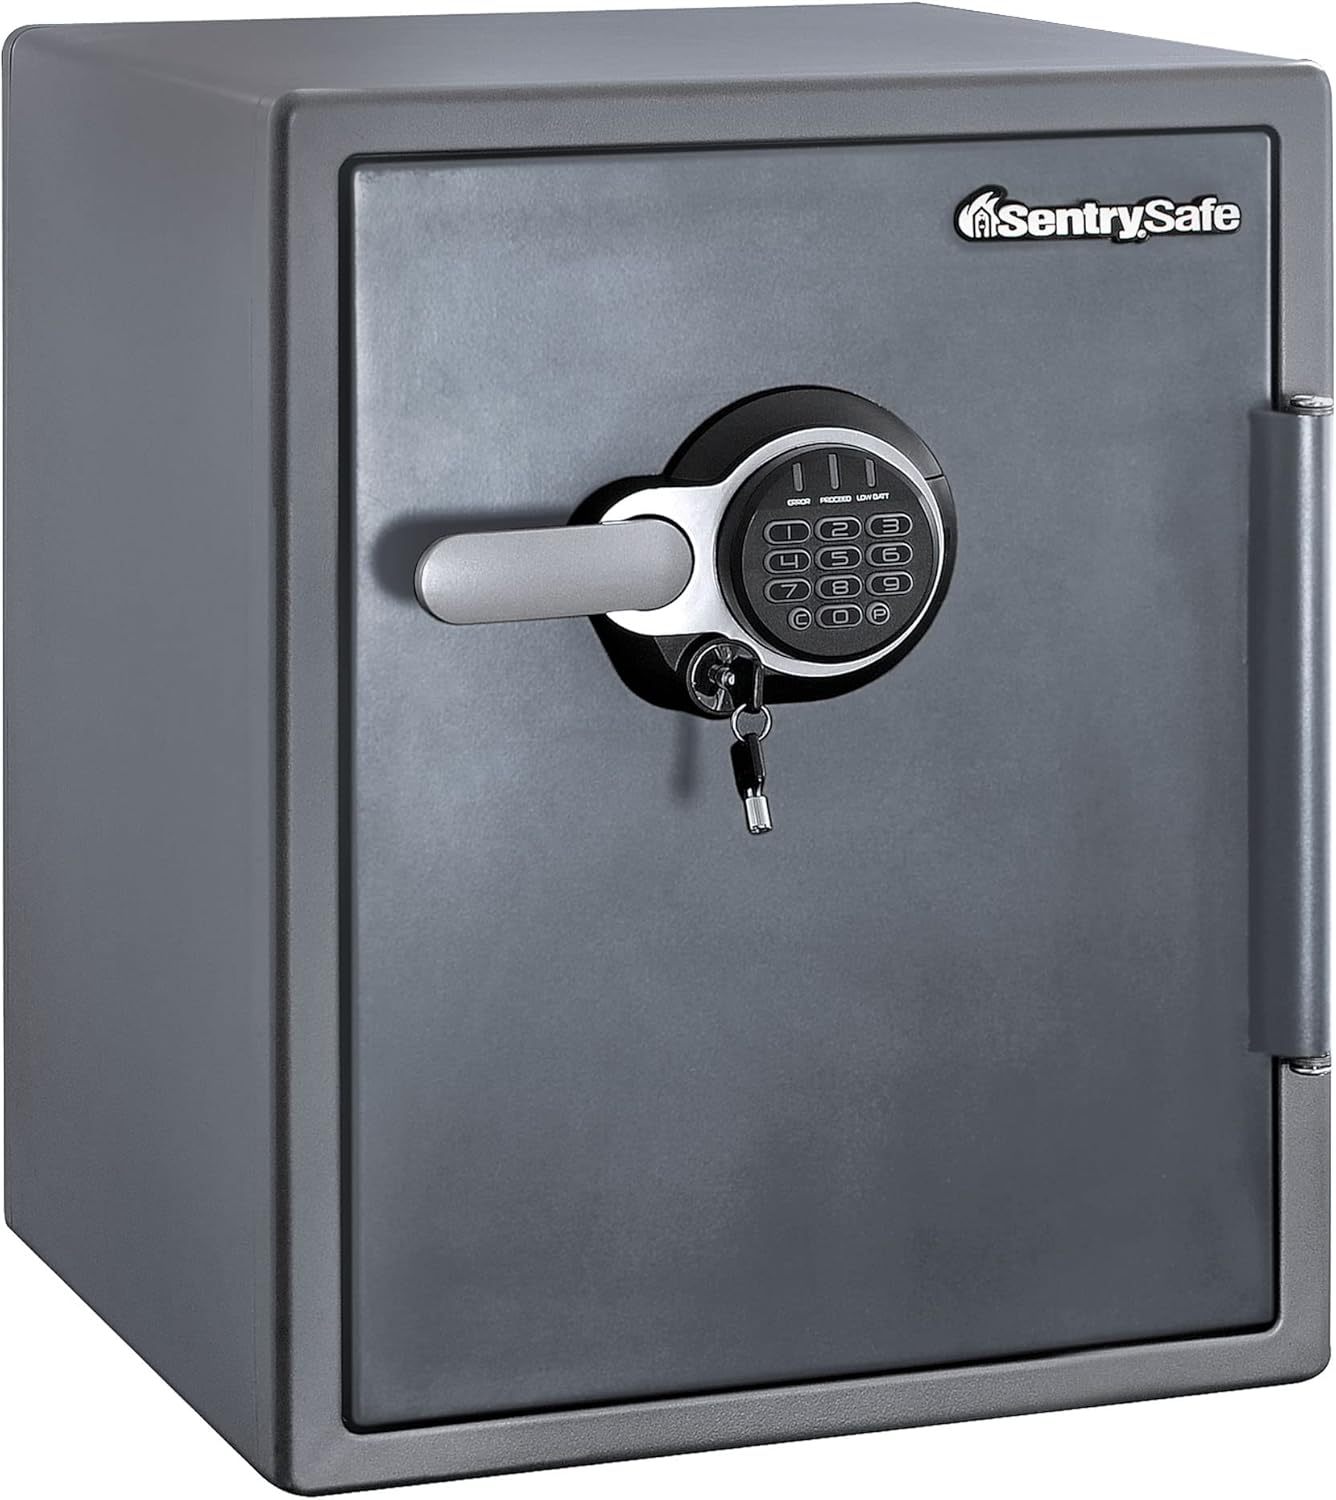
Image 1.1: SentrySafe SFW205GQC Fireproof and Waterproof Home Safe, closed view.
Key Features:
- UL Classified Fire Protection: Endures 1 hour at 1700°F (927°C) to protect interior contents.
- ETL Verified Water Protection: Provides 24 hours of protection in water up to 8 inches (20 cm) deep.
- Digital Keypad Lock: Customizable combination with a secondary locking key for added security.
- Solid Steel Construction: Enhanced durability and resistance against forced entry.
- Interior Organization: Includes a key rack, door tray, door pocket, privacy drawer, and file organizer.

Image 1.2: The SentrySafe SFW205GQC is ETL Verified for 24 hours of water protection in up to 8 inches of water.
Understanding UL Fire Rating
Video 1.1: This video explains the importance and testing standards of UL Fire Ratings for safes, demonstrating how SentrySafe products meet these critical safety benchmarks.
2. Safety Information
Always follow these safety guidelines to prevent injury or damage to your safe and its contents.
- Do not store heat-sensitive items such as computer disks, audio/video cassettes, or photographic negatives in your safe. The internal temperature of a fire-resistant safe can still reach levels that may damage these materials during a fire.
- Do not store firearms or ammunition in this safe unless specifically designed and rated for such storage.
- Keep the safe door closed and locked when not in use to prevent unauthorized access.
- Ensure the safe is placed on a level, stable surface.
- Keep keys and combinations in a secure location, separate from the safe itself.
- If you notice a white powder on your safe, it is likely dried concrete dust from the manufacturing process. This is normal for UL classified, concrete-based fire-safe products and can be wiped clean with a damp cloth.
3. Setup
3.1 Unpacking and Placement
- Carefully remove the safe from its packaging. Retain all packaging materials until you are satisfied with the product.
- Place the safe in its desired location. Ensure the surface is flat and capable of supporting the safe's weight.
- Allow adequate clearance for the door to open fully (approximately 17.5 inches / 44.5 cm).
3.2 Battery Installation
The digital keypad requires four high-quality, name-brand alkaline AAA batteries (not included) with an expiration date 8-10 years from the current year. Generic and rechargeable batteries are not recommended as they may not provide sufficient power for long-term usage.
- Locate the battery compartment on the back of the digital keypad.
- Slide the battery cover off.
- Insert four AAA batteries, ensuring correct polarity (+/-).
- Replace the battery cover.

Image 3.1: Close-up of the digital keypad with indicators for Error, Proceed, and Low Battery.
3.3 Setting Your Personal Combination
Your safe comes with a factory-set combination. It is highly recommended to change this to a personal combination immediately after battery installation.
- With the safe door open, locate the red button on the inside of the door, near the hinge.
- Press the red button. You will hear a beep, and the green 'Proceed' light on the keypad will illuminate.
- Within 5 seconds, enter your desired 5-digit combination on the keypad.
- Press the '#' button. You will hear a beep, and the green 'Proceed' light will flash, indicating the new combination is set.
- Test the new combination several times with the door open before closing it.
3.4 Bolt-Down Installation (Optional)
For added security, your safe includes hardware to bolt it to the floor. Refer to the included bolt-down kit instructions for detailed steps. This process typically involves drilling pilot holes and securing the safe with the provided anchors and bolts.
4. Operating Instructions
4.1 Opening the Safe
- Enter your 5-digit combination on the digital keypad.
- The green 'Proceed' light will illuminate.
- Within 4 seconds, turn the handle clockwise to open the safe door.
4.2 Using the Secondary Locking Key
The secondary locking key provides an additional layer of security, allowing you to disable the primary digital lock even if the combination is known.
- Insert the secondary key into the keyhole located below the digital keypad.
- Turn the key to the locked position (usually clockwise). This will prevent the digital lock from being opened.
- To enable the digital lock, turn the key to the unlocked position (counter-clockwise) and remove it.
4.3 Closing and Locking the Safe
- Close the safe door firmly.
- Turn the handle counter-clockwise until the bolts fully engage and the door is securely shut.
- If the secondary key is in the locked position, the safe is now secured. If not, the digital lock will automatically engage after a few seconds.

Image 4.1: Interior view of the SentrySafe SFW205GQC, showing the privacy drawer, file organizer, and door storage.
5. Maintenance
5.1 Battery Replacement
When the 'Low Batt' indicator light on the keypad illuminates, it is time to replace the batteries. Prompt replacement ensures continuous functionality.
- Open the safe.
- Follow the steps in Section 3.2 for battery installation, replacing all four AAA batteries with new, high-quality alkaline batteries.
- Your combination will not be lost during battery replacement.
5.2 Cleaning
Clean the exterior of your safe with a soft, damp cloth. Avoid abrasive cleaners or solvents that could damage the finish or keypad.
5.3 Regular Checks
Periodically check the safe's locking mechanism and door seal for any signs of wear or damage. Ensure the bolts engage smoothly.
6. Troubleshooting
| Problem | Possible Cause | Solution |
|---|---|---|
| Safe does not open with combination. | Incorrect combination entered; dead batteries; secondary key engaged. | Re-enter combination carefully. Replace batteries (see Section 5.1). Ensure secondary key is in the unlocked position. |
| Keypad lights do not illuminate. | Dead or improperly installed batteries. | Replace batteries, ensuring correct polarity. |
| Safe door does not close or lock properly. | Obstruction in the door frame; bolts not aligning. | Check for any items blocking the door. Ensure the safe is on a level surface. |
| White powder inside or outside the safe. | Normal concrete dust from manufacturing. | Wipe clean with a damp cloth. This is not a defect. |
7. Specifications
Detailed specifications for the SentrySafe SFW205GQC model:
| Feature | Detail |
|---|---|
| Model Number | SFW205GQC |
| Brand | SentrySafe |
| Exterior Dimensions (H x W x D) | 23.8" x 18.6" x 19.3" (60.5 cm x 47.2 cm x 49 cm) |
| Interior Dimensions (H x W x D) | 19.6" x 14.8" x 11.9" (49.8 cm x 37.6 cm x 30.2 cm) |
| Capacity | 2.05 Cubic Feet (58 Liters) |
| Item Weight | 0.01 Ounces (Note: This weight appears to be incorrect in the source data and should be verified. Actual safe weight is typically much higher.) |
| Lock Type | Electronic Combination Lock with Secondary Key |
| Material | Alloy Steel |
| Color | Gray |
| Fire Protection | UL Classified 1-Hour at 1700°F (927°C) |
| Water Protection | ETL Verified 24 hours in 8 inches (20 cm) of water |
| Mounting Type | Floor Mount, Wall Mount (hardware included) |

Image 7.1: Visual representation of the SentrySafe SFW205GQC dimensions and capacity.
8. Warranty and Support
8.1 Manufacturer's Warranty
Your SentrySafe SFW205GQC is covered by a Limited One Year Warranty from the manufacturer. Please refer to the warranty card included with your product for specific terms and conditions.
8.2 After-Fire Replacement Program
SentrySafe offers an After-Fire Replacement Program. Should your safe be exposed to a fire, SentrySafe will provide a replacement safe free of charge. This program ensures your valuables remain protected for generations to come. Contact SentrySafe customer service for details and to initiate a claim if necessary.
8.3 Customer Support
For technical assistance, parts, or further information regarding your SentrySafe product, please contact SentrySafe customer support directly. Contact details can typically be found on the SentrySafe official website or on the product packaging.


