1. Introduction
Thank you for choosing the Jocca 7L Water Dispenser. This manual provides essential information for the safe and efficient use, installation, operation, and maintenance of your new appliance. Please read it thoroughly before first use and keep it for future reference.

Image 1.1: Front view of the Jocca 7L Water Dispenser.
2. Safety Instructions
To prevent injury or damage, always follow these basic safety precautions:
- Read all instructions before operating the appliance.
- Ensure the voltage indicated on the rating label matches your mains supply.
- Do not immerse the appliance, cord, or plug in water or other liquids.
- Unplug from the outlet when not in use and before cleaning.
- Keep the appliance out of reach of children.
- Do not operate any appliance with a damaged cord or plug, or after the appliance malfunctions or has been damaged in any manner.
- Place the dispenser on a stable, level surface away from direct sunlight and heat sources.
- Ensure proper ventilation around the unit.
- Only use potable water in the dispenser.
3. Product Overview
Familiarize yourself with the components of your Jocca water dispenser:
- Water Tank: 7-liter capacity for storing water.
- Internal Cooling Tank: 0.7-liter capacity for chilling water.
- Cold Water Tap: Dispenses chilled water.
- Room Temperature Water Tap: Dispenses water at ambient temperature.
- Drip Tray: Collects spills and is removable for easy cleaning.
- Power Indicator Light: Illuminates when the unit is powered on.
- Cold Water Indicator Light: Illuminates when the cooling function is active.
- Filter (Optional/Included): Purifies water.

Image 3.1: The 7-liter water tank capacity.

Image 3.2: Dual taps for cold and room temperature water.

Image 3.3: Example of the water filter component.
4. Setup
- Unpack: Carefully remove all packaging materials. Inspect the dispenser for any damage.
- Placement: Place the dispenser on a firm, level surface. Ensure there is adequate space (at least 10 cm) around the back and sides for proper ventilation. Avoid placing it near direct sunlight or heat sources.
- Initial Cleaning: Before first use, thoroughly clean the water tank, filter (if applicable), and drip tray with mild soap and water. Rinse all components thoroughly with clean water. Some users recommend filling the tank with water and a few tablespoons of baking soda, letting it sit overnight, then rinsing thoroughly to remove any plastic taste.
- Assemble Filter (if applicable): If your model includes a filter, insert it into the designated slot in the water tank according to the filter's specific instructions.
- Fill Water Tank: Fill the 7-liter water tank with potable water. Place the filled tank securely onto the top of the dispenser. Ensure it is seated correctly to prevent leaks.
- Connect Power: Plug the power cord into a grounded electrical outlet (220-240V). The power indicator light should illuminate.
- Prime the System: Before using the cold water function, dispense a few cups of water from both taps to ensure the internal cooling tank is filled and to flush out any air.

Image 4.1: Compact design suitable for various spaces.

Image 4.2: Product dimensions for placement reference.
5. Operating Instructions
Using your Jocca water dispenser is straightforward:
- Power On: Ensure the dispenser is plugged in and the main power switch (usually located at the back) is turned ON. The power indicator light will illuminate.
- Cooling Function: If you desire cold water, ensure the cooling switch (also usually at the back or clearly marked) is turned ON. The cold water indicator light will illuminate, indicating that the cooling process has begun. It may take 30-60 minutes for the water in the internal tank to reach its optimal cold temperature (10-15°C).
- Dispensing Cold Water: Place a glass under the blue (cold water) tap. Push the tap lever down to dispense cold water. Release the lever to stop the flow.
- Dispensing Room Temperature Water: Place a glass under the red (room temperature water) tap. Push the tap lever down to dispense room temperature water. Release the lever to stop the flow.
- Refilling: When the water level in the main tank is low, refill it with potable water. The cooling function will automatically pause if the internal tank is empty and resume once refilled.
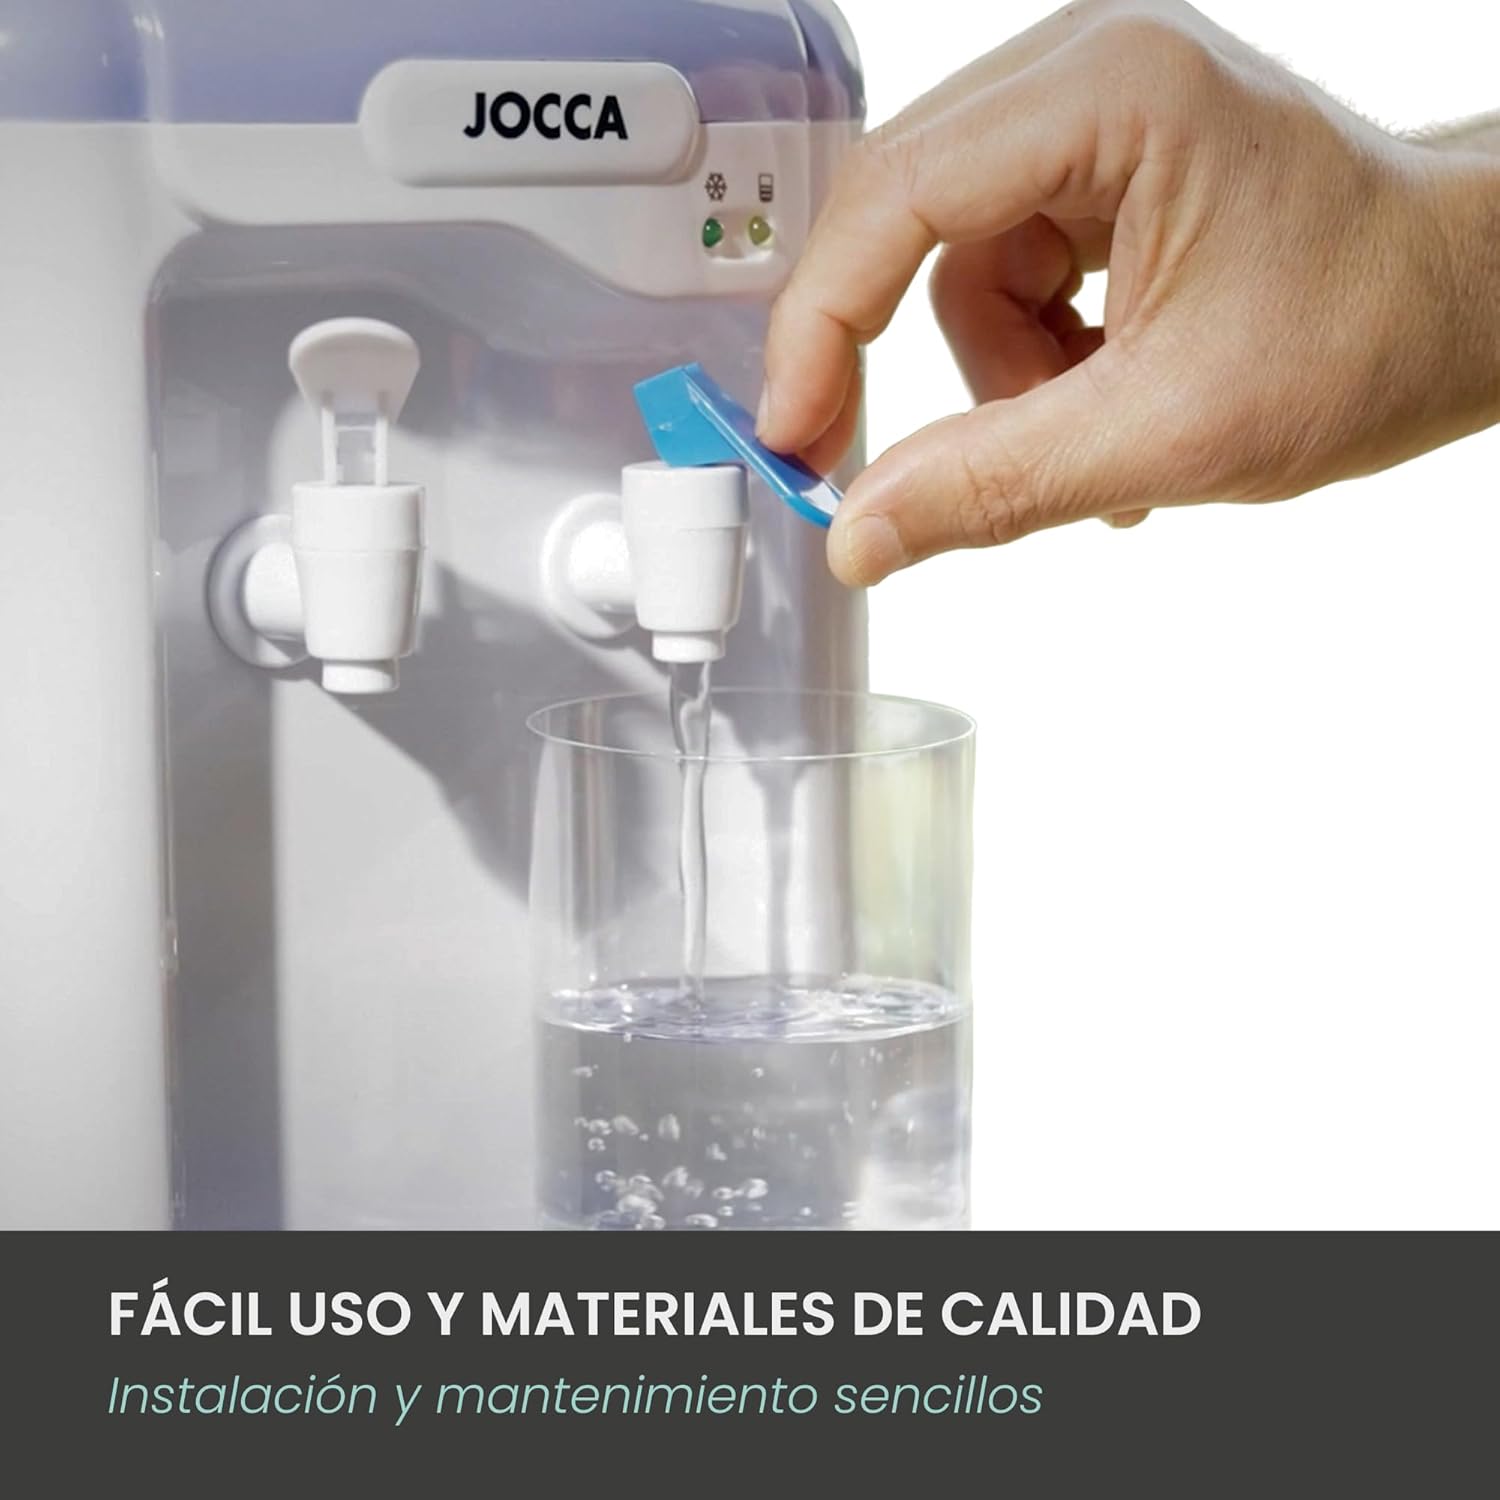
Image 5.1: Dispensing water from the tap.

Image 5.2: User enjoying water from the dispenser.
6. Maintenance and Cleaning
Regular cleaning ensures optimal performance and hygiene:
- Daily Cleaning: Empty and clean the drip tray daily. Wipe the exterior of the dispenser with a soft, damp cloth.
- Weekly Cleaning (Water Tank & Taps):
- Unplug the dispenser from the power outlet.
- Remove the water tank and empty any remaining water.
- Clean the water tank thoroughly with mild soap and water, then rinse completely.
- Clean the taps by dispensing warm water through them (if possible) or by using a small brush.
- Reassemble and refill with fresh potable water.
- Filter Replacement (if applicable): If your model uses a filter, replace it according to the manufacturer's recommendations (typically every 1-3 months, depending on water quality and usage). Refer to the filter packaging for specific instructions.
- Deep Cleaning (Monthly/Bi-monthly): For a more thorough cleaning, especially if a plastic taste develops, use a solution of white vinegar and water (1 part vinegar to 3 parts water) to clean the internal components. Fill the tank with this solution, let it sit for 30 minutes, then drain through both taps. Rinse thoroughly by filling and draining with clean water several times.
7. Troubleshooting
If you encounter issues with your dispenser, consult the following table:
| Problem | Possible Cause | Solution |
|---|---|---|
| No water dispensed | Water tank empty; tap clogged; airlock in system. | Refill water tank; clean tap; prime the system by dispensing water until flow is steady. |
| Water not cold enough | Cooling switch off; insufficient time for cooling; high ambient temperature; internal cooling tank empty. | Ensure cooling switch is ON; allow 30-60 minutes for cooling; move dispenser to a cooler area; ensure water tank is full. |
| Water has plastic taste | New unit; insufficient initial cleaning. | Perform thorough initial cleaning with baking soda or vinegar solution as described in Maintenance. The taste should dissipate with use. |
| Water leaking | Water tank not seated correctly; damaged tank/seal; loose tap. | Ensure water tank is properly seated; check for cracks or damage to the tank or seals; tighten taps if loose. If leaking persists, contact customer support. |
| Unusual noise | Normal operation of cooling compressor; unit not level. | Some noise from the compressor is normal during cooling cycles. Ensure the unit is on a level surface. If noise is excessive or unusual, contact customer support. |
8. Specifications
| Feature | Detail |
|---|---|
| Model Number | 1102 |
| Brand | Jocca |
| Capacity | 7 Liters (total) |
| Internal Cooling Tank Capacity | 0.7 Liters |
| Dimensions (W x D x H) | 22.5 cm x 20 cm x 47 cm |
| Wattage | 65 Watts |
| Voltage | 220-240V |
| Material | Plastic (BPA-free) |
| Installation Type | Freestanding |
| Water Access | Top-loading |
| Number of Settings | 2 (Cold, Room Temperature) |
9. Warranty and Support
The Jocca 7L Water Dispenser comes with a 3-year warranty, as indicated on the product packaging. This warranty covers manufacturing defects under normal use.
For technical support, warranty claims, or any questions regarding your product, please contact Jocca customer service through their official website or the retailer where you purchased the product. Please have your model number (1102) and proof of purchase ready.
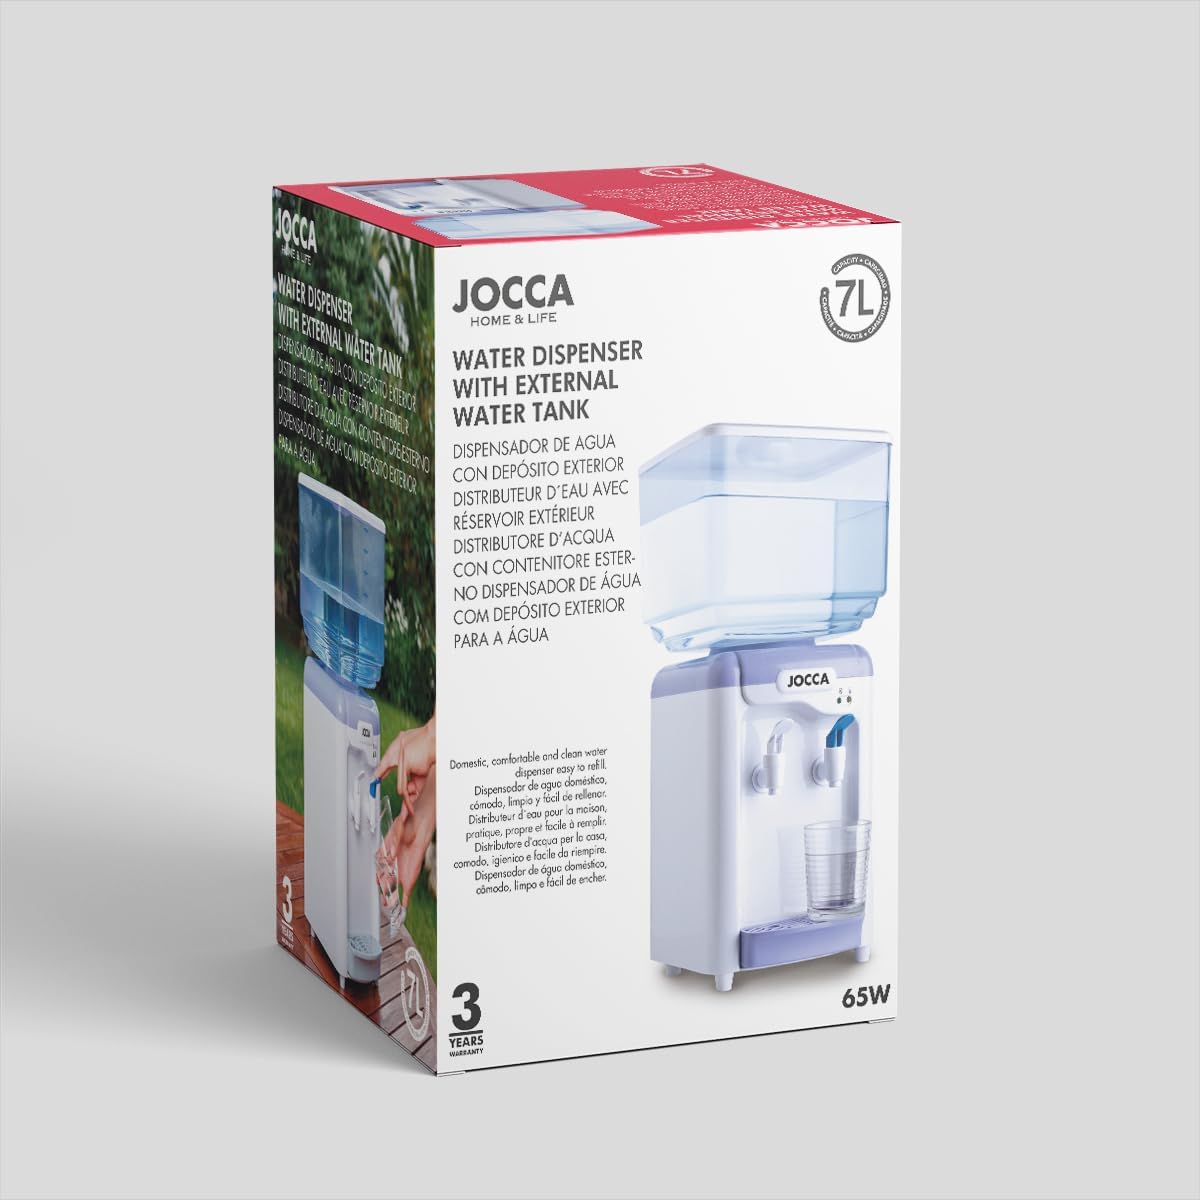
Image 9.1: Product packaging indicating 3-year warranty.


