Introduction
Thank you for choosing the Secura MMF-015 Electric Milk Frother and Steamer. This appliance is designed to create rich, creamy milk foam for a variety of beverages, including lattes, cappuccinos, and macchiatos. Please read this manual thoroughly before use to ensure safe and optimal operation.
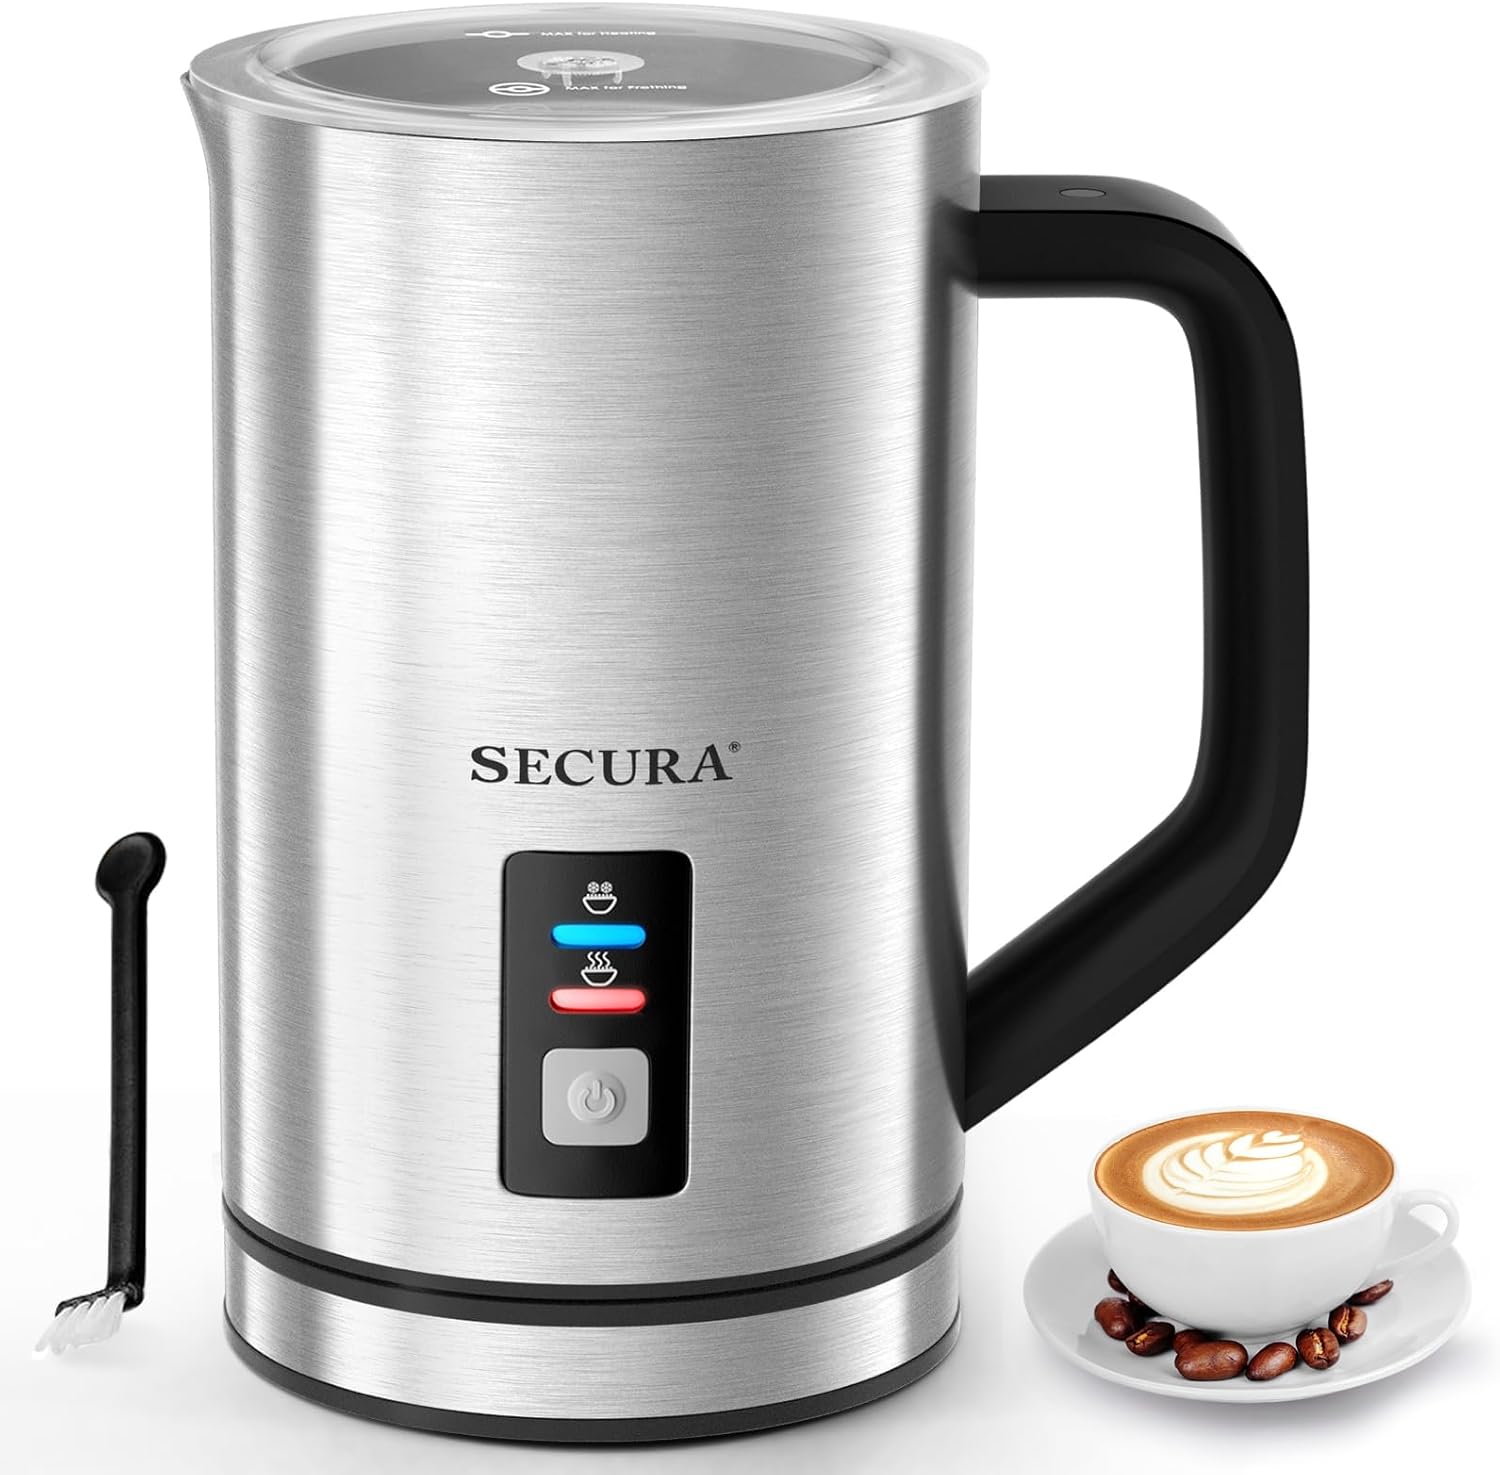
Image: The Secura MMF-015 Electric Milk Frother and Steamer, a stainless steel appliance with a black handle and control panel.
Important Safety Instructions
When using electrical appliances, basic safety precautions should always be followed, including the following:
- Read all instructions.
- Do not touch hot surfaces. Use handles or knobs.
- To protect against electrical hazards, do not immerse cord, plugs, or the appliance in water or other liquid.
- Close supervision is necessary when any appliance is used by or near children.
- Unplug from outlet when not in use and before cleaning. Allow to cool before putting on or taking off parts, and before cleaning the appliance.
- Do not operate any appliance with a damaged cord or plug or after the appliance malfunctions, or has been damaged in any manner.
- The use of accessory attachments not recommended by the appliance manufacturer may cause injuries.
- Do not use outdoors.
- Do not let cord hang over edge of table or counter, or touch hot surfaces.
- Do not place on or near a hot gas or electric burner, or in a heated oven.
- Always attach plug to appliance first, then plug cord into the wall outlet. To disconnect, turn any control to "off", then remove plug from wall outlet.
- Do not use appliance for other than intended use.
- Extreme caution must be used when moving an appliance containing hot liquids.
Parts and Features
Familiarize yourself with the components of your Secura Milk Frother:
- Frother Jug: Stainless steel jug with non-stick interior coating.
- Lid: Transparent lid with a small opening for adding ingredients.
- Frothing Whisk: Used for creating milk foam.
- Heating Whisk: Used for heating milk without frothing.
- Power Base: Detachable base with power cord.
- Control Panel: Features a power button and indicator lights for hot/cold frothing and heating.
- Max/Min Level Indicators: Internal markings for maximum heating (8.4oz/250ml) and frothing (4.2oz/125ml) capacities, and minimum level (2.5oz/75ml).

Image: An inside view of the frother jug, showing the frothing whisk attached to the bottom and the internal MAX/MIN level indicators.

Image: A diagram illustrating the internal capacity markings of the frother: 2.5 oz (75 ml) minimum, 4.2 oz (125 ml) maximum for frothing, and 8.4 oz (250 ml) maximum for heating milk.
Setup
- Unpack: Carefully remove all components from the packaging.
- Clean: Before first use, clean the frother jug and whisks with warm, soapy water. Rinse thoroughly and dry. Do not immerse the power base in water.
- Place Whisk: Select the desired whisk (frothing or heating) and firmly attach it to the pin at the bottom of the frother jug. Ensure it is securely in place.
- Position: Place the frother jug onto the power base.
- Connect Power: Plug the power cord into a 120V electrical outlet.
Video: A demonstration of the Secura Electric Milk Frother, showing its components, how to attach the whisk, add milk, and operate it for frothing and heating.
Operating Instructions
The Secura MMF-015 offers three functions: Frothing Hot Milk, Heating Milk, and Frothing Cold Milk.
1. Frothing Hot Milk
- Ensure the frothing whisk is installed.
- Pour fresh, cold milk into the frother jug, ensuring it is between the MIN (2.5oz/75ml) and MAX for frothing (4.2oz/125ml) lines.
- Place the lid on the jug.
- Press and hold the power button for approximately one second. The red indicator light will illuminate, and the frother will begin operation.
- The frother will automatically stop when the milk reaches the ideal temperature (140°F–160°F) and consistency (approx. 75-115 seconds).
- Carefully remove the lid and pour the frothed hot milk into your beverage.

Image: Visual guide demonstrating how to froth hot milk: install frothing whisk, add milk, press and hold power button for one second (red light indicates hot frothing), wait 75-115 seconds, then pour.
2. Heating Milk (No Froth)
- Ensure the heating whisk is installed.
- Pour fresh, cold milk into the frother jug, ensuring it is between the MIN (2.5oz/75ml) and MAX for heating (8.4oz/250ml) lines.
- Place the lid on the jug.
- Press and hold the power button for approximately one second. The red indicator light will illuminate, and the frother will begin operation.
- The frother will automatically stop when the milk reaches the ideal temperature (140°F–160°F) (approx. 130-170 seconds).
- Carefully remove the lid and pour the hot milk into your beverage.

Image: Visual guide demonstrating how to heat milk without frothing: install heating whisk, add milk, press and hold power button for one second (red light indicates heating), wait 130-170 seconds, then pour.
3. Frothing Cold Milk
- Ensure the frothing whisk is installed.
- Pour fresh, cold milk into the frother jug, ensuring it is between the MIN (2.5oz/75ml) and MAX for frothing (4.2oz/125ml) lines.
- Place the lid on the jug.
- Press and hold the power button for approximately 2-3 seconds. The blue indicator light will illuminate, and the frother will begin operation.
- The frother will automatically stop when the cold foam is ready (approx. 60-65 seconds).
- Carefully remove the lid and pour the frothed cold milk into your beverage.

Image: Visual guide demonstrating how to froth cold milk: install frothing whisk, add milk, press and hold power button for 2-3 seconds (blue light indicates cold frothing), wait 60-65 seconds, then pour.
Pro Tip: For best frothing results, use fresh, unflavored milk with at least 3g of protein per serving.
Maintenance and Cleaning
Regular cleaning ensures optimal performance and longevity of your frother.
- Unplug: Always unplug the frother from the power outlet before cleaning.
- Cool Down: Allow the appliance to cool completely before handling.
- Remove Whisk: Carefully remove the whisk from the bottom of the jug.
- Clean Jug: The interior of the frother jug has a non-stick coating. Rinse the interior with warm water immediately after use. For thorough cleaning, use a soft sponge or cloth with mild dish soap. Avoid abrasive materials that could damage the non-stick surface.
- Clean Whisks and Lid: Wash the frothing/heating whisks and the lid with warm, soapy water.
- Clean Exterior: Wipe the exterior of the frother jug and the power base with a damp cloth. Do not immerse the frother jug or power base in water.
- Dry: Ensure all parts are completely dry before reassembling or storing.

Image: A visual guide showing the cleaning process for the Secura Milk Frother, emphasizing rinsing the non-stick interior and wiping the exterior without submerging the unit.
Troubleshooting
| Problem | Possible Cause | Solution |
|---|---|---|
| Frother does not turn on. | Not plugged in; power outage; appliance malfunction. | Ensure the power cord is securely plugged into a working outlet. Check circuit breaker. Contact customer support if issue persists. |
| Milk is not frothing or heating properly. | Incorrect milk level; wrong whisk; old milk; type of milk. | Ensure milk is between MIN and appropriate MAX line. Verify correct whisk is installed. Use fresh, cold milk. Dairy milk (especially whole milk) generally froths best. Some non-dairy milks may not froth as effectively. |
| Milk overflows. | Too much milk added. | Do not exceed the MAX frothing (4.2oz/125ml) or MAX heating (8.4oz/250ml) lines. |
| Milk burns or sticks to the bottom. | Heating whisk not installed for heating; insufficient milk. | Ensure the heating whisk is used for heating milk without frothing. Always add milk above the MIN line. Clean immediately after use. |
Specifications
- Model: MMF-015
- Brand: Secura
- Material: Stainless Steel
- Power Source: Electric (120V, North America only)
- Frothing Capacity: Max 4.2 oz (125 ml)
- Heating Capacity: Max 8.4 oz (250 ml)
- Minimum Capacity: 2.5 oz (75 ml)
- Special Feature: Auto Shut-Off
- Product Dimensions: 7.48"W x 6.3"H
- Item Weight: 2.4 Pounds
- Care Instructions: Hand Wash Only (Jug interior and whisks), Wipe exterior. Do not immerse.
Warranty and Support
For warranty information or customer support, please refer to the contact details provided with your product packaging or visit the official Secura website. Keep your purchase receipt for warranty claims.


