1. Introduction
This manual provides essential information for the safe and correct installation, use, and maintenance of your Vimar PLANA Series 2-Module Reflex Snow Wall Plate. Please read these instructions carefully before proceeding with installation or use, and retain them for future reference.
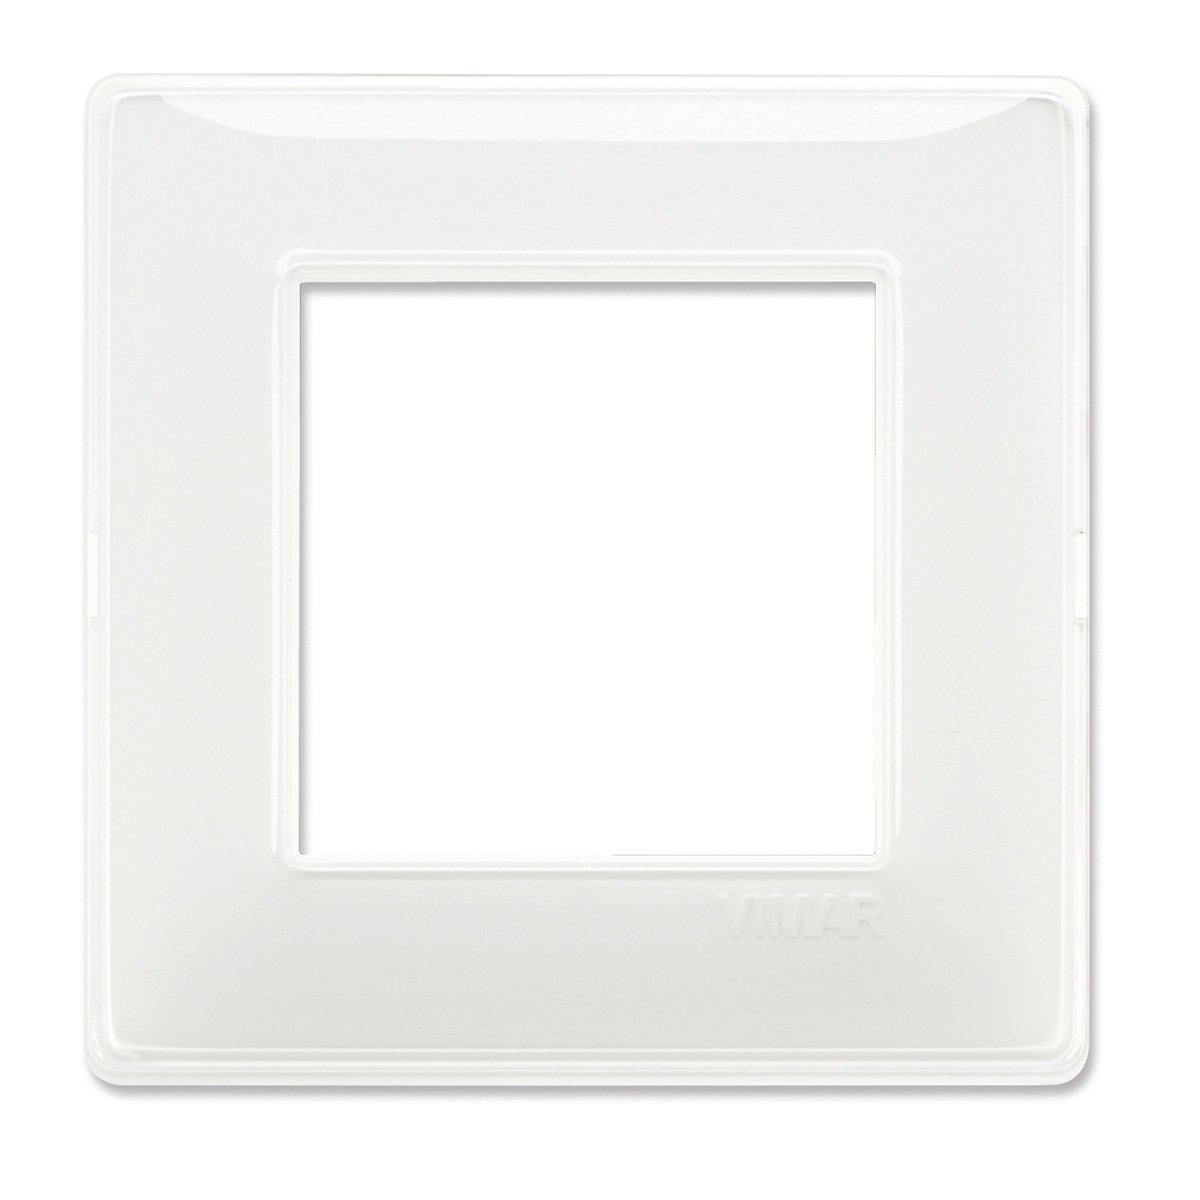
Image 1.1: Vimar PLANA Series 2-Module Reflex Snow Wall Plate. This image displays the front view of the wall plate, showcasing its Reflex Snow finish and two module openings.
2. Safety Information
WARNING: Electrical work should only be performed by qualified and licensed electricians. Improper installation can result in electric shock, fire, or serious injury.
- Always disconnect power at the main circuit breaker or fuse box before installing or servicing any electrical device.
- Ensure all wiring connections are secure and comply with local electrical codes.
- Do not install in wet or damp locations unless specifically rated for such environments.
- Keep children away from electrical components during installation.
- If you are unsure about any part of the installation process, consult a professional electrician.
3. Package Contents
Please check the package contents to ensure all items are present and undamaged:
- 1 x Vimar PLANA Series 2-Module Reflex Snow Wall Plate (Part Number: 14642.41)
Note: Mounting screws and electrical modules are typically sold separately and are not included with the wall plate.
4. Setup and Installation
This section outlines the general steps for installing the Vimar PLANA Series wall plate. Specific wiring instructions for electrical modules (switches, sockets, etc.) should be followed according to the instructions provided with those individual components.
4.1 Tools Required (Not Included)
- Screwdriver (appropriate type for mounting screws)
- Wire strippers/cutters (if installing electrical modules)
- Voltage tester
4.2 Installation Steps
- Disconnect Power: Before beginning any electrical work, turn off the power to the circuit at the main electrical panel. Verify that the power is off using a voltage tester.
- Prepare the Mounting Box: Ensure the electrical mounting box (flush-mounted or surface-mounted) is properly installed and secured in the wall.
- Install Electrical Modules (if applicable): If you are installing switches, sockets, or other electrical modules, connect them to the wiring according to their specific instructions. Secure these modules into the mounting frame or support structure.
- Attach the Wall Plate: Align the Vimar PLANA wall plate over the installed modules and mounting frame. The plate is designed to snap into place or be secured with screws, depending on the specific Vimar support frame used. Ensure it sits flush against the wall.
- Restore Power: Once the wall plate is securely in place and all electrical connections are verified, restore power at the main circuit breaker.
- Test Functionality: Test the functionality of the installed electrical components.
Consult the installation guide for your specific Vimar support frame and electrical modules for detailed instructions.
5. Operation
The Vimar PLANA Series wall plate itself is a decorative and protective cover for electrical modules. Its operation is passive, providing a finished aesthetic and protecting the internal electrical components. The functionality of the electrical system is determined by the switches, sockets, or other modules installed within the plate.
6. Maintenance
To maintain the appearance and integrity of your Vimar PLANA wall plate:
- Cleaning: Wipe the surface with a soft, damp cloth. Use only mild, non-abrasive cleaning agents.
- Avoid: Do not use harsh chemicals, abrasive cleaners, or solvents, as these can damage the finish.
- Inspection: Periodically check the plate for any signs of damage or loosening. If damage is observed, disconnect power and replace the plate.
7. Troubleshooting
This section addresses common issues related to the wall plate itself. For issues related to electrical functionality (e.g., a switch not working), refer to the troubleshooting guide for the specific electrical module.
| Problem | Possible Cause | Solution |
|---|---|---|
| Wall plate does not sit flush. | Mounting frame or electrical modules are not properly seated or aligned. | Disconnect power. Re-adjust the mounting frame and modules to ensure they are flush with the wall box. Re-attach the wall plate. |
| Scratches or damage on the plate. | Accidental impact or use of abrasive cleaners. | The plate is a cosmetic item. If damaged, it should be replaced for aesthetic reasons. |
| Plate feels loose. | Mounting screws for the frame are loose, or the plate is not fully snapped into place. | Disconnect power. Ensure the mounting frame is securely fastened. Re-attach the wall plate, ensuring it clicks firmly into position. |
8. Specifications
| Feature | Detail |
|---|---|
| Brand | Vimar |
| Model Series | PLANA Series |
| Part Number | 14642.41 |
| Configuration | 2 Module (Double) |
| Color | Reflex Snow |
| Material | Plastic (Kunststoff) |
| Finish Type | Polished |
| Product Dimensions (W x H) | 3.58" x 0.24" |
| Item Weight | 0.704 ounces (0.02 Kilograms) |
| Installation Type | Screw-in (Einschrauben) - refers to the frame, plate snaps on. |
9. Warranty and Support
Vimar products are manufactured to high-quality standards. For specific warranty information, please refer to the documentation provided with your purchase or visit the official Vimar website. In case of technical issues or support inquiries, please contact Vimar customer service through their official channels.
Vimar Official Website: www.vimar.com
Please have your product model (SERIE PLANA) and part number (14642.41) ready when contacting support.


