
BenQ BL3200PT
BenQ BL3200PT 32-inch QHD Designer Monitor User Manual
Model: BL3200PT | Brand: BenQ
1. Product Overview
The BenQ BL3200PT is a 32-inch QHD (2560x1440) IPS LED backlit monitor designed for professionals, particularly those in CAD/CAM, animation, and graphic arts. It features a superior IPS panel for accurate color reproduction, flicker-free technology, and exclusive Low Blue Light modes to enhance eye comfort during extended use. The monitor also includes an OSD controller for convenient navigation of settings and an ergonomic stand for versatile positioning.
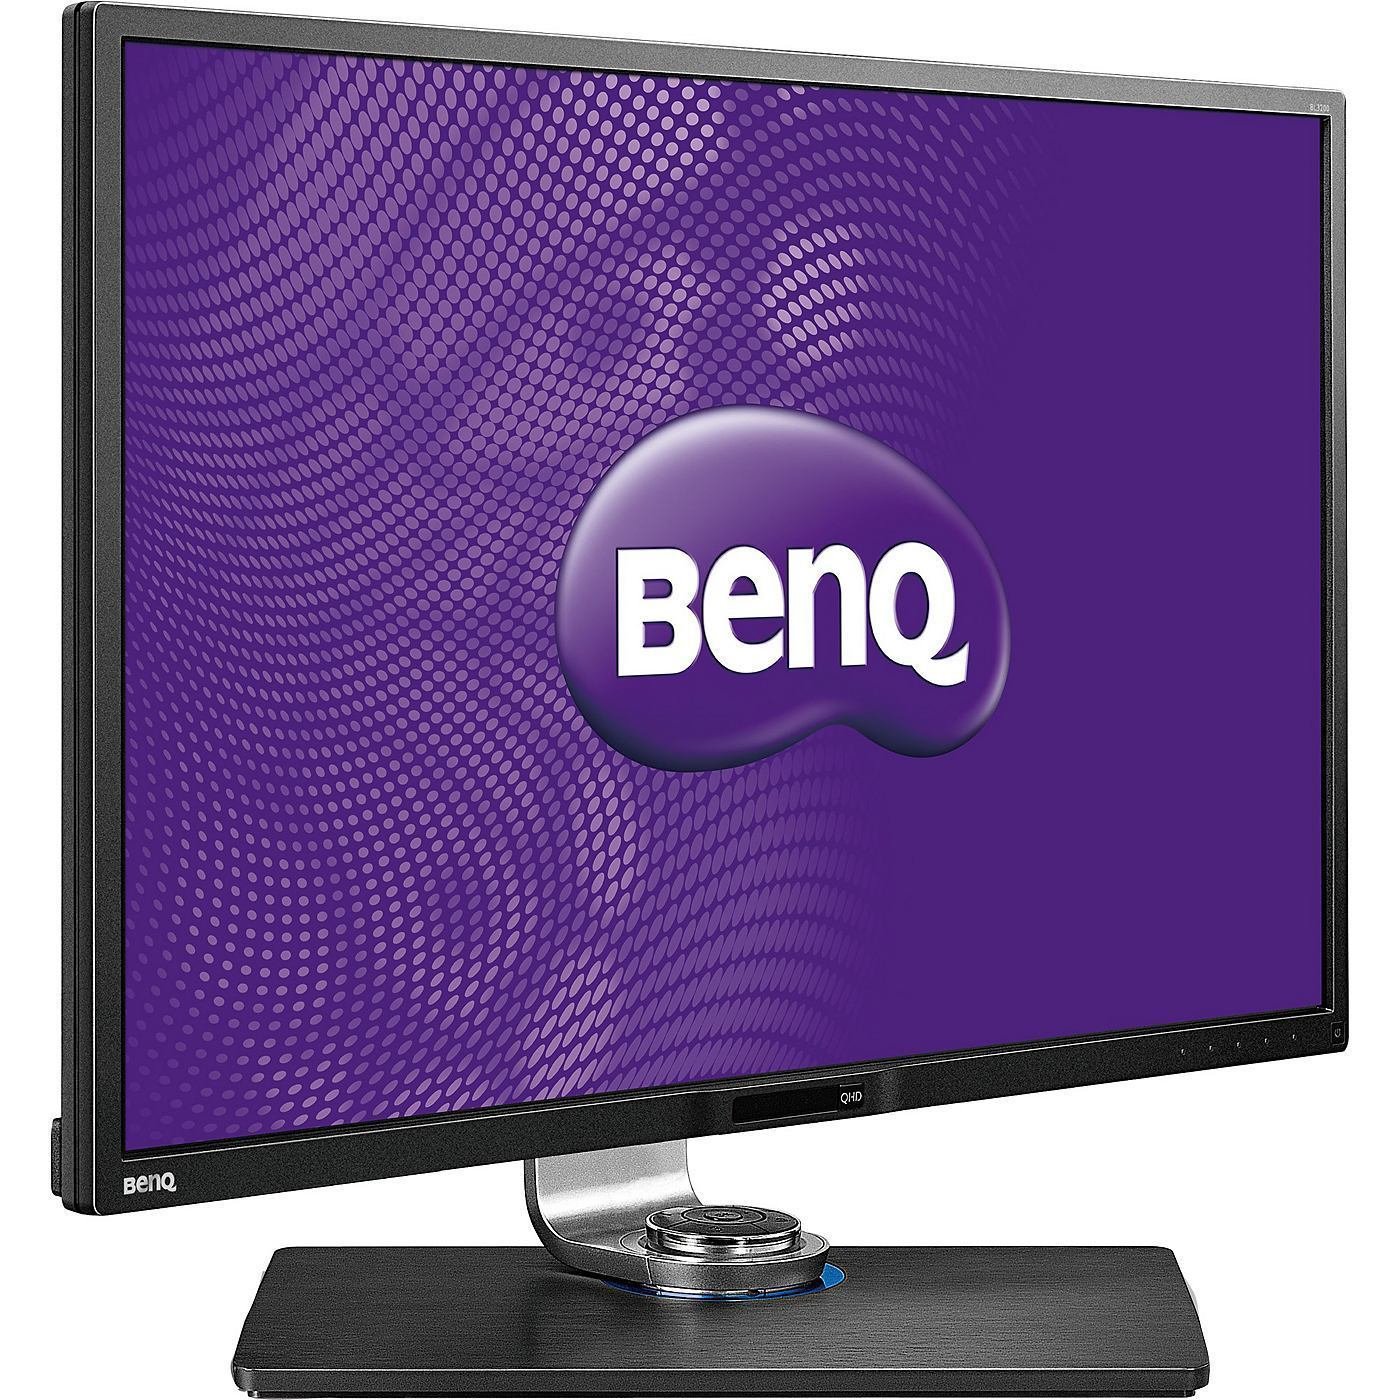
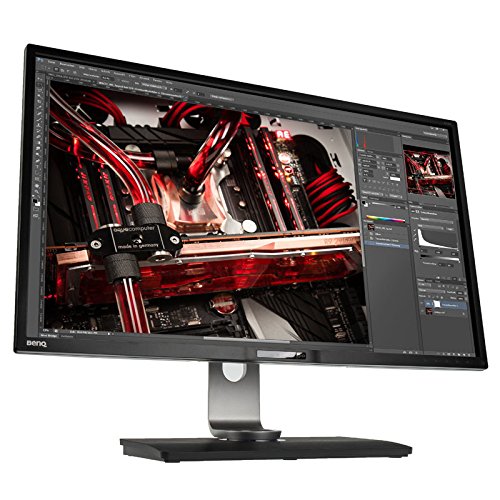
This image shows the BenQ BL3200PT monitor from the front, highlighting its sleek design and the BenQ logo on the screen.
2. Key Features
- 32-inch QHD Display: Offers a large 2560x1440 resolution with 100% sRGB and Rec. 709 color precision for detailed and accurate visuals.
- Professional Modes: Includes SolidWorks Certification with dedicated CAD/CAM mode, Animation mode, Video Editing, and Graphic Arts modes for specialized design tasks.
- Eye-care Technology: Features Flicker-free technology and exclusive Low Blue Light modes to reduce eye strain and fatigue.
- Ergonomic Design: Equipped with an OSD Controller for easy settings adjustment, and an Ergo Monitor stand with Height Adjustment, Swivel, and Auto-Pivot functions for maximized comfort.
- Desktop Partition: Thoughtfully designed to help manage and organize content on the large display.
- Slim Bezel: Ideal for multi-monitor setups, providing a nearly seamless viewing experience.

The monitor is shown displaying a detailed engineering design, illustrating its suitability for CAD/CAM and graphic arts applications.
3. Unpacking and Included Components
Carefully unpack all components from the box. Ensure all items listed below are present before proceeding with setup.
- BenQ BL3200PT Monitor
- OSD Controller
- Power Cable
- DVI-DL Cable
- DisplayPort (DP) Cable
- HDMI Cable
- USB Cable
- Audio Cable
- VGA Cable
- User Guide / Manual
- Wire Holder
4. Setup Instructions
4.1 Assembling the Monitor Stand
- Place the monitor panel face down on a soft, clean surface to prevent scratches.
- Attach the stand neck to the back of the monitor panel, ensuring it clicks securely into place.
- Connect the base to the stand neck and tighten the captive screw at the bottom of the base.
4.2 Connecting Cables
Connect the necessary cables to the corresponding ports on the monitor and your computer.
- Power Cable: Connect one end to the monitor's power input and the other to a power outlet.
- Video Cable: Choose one of the provided video cables (HDMI, DisplayPort, DVI-DL, or VGA) and connect it from your computer's video output to the corresponding input on the monitor. DisplayPort is recommended for optimal QHD resolution.
- USB Cable: Connect the upstream USB cable from your computer to the monitor's USB upstream port to enable the monitor's USB hub and OSD controller.
- Audio Cable: If using external speakers or headphones, connect the audio cable from your computer's audio output to the monitor's audio input, or use the monitor's built-in speakers via HDMI/DisplayPort.
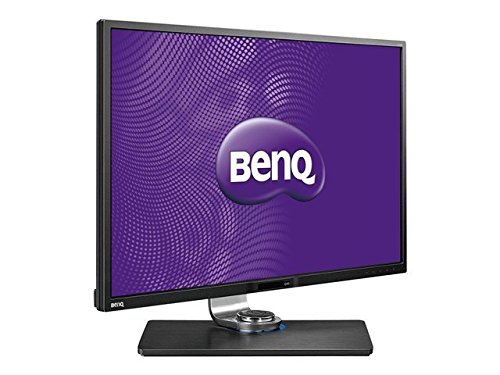
This view from the back of the monitor highlights the available connectivity options, including multiple video inputs and USB ports for peripherals.
4.3 Powering On
- Ensure all cables are securely connected.
- Press the power button on the monitor. The power indicator light will illuminate.
- Turn on your computer. The monitor should automatically detect the input signal.
5. Operating the Monitor
5.1 Using the OSD Controller
The included OSD Controller provides quick access and navigation through the monitor's On-Screen Display (OSD) menu. It features three customizable preset buttons for frequently used display modes.
The image displays the OSD controller, a dedicated external device designed for easy and intuitive navigation of the monitor's on-screen display settings.
5.2 Navigating the OSD Menu
Press any button on the OSD controller or the monitor's bezel to bring up the OSD menu. Use the controller's dial and buttons to navigate and select options.
- Picture Mode: Select from various preset modes like Standard, sRGB, CAD/CAM, Animation, Low Blue Light, etc., to optimize display settings for different tasks.
- Brightness/Contrast: Adjust the overall luminance and contrast of the display.
- Input: Manually select the video input source (HDMI, DisplayPort, DVI, VGA).
- Audio: Control volume and select audio input source.
- System: Access general monitor settings, including OSD language, OSD timeout, and factory reset.
5.3 Ergonomic Adjustments
The monitor stand allows for various adjustments to optimize your viewing comfort:
- Height Adjustment: Raise or lower the monitor to eye level.
- Tilt: Adjust the screen's vertical angle (forward/backward).
- Swivel: Rotate the monitor horizontally on its base.
- Pivot (Auto-Pivot): Rotate the screen 90 degrees for portrait viewing. The monitor supports auto-pivot functionality with compatible software.
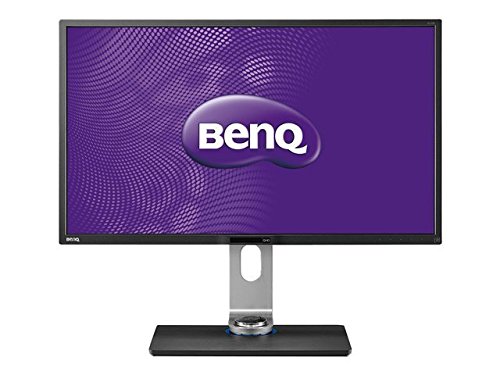
The monitor is displayed in a vertical (portrait) orientation, showcasing its auto-pivot feature and flexibility for different viewing needs.
6. Maintenance
Proper maintenance ensures the longevity and optimal performance of your BenQ BL3200PT monitor.
- Cleaning the Screen: Gently wipe the screen with a soft, lint-free cloth. For stubborn marks, use a monitor-specific cleaning solution applied to the cloth, not directly to the screen. Avoid using harsh chemicals or abrasive materials.
- Cleaning the Casing: Use a soft, dry cloth to wipe the monitor casing.
- Ventilation: Ensure the ventilation openings on the monitor are not blocked to prevent overheating.
- Power Off: Always turn off the monitor when not in use for extended periods.
- Avoid Direct Sunlight: Do not expose the monitor to direct sunlight or excessive heat.
7. Troubleshooting
This section provides solutions to common issues you might encounter with your monitor.
| Problem | Possible Cause | Solution |
|---|---|---|
| No image on screen | Power cable disconnected; Video cable disconnected; Incorrect input source selected. | Check power and video cable connections; Press the OSD controller to open the menu and select the correct input source. |
| Image is blurry or distorted | Incorrect resolution; Loose video cable. | Set the display resolution to 2560x1440; Ensure video cable is securely connected. |
| No sound from speakers | Volume too low; Incorrect audio input; Audio cable disconnected. | Increase volume via OSD or computer; Check audio input settings in OSD; Ensure audio cable is connected (if not using HDMI/DP audio). |
| OSD menu does not appear | OSD controller not connected; Monitor is off. | Ensure OSD controller is connected via USB; Turn on the monitor. |
If the problem persists after trying these solutions, please refer to the Warranty and Support section for further assistance.
8. Specifications
| Feature | Specification |
|---|---|
| Brand | BenQ |
| Model Number | BL3200PT |
| Screen Size | 32 Inches |
| Screen Resolution | 2560 x 1440 (QHD) |
| Panel Type | IPS LED Backlit |
| Aspect Ratio | 1.78:1 |
| Color | Black |
| Item Weight | 13 kg |
| Product Dimensions (LxWxH) | 23.11 x 73.91 x 48.51 cm |
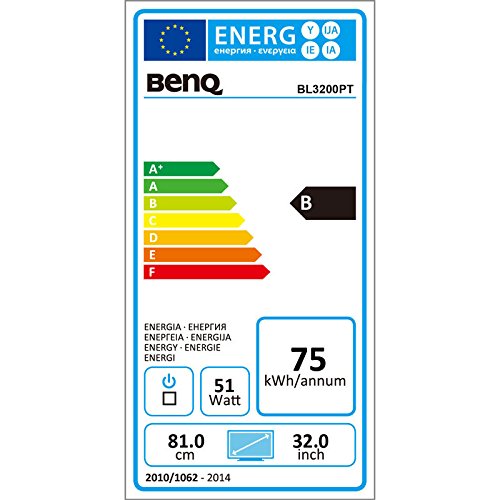
| Wattage | 97 Watts |
| Power Source | AC |
| Operating System Compatibility | Windows, Mac |
| Included Components | Monitor, OSD Controller, Power Cable, DVI-DL, DP, HDMI, USB, Audio, VGA Cable, User Guide, Manual; Wire holder |
| Ports | 1x HDMI, 1x VGA, 2x USB 2.0, DisplayPort, DVI-DL, Audio In/Out |
This label provides information on the monitor's energy efficiency, indicating its power consumption and environmental rating.
9. Warranty and Support
The BenQ BL3200PT monitor comes with a 39-month warranty from the date of purchase, covering manufacturing defects and malfunctions under normal use conditions.
For technical support, warranty claims, or service inquiries, please contact BenQ customer service through their official website or the contact information provided in your product's warranty card. When contacting support, please have your monitor's model number (BL3200PT) and serial number ready.
Related documentsBL3200PT


Ask a question about this manual
Ask about setup, troubleshooting, compatibility, parts, safety, or missing instructions. Manuals+ will review the question and use this page’s manual context to help answer it.