
1. Product Overview
The SunSun CUV-636 UV Clarifier is designed to effectively treat pond and pool water by combating algae, bacteria, and germs. It ensures clear water without the need for chemical additives, utilizing a powerful UV-C lamp and an internal stainless steel reflection system to maximize ultraviolet radiation exposure. This device helps maintain a healthy aquatic environment for fish and plants.
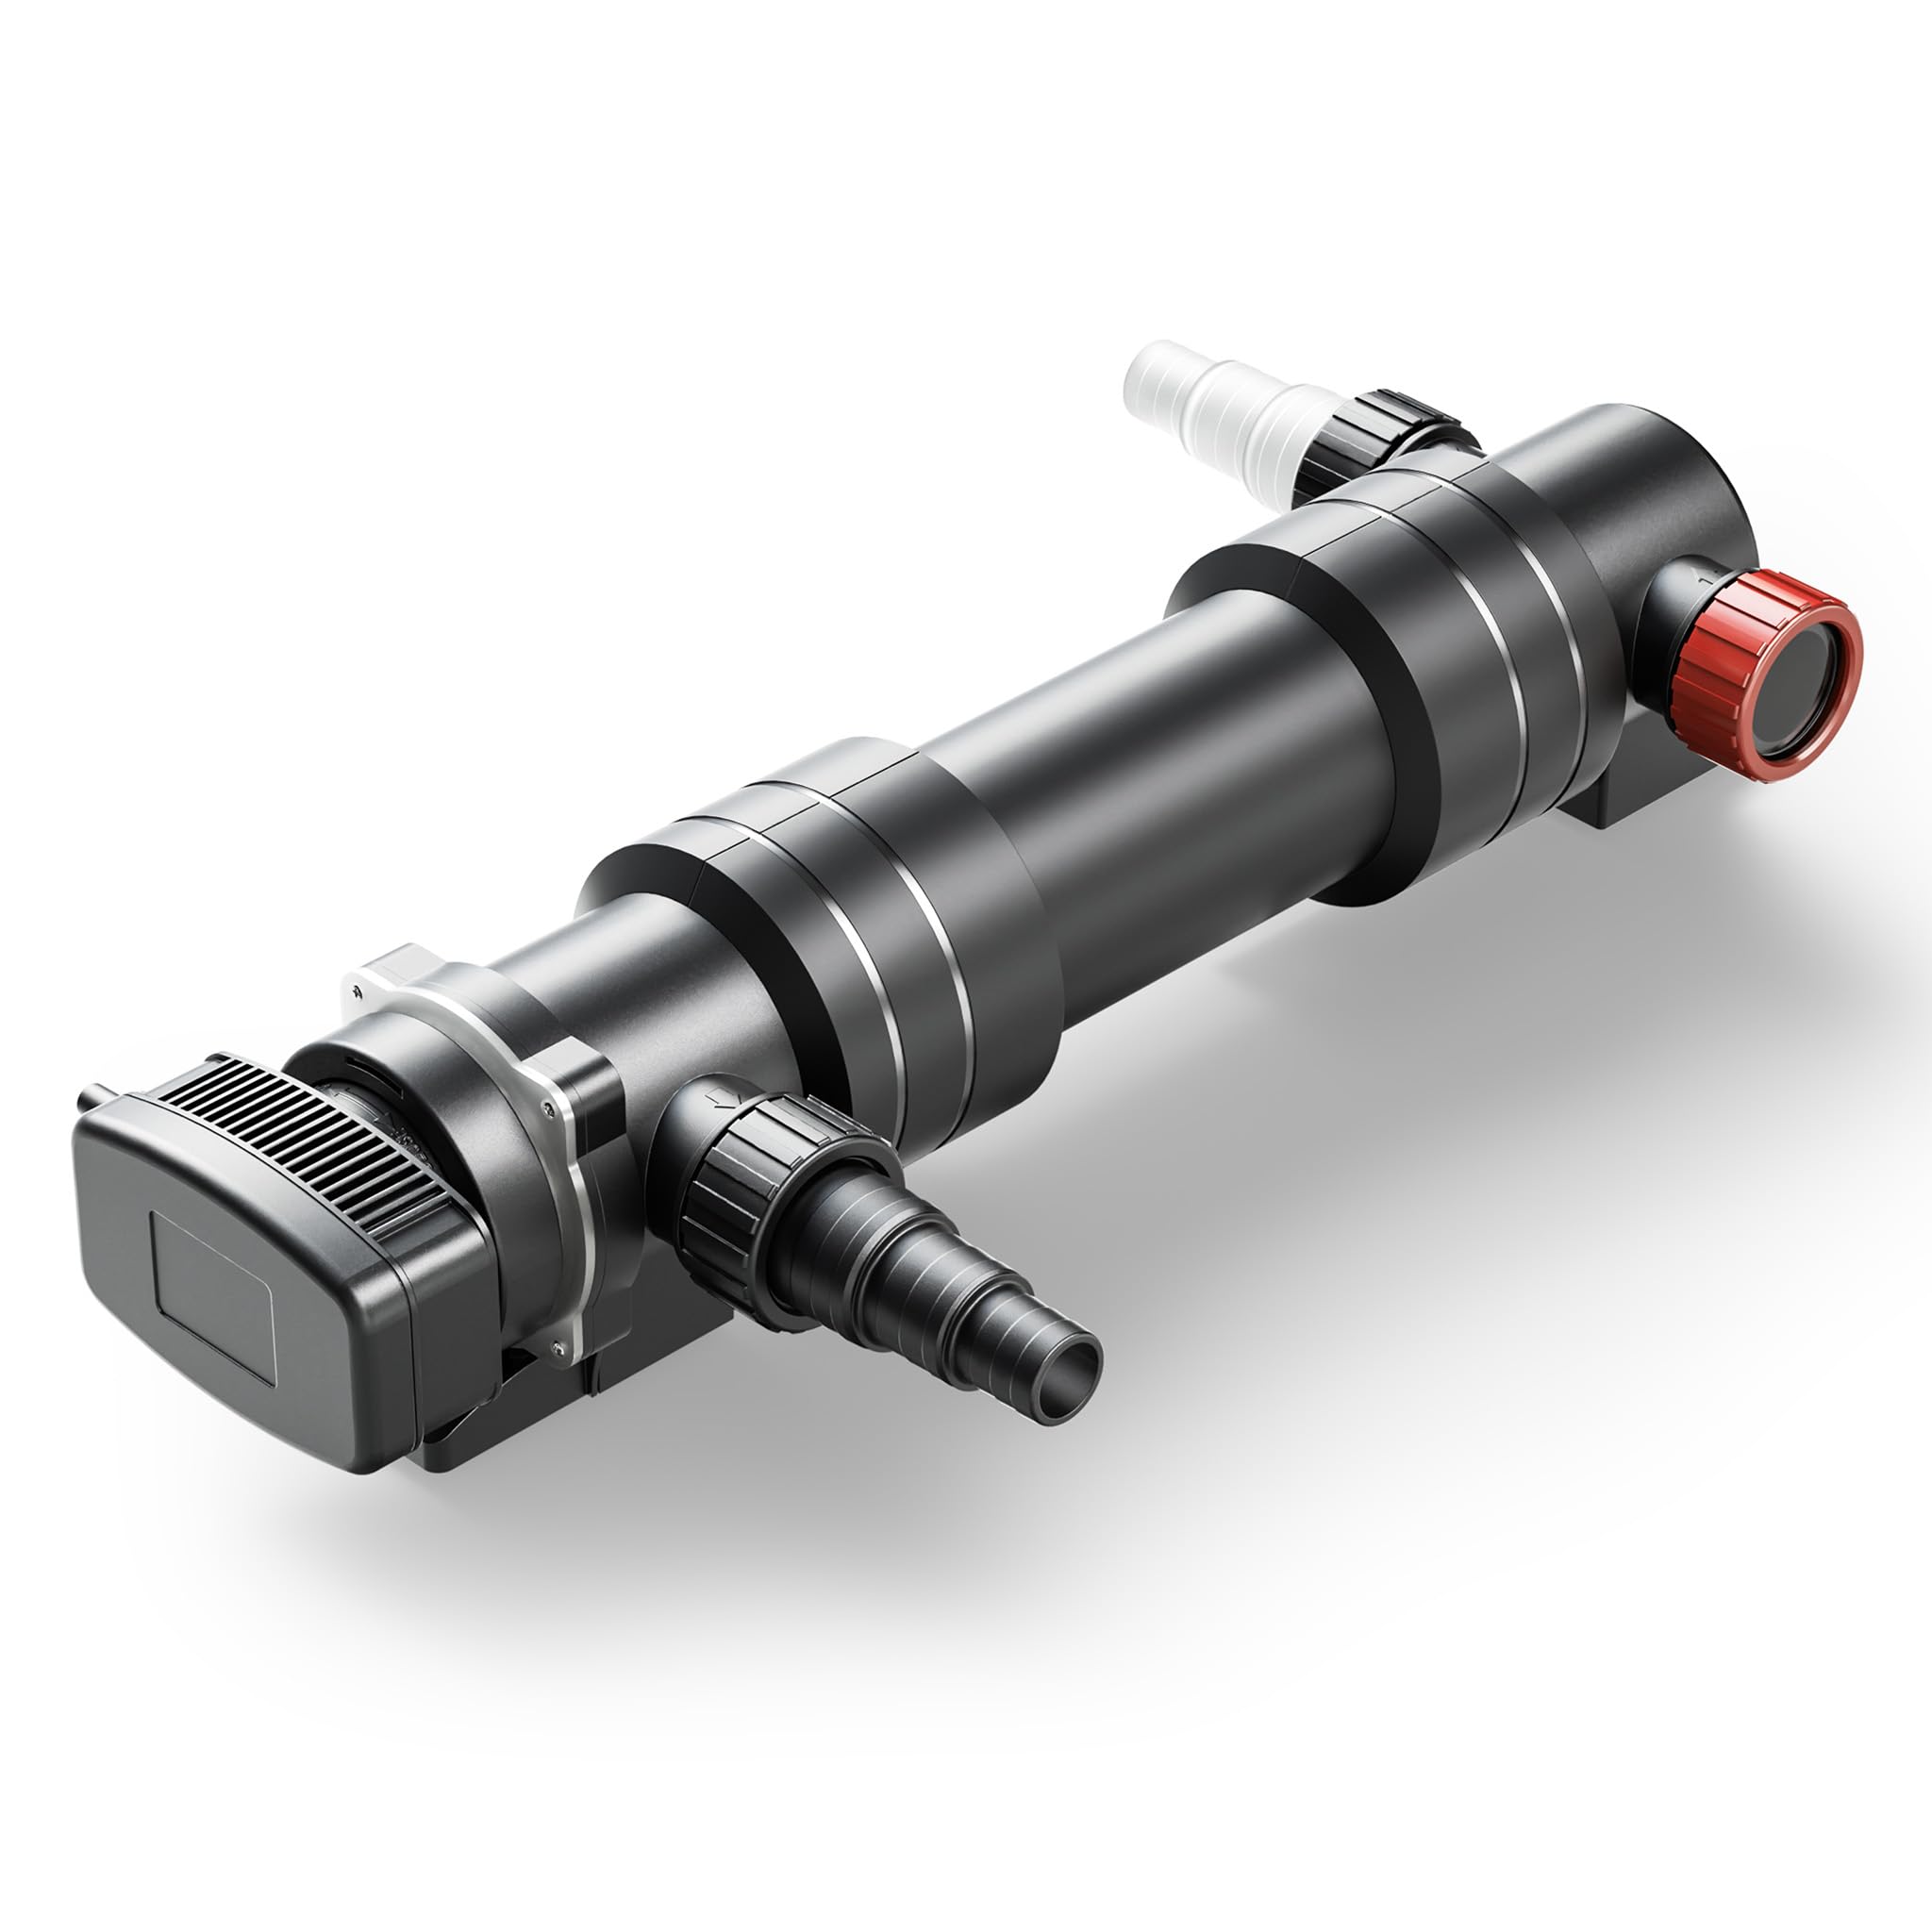
Image: The SunSun CUV-636 UV Clarifier connected and operating beside a pond, demonstrating its integration into a pond system.
2. Safety Instructions
- Electrical Safety: Always disconnect the power supply before performing any maintenance or installation. Ensure the device is installed at a safe distance from water sources and complies with local electrical safety standards (e.g., VDE).
- UV-C Radiation: Never look directly at the UV-C lamp when it is operating, as UV-C radiation is harmful to eyes and skin. The device is designed to contain UV-C light safely.
- Water Contact: Do not immerse the electrical components of the device in water. The unit is protected against splashing (IP44), but not full submersion.
- Children and Pets: Keep the device out of reach of children and pets.
- Damage: Do not operate the device if the power cord, plug, or housing is damaged. Contact qualified personnel for repairs.
- Intended Use: Use this product only for its intended purpose of clarifying pond water.
3. Components
The SunSun CUV-636 UV Clarifier consists of several key components designed for efficient water treatment.

Image: An exploded diagram illustrating the internal and external components of the UV clarifier, including the lamp, quartz tube, and connectors.
- Connection Unit
- UV-C Lamp (36W)
- Quartz Glass Tube
- Rubber Ring
- Barbed Fitting
- Threaded Ring
- Flow Meter (if applicable)

Image: Detailed view of the UV-C lamp and quartz tube, showing key specifications like power, pond capacity, and protection rating.
4. Setup Instructions
Follow these steps for proper installation of your UV clarifier:
- Placement: Position the UV clarifier on a stable, level surface at a safe distance from the pond, ensuring it is not directly exposed to harsh weather conditions.
- Connections: Connect the inlet of the UV clarifier to your pond pump's outlet using appropriate hoses and symmetrical connectors. Connect the outlet of the UV clarifier to your pond filter or directly back to the pond. The device features interchangeable hoses for flexible installation.
- Hose Diameter: Ensure correct hose diameters (25mm, 32mm, or 38mm) are used for optimal flow.
- Secure Fittings: Tighten all connections securely to prevent leaks.
- Electrical Connection: Once all water connections are secure, plug the device into a grounded electrical outlet that complies with VDE standards. Ensure the power cord is not strained or submerged.

Image: The UV clarifier integrated into a larger pond filtration setup, showing hose connections to a filter box and the pond.
5. Operating Instructions
The SunSun CUV-636 operates by exposing pond water to UV-C radiation as it flows through the unit.
- Initial Start-up: After installation, ensure water is flowing through the unit before turning on the power. The UV-C lamp will illuminate, indicating operation.
- Water Treatment: Water enters the clarifier, passes through the chamber where it is exposed to the 36W UV-C lamp. An integrated stainless steel mirror reflects unabsorbed UV light, maximizing exposure and efficiency.
- Effectiveness: The UV-C radiation destroys undesirable microorganisms such as algae, bacteria, and viruses, leading to clearer and healthier pond water. Beneficial bacteria, which typically attach to filter media or pond surfaces, are generally unaffected.
- Continuous Operation: For best results, the UV clarifier should operate continuously during daylight hours or as needed to maintain water clarity.

Image: Visual representation of the UV-C sterilization process, depicting water flow and the elimination of harmful microorganisms.

Image: An infographic illustrating the broad spectrum of pathogens and organisms effectively targeted by the UV-C sterilization process.
6. Maintenance
Regular maintenance ensures the longevity and efficiency of your UV clarifier.
6.1. Cleaning the Quartz Tube
- Over time, mineral deposits or algae can accumulate on the quartz glass tube, reducing UV-C penetration.
- Frequency: Inspect the quartz tube periodically (e.g., monthly) and clean as needed.
- Procedure:
- Disconnect the power supply to the unit.
- Shut off water flow to the unit.
- Carefully disassemble the unit to access the quartz tube.
- Gently clean the quartz tube with a soft cloth and a mild cleaning solution (e.g., vinegar or citric acid solution) to remove deposits. Rinse thoroughly with clean water.
- Reassemble the unit, ensuring all seals and connections are properly seated and tightened.
6.2. UV-C Lamp Replacement
The effectiveness of the UV-C lamp diminishes over time, even if it still glows. It is recommended to replace the UV-C lamp annually.

Image: A step-by-step visual guide for safely replacing the UV-C lamp.
- Step 1: Disconnect the power supply and shut off water flow. Allow the lamp to cool down.
- Step 2: Turn the lamp socket counter-clockwise to unlock it.
- Step 3: Carefully pull out the old UV-C lamp from its housing. Avoid touching the glass part of the new lamp with bare hands; use gloves or a cloth.
- Step 4: Remove the fixing device from the bulb.
- Step 5: Insert the new UV-C lamp into the socket, ensuring it is properly seated.
- Step 6: Reattach the fixing device and turn the lamp socket clockwise to secure it.
- Step 7: Restore water flow and then reconnect the power supply.
7. Troubleshooting
| Problem | Possible Cause | Solution |
|---|---|---|
| Water remains cloudy/green |
|
|
| No light from indicator |
|
|
| Water leakage |
|
|
8. Specifications
| Feature | Detail |
|---|---|
| Model Number | 50188 |
| UV-C Lamp Power | 36 W |
| Max. Flow Rate | 7000 l/h |
| Max. Pond Capacity | 55000 L |
| Dimensions (L x W x H) | 24.4 x 19.6 x 66.2 cm |
| Weight | 3.42 kg |
| Material (Quartz Tube) | Glass |
| Protection Rating | IP44 (Protected against splashing water) |
| Max. Pressure | 1 bar |
| Manufacturer | SunSun |
| Country of Origin | China |

Image: A detailed diagram providing all relevant product dimensions and connection sizes.
9. Warranty and Support
For warranty information, technical support, or to purchase replacement parts, please contact your retailer or the manufacturer directly. Keep your proof of purchase for warranty claims.
Manufacturer: SunSun