Wildgame Innovations W225D
Wildgame Innovations Tri-Pod Deer Feeder User Manual
Model: W225D
Introduction
The Wildgame Innovations Tri-Pod Deer Feeder, model W225D, is designed to provide a reliable and efficient way to dispense feed for wildlife. Featuring a durable construction and a programmable digital control unit, this feeder ensures consistent feeding schedules. This manual provides detailed instructions for the assembly, operation, maintenance, and troubleshooting of your feeder.
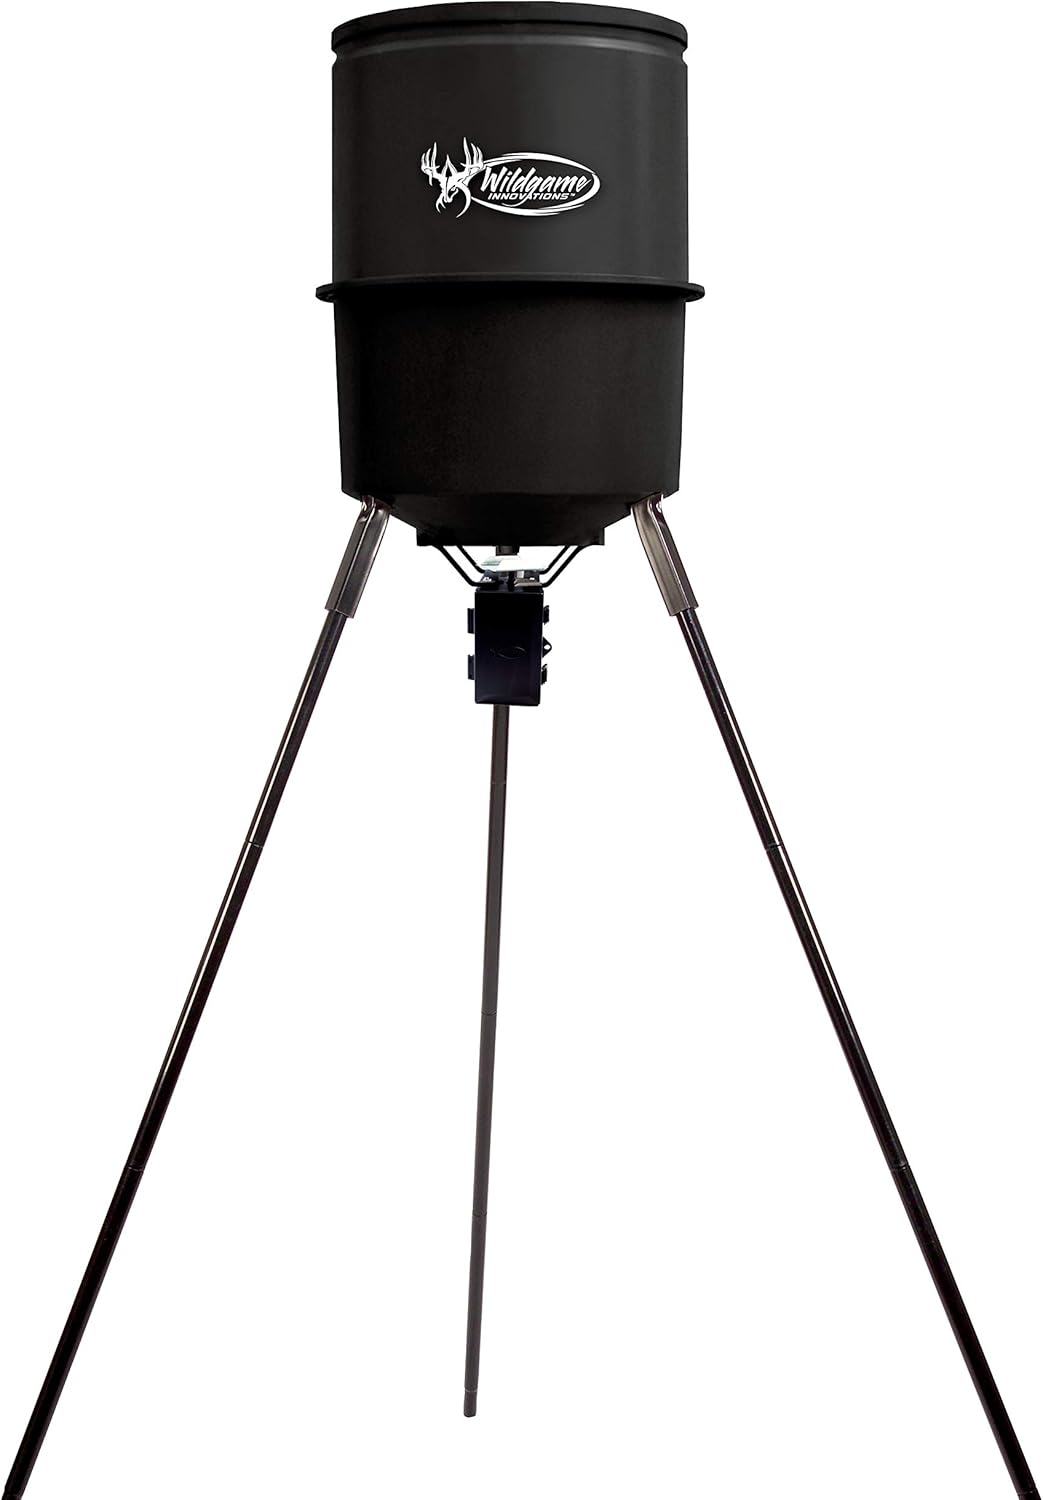
Figure 1: The Wildgame Innovations Tri-Pod Deer Feeder (Model W225D) fully assembled, showcasing its robust design and tripod base.
Setup and Assembly
The Tri-Pod Deer Feeder is designed for quick and easy assembly, typically taking around 15 minutes. Follow these steps for proper setup:
- Unpack Components: Carefully remove all parts from the packaging. Verify that all components are present according to the packing list.
- Assemble Legs: Attach the heavy-duty coated legs to the feeder body using the provided rivet system. Ensure all connections are secure.
- Attach Control Unit: Secure the digital power control unit to the designated mounting area beneath the feeder body.
- Install Battery: Open the battery compartment on the control unit and insert a 6V battery (not included). Ensure correct polarity.
- Position Feeder: Place the assembled feeder on a stable, level surface in your desired location.

Figure 2: Top-down view of a person assembling or adjusting the feeder's components, highlighting the leg attachment points.

Figure 3: A person attaching or inspecting the control unit located at the base of the feeder, ensuring proper connection.
Operating Instructions
Your Wildgame Innovations feeder is equipped with a newly designed digital power control unit for precise feeding management.
Filling the Feeder
The feeder features a durable 225 lb (102.1 kg) polyethylene body with an integrated funnel to minimize food waste. To fill:
- Remove the top lid of the feeder.
- Carefully pour your desired feed into the hopper. The feeder can hold approximately 225 pounds of feed.
- Replace the lid securely to protect the feed from elements and pests.

Figure 4: A person pouring feed into the top opening of the feeder, demonstrating the refilling process.
Programming Feeding Times
The digital control unit allows you to set up to 4 feeding times per day. Refer to the specific instructions provided with the control unit for detailed programming steps. Generally, the process involves:
- Accessing the programming menu on the digital display.
- Setting the current time and date.
- Defining up to four daily feeding schedules, including start time and duration.
- Adjusting the motor speed or spin plate intensity if applicable, to control feed dispersion. The feeder features a galvanized steel spinner plate for efficient distribution.

Figure 5: Close-up view of hands interacting with the digital control panel of the feeder, showing the display and buttons for programming.
Maintenance
Regular maintenance ensures the longevity and optimal performance of your feeder.
- Cleaning: Periodically clean the feeder's interior and the spinner plate to prevent clogs and maintain hygiene. Use a brush or cloth to remove any feed residue.
- Battery Check: Monitor the battery level regularly. Replace the 6V battery when it shows signs of weakening to ensure consistent operation. Consider using a solar panel (sold separately) for extended battery life.
- Component Inspection: Inspect the legs, control unit, and all connections for any signs of wear, damage, or looseness. Tighten any loose bolts or rivets.
- Storage: If storing the feeder for an extended period, empty all feed, clean thoroughly, and remove the battery. Store in a dry, protected area.
Troubleshooting
If you encounter issues with your feeder, refer to the following common problems and solutions:
- Feeder Not Dispensing:
- Check battery: Ensure the 6V battery is charged and correctly installed.
- Check for clogs: Inspect the hopper and spinner plate for any obstructions or compacted feed.
- Verify programming: Confirm that feeding times are correctly set on the digital control unit.
- Inconsistent Feed Dispersion:
- Check spinner plate: Ensure the galvanized steel spinner plate is clean and free of debris.
- Battery level: A low battery can affect motor performance.
- Feed type: Ensure the feed type is suitable for the feeder and not too clumpy or fine.
- Digital Display Not Working:
- Check battery connections and charge.
- Ensure the control unit is securely attached and its wiring is intact.
For issues not covered here, please contact Wildgame Innovations customer support.
Specifications
| Feature | Specification |
|---|---|
| Model Number | W225D |
| Brand | Wildgame Innovations |
| Dimensions (L x W x H) | 60.96 x 58.42 x 45.72 cm (24 x 23 x 18 inches) |
| Weight | 15.6 kg (34.4 lbs) |
| Material | Alloy Steel (legs), Polyethylene (body) |
| Capacity | 225 lbs (102.1 kg) |
| Power Source | 6V Battery (not included) |
| Feeding Times | Up to 4 programmable times |
| Spinner Plate | Galvanized Steel |
Warranty and Support
Wildgame Innovations stands behind the quality of its products. For specific warranty details, please refer to the warranty card included with your purchase or visit the official Wildgame Innovations website. For technical assistance, replacement parts, or any other inquiries, please contact Wildgame Innovations customer support directly.
Contact Information: Please refer to the contact details provided on the product packaging or the official Wildgame Innovations website for the most current support information.
Related Documents - W225D
 |
Wildgame Innovations TH-DT Digital Timer User Manual Comprehensive user manual for the Wildgame Innovations TH-DT Digital Timer, detailing installation, setup of clock, feed times, duration, RPM, testing procedures, and troubleshooting for common issues like jams and short circuits. |
 |
Wildgame Innovations Hunting & Shooting Product Catalog Explore the comprehensive Wildgame Innovations catalog featuring trail cameras, feeders, crossbows, attractants, scent control products, and hunting accessories designed for serious hunters. |
 |
Wildgame Innovations TR8i1-7 Infrared Digital Scouting Camera User Manual User manual for the Wildgame Innovations TR8i1-7 Infrared Digital Scouting Camera. Covers features, installation, operation, image retrieval, SD card formatting, warranty, and FCC statement. |
 |
Wildgame Innovations Encounter Cellular Trail Camera - User Manual Comprehensive guide to setting up and using the Wildgame Innovations Encounter Cellular Trail Camera, including app integration, power, settings, and mounting instructions. |
 |
Wildgame Innovations SPARK SWTC2 Trail Camera User Manual User manual for the Wildgame Innovations SPARK SWTC2 trail camera, covering battery installation, SD card setup, time zone settings, power, manual time/date settings, atomic clock sync, image display, mounting, retrieving images, SD card formatting, limited warranty, and FCC compliance. |
 |
Wildgame Innovations T6B20 Invisible IR Digital Scouting Camera User Manual Comprehensive user manual for the Wildgame Innovations T6B20 Invisible IR Digital Scouting Camera, covering setup, features, operation, and troubleshooting. |
Ask a question about this manual
Ask about setup, troubleshooting, compatibility, parts, safety, or missing instructions. Manuals+ will review the question and use this page’s manual context to help answer it.