1. Introduction
The Ematic AT103B Digital TV Converter Box is designed to enable your television without a built-in digital tuner to receive new digital broadcasts. This device enhances your viewing experience by offering features such as an electronic program guide, parental controls, real-time and scheduled recording capabilities, and multimedia playback via a USB connection. This manual provides detailed instructions to help you set up and operate your converter box effectively.
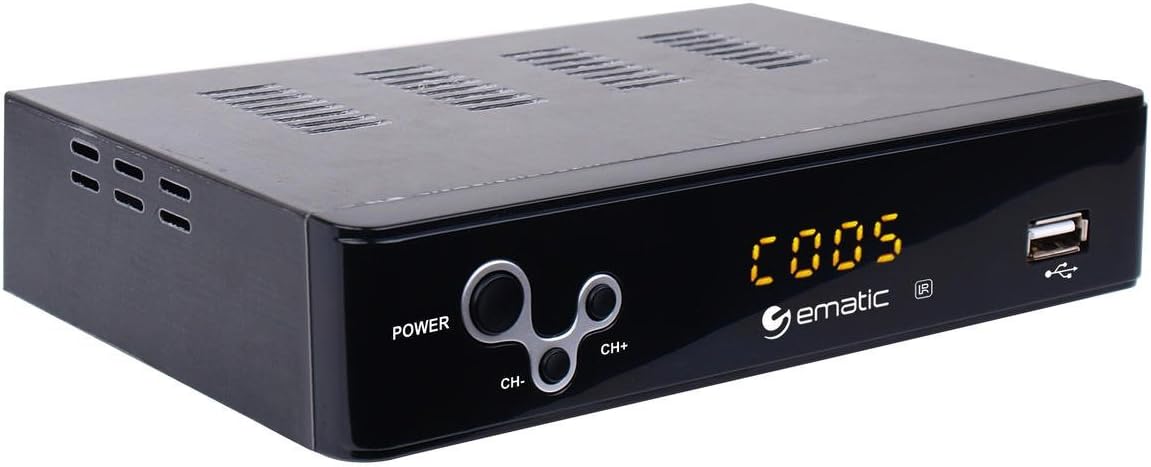
Figure 1: Ematic AT103B Digital TV Converter Box, front view.
2. What's in the Box
Please verify that all items listed below are included in your package:
- Ematic AT103B Digital TV Converter Box
- Full Function Remote Control (requires 2 AA batteries, not included)
- HDMI Cable
- AV Cable (RCA)
- IR Receiver Cable
- USB-C Cable (for power)
- Power Adapter
- User's Manual (this document)
- Quick Setup Guide
- Warranty Card

Figure 2: Ematic AT103B Digital TV Converter Box with remote control, HDMI cable, AV cable, IR receiver, USB-C cable, and power adapter.
Unboxing Video
Video 1: Unboxing of a similar digital converter box, demonstrating typical package contents and initial presentation.
3. Setup Guide
3.1 Connecting the Converter Box
Follow these steps to connect your Ematic AT103B Digital TV Converter Box to your television and antenna:
- Connect Antenna: Connect your outdoor or indoor antenna to the 'RF IN' port on the back of the converter box.
- Connect to TV:
- HDMI (Recommended for HD): Use the provided HDMI cable to connect the 'HDMI' port on the converter box to an available HDMI input on your TV.
- AV (RCA for Standard Definition): Use the provided AV cable (red, white, yellow) to connect the 'L-AUDIO-R' and 'VIDEO' ports on the converter box to the corresponding AV input ports on your TV.
- Connect IR Receiver: Plug the IR receiver cable into the 'IR' port on the converter box. Position the IR receiver in a location where it has a clear line of sight to your remote control.
- Connect Power: Connect the USB-C power cable to the converter box and then plug the power adapter into a wall outlet.
- Power On: Turn on your TV and the converter box. Select the correct input source (HDMI or AV) on your TV that corresponds to the connection you made.

Figure 3: Rear view of the converter box with various input/output ports.
3.2 Initial Channel Scan
After connecting your converter box, you need to scan for available digital channels:
- Ensure your TV is on the correct input source for the converter box.
- On the converter box remote, press the MENU button.
- Navigate to the 'Channel Search' or 'Program' menu using the arrow keys on the remote.
- Select 'Auto Search' or 'Auto Tune' and press OK. The converter box will now scan for all available digital channels in your area. This process may take several minutes.
- Once the scan is complete, the converter box will automatically tune to the first available channel.
Setup and Channel Search Video
Video 2: Demonstrates wiring connections, manual search, and automated search functions for a digital converter box.
4. Operating Instructions
4.1 Basic TV Viewing
- Channel Up/Down: Use the CH+ and CH- buttons on the remote to change channels.
- Volume Control: Use the VOL+ and VOL- buttons to adjust the volume.
- Electronic Program Guide (EPG): Press the EPG button to view program information for upcoming broadcasts.
- Info: Press the INFO button to display current channel and program details.

Figure 4: Remote control for the Ematic AT103B Digital TV Converter Box.
4.2 Recording Features (PVR/DVR)
The converter box supports recording TV programs to a USB storage device (not included).
- Real-time Recording: While watching a program, press the REC button on the remote to start recording immediately. Press STOP and then OK to end and save the recording.
- Scheduled Recording: Press the EPG button, select the program you wish to record, and press OK. Follow the on-screen prompts to set the recording schedule (date, time, repeat options).
- Playback Recordings: Press the PVR or USB button on the remote, navigate to the 'PVR' section, and select your desired recording from the list.
4.3 Multimedia Playback
You can play various media files from a USB storage device:
- Insert a USB flash drive or external hard drive into the USB port on the front of the converter box.
- Press the USB button on the remote.
- Select the media type (Music, Photo, Movie) and navigate to your files. Press OK to play.
4.4 Parental Controls
To restrict access to certain channels or programs:
- Press the MENU button and navigate to 'Program Edit'.
- Enter the default password (usually '000000' or '888888').
- Select the channel you wish to lock and press the LOCK button (often a colored button on the remote).
4.5 Favorite Channel List
Create a personalized list of your preferred channels:
- Press the MENU button and navigate to 'Program Edit'.
- Enter the password.
- Select the channel you want to add to favorites and press the FAV button (often a colored button). Choose a favorite type (e.g., Movie, News, Sport).
- To access your favorite channels, press the FAV button during normal viewing and select your desired category.
4.6 Timeshift Function
The timeshift function allows you to pause live television broadcasts. A USB storage device is required for this feature.
- While watching live TV, press the PAUSE button on the remote. The program will pause and begin recording to the connected USB device.
- Press PLAY to resume viewing from where you paused.
- You can use the REWIND and FAST FORWARD buttons to navigate within the buffered content.

Figure 5: The timeshift function allows pausing live TV.
5. Maintenance
- Cleaning: Use a soft, dry cloth to clean the exterior of the converter box. Do not use liquid cleaners or aerosols.
- Ventilation: Ensure the converter box has adequate ventilation. Do not block any ventilation openings.
- Power: Disconnect the power adapter from the wall outlet if the device will not be used for an extended period.
- Software Updates: Periodically check the manufacturer's website for any available firmware updates to ensure optimal performance and access to the latest features.
6. Troubleshooting
| Problem | Possible Cause | Solution |
|---|---|---|
| No picture/No signal | Incorrect TV input selected; Loose cable connections; Antenna not connected or positioned correctly. | Verify TV input source; Check all cable connections (HDMI/AV, antenna, power); Adjust antenna position and rescan channels. |
| Poor picture quality/Pixelation | Weak antenna signal; Antenna interference. | Reposition antenna for better signal reception; Consider a stronger antenna or signal amplifier; Check for nearby electronic interference. |
| Remote control not working | Dead batteries; Obstruction between remote and IR receiver; IR receiver not properly connected. | Replace remote batteries; Ensure clear line of sight to IR receiver; Check IR receiver cable connection. |
| Cannot record to USB | USB device not formatted correctly; USB device full; USB device not compatible. | Ensure USB device is formatted to FAT32 or NTFS; Delete old recordings to free space; Try a different USB device. |
| No sound | TV or converter box volume muted; Incorrect audio settings. | Check volume levels on both TV and converter box; Ensure TV is not muted; Verify audio settings in the converter box menu. |
7. Technical Specifications
| Feature | Specification |
|---|---|
| Model Number | AT103B |
| Brand | Ematic |
| Output Resolution | Up to 1080P |
| Video Output | HDMI, CVBS (RCA) |
| Audio Output | Stereo L/R (RCA) |
| USB Support | USB 2.0 for PVR, multimedia playback (MP3, AAC, AVI, MPG, DAT, VOB, MKV, MJPEG, JPEG, BMP, PNG) |
| Tuner Type | Digital ATSC |
| Features | Electronic Program Guide (EPG), Parental Control, Real-time Recording, Scheduled Recording, Timeshift, Favorite Channel List, Closed Captioning, EAS (Emergency Alert System) |
| Power Supply | DC 5V/3A (via USB-C) |
| Dimensions | 16.6 x 16 x 14.4 inches (Product Dimensions, likely packaging) |
| Item Weight | 1.6 ounces |
8. Warranty & Support
The Ematic AT103B Digital TV Converter Box comes with a limited manufacturer's warranty. Please refer to the included Warranty Card in your package for specific terms, conditions, and duration of coverage. For technical support, product registration, or to inquire about replacement parts, please visit the official Ematic website or contact their customer service department.
You can also visit the Ematic Store on Amazon for more product information and support resources.


