
1. Introduction
This instruction manual provides essential information for the proper installation, operation, and maintenance of the STIHL Carburetor, model 4137-120-0614. This carburetor is designed for use with STIHL FS80, FS85, FC75, KM80, and KM85 series equipment. Please read this manual thoroughly before attempting any procedures to ensure safe and effective use.
2. Safety Information
WARNING:
- Always wear appropriate personal protective equipment (PPE) such as gloves and eye protection when handling fuel or working on engine components.
- Ensure the engine is turned off and cooled down before performing any installation or maintenance.
- Work in a well-ventilated area to avoid inhaling fuel vapors.
- Keep open flames, sparks, and other ignition sources away from fuel and fuel system components.
- If you are unsure about any procedure, consult a qualified service technician.
3. Product Overview
The carburetor is a crucial component responsible for mixing air and fuel in the correct proportions for combustion in your engine. This replacement carburetor is designed to restore optimal performance to compatible STIHL equipment.
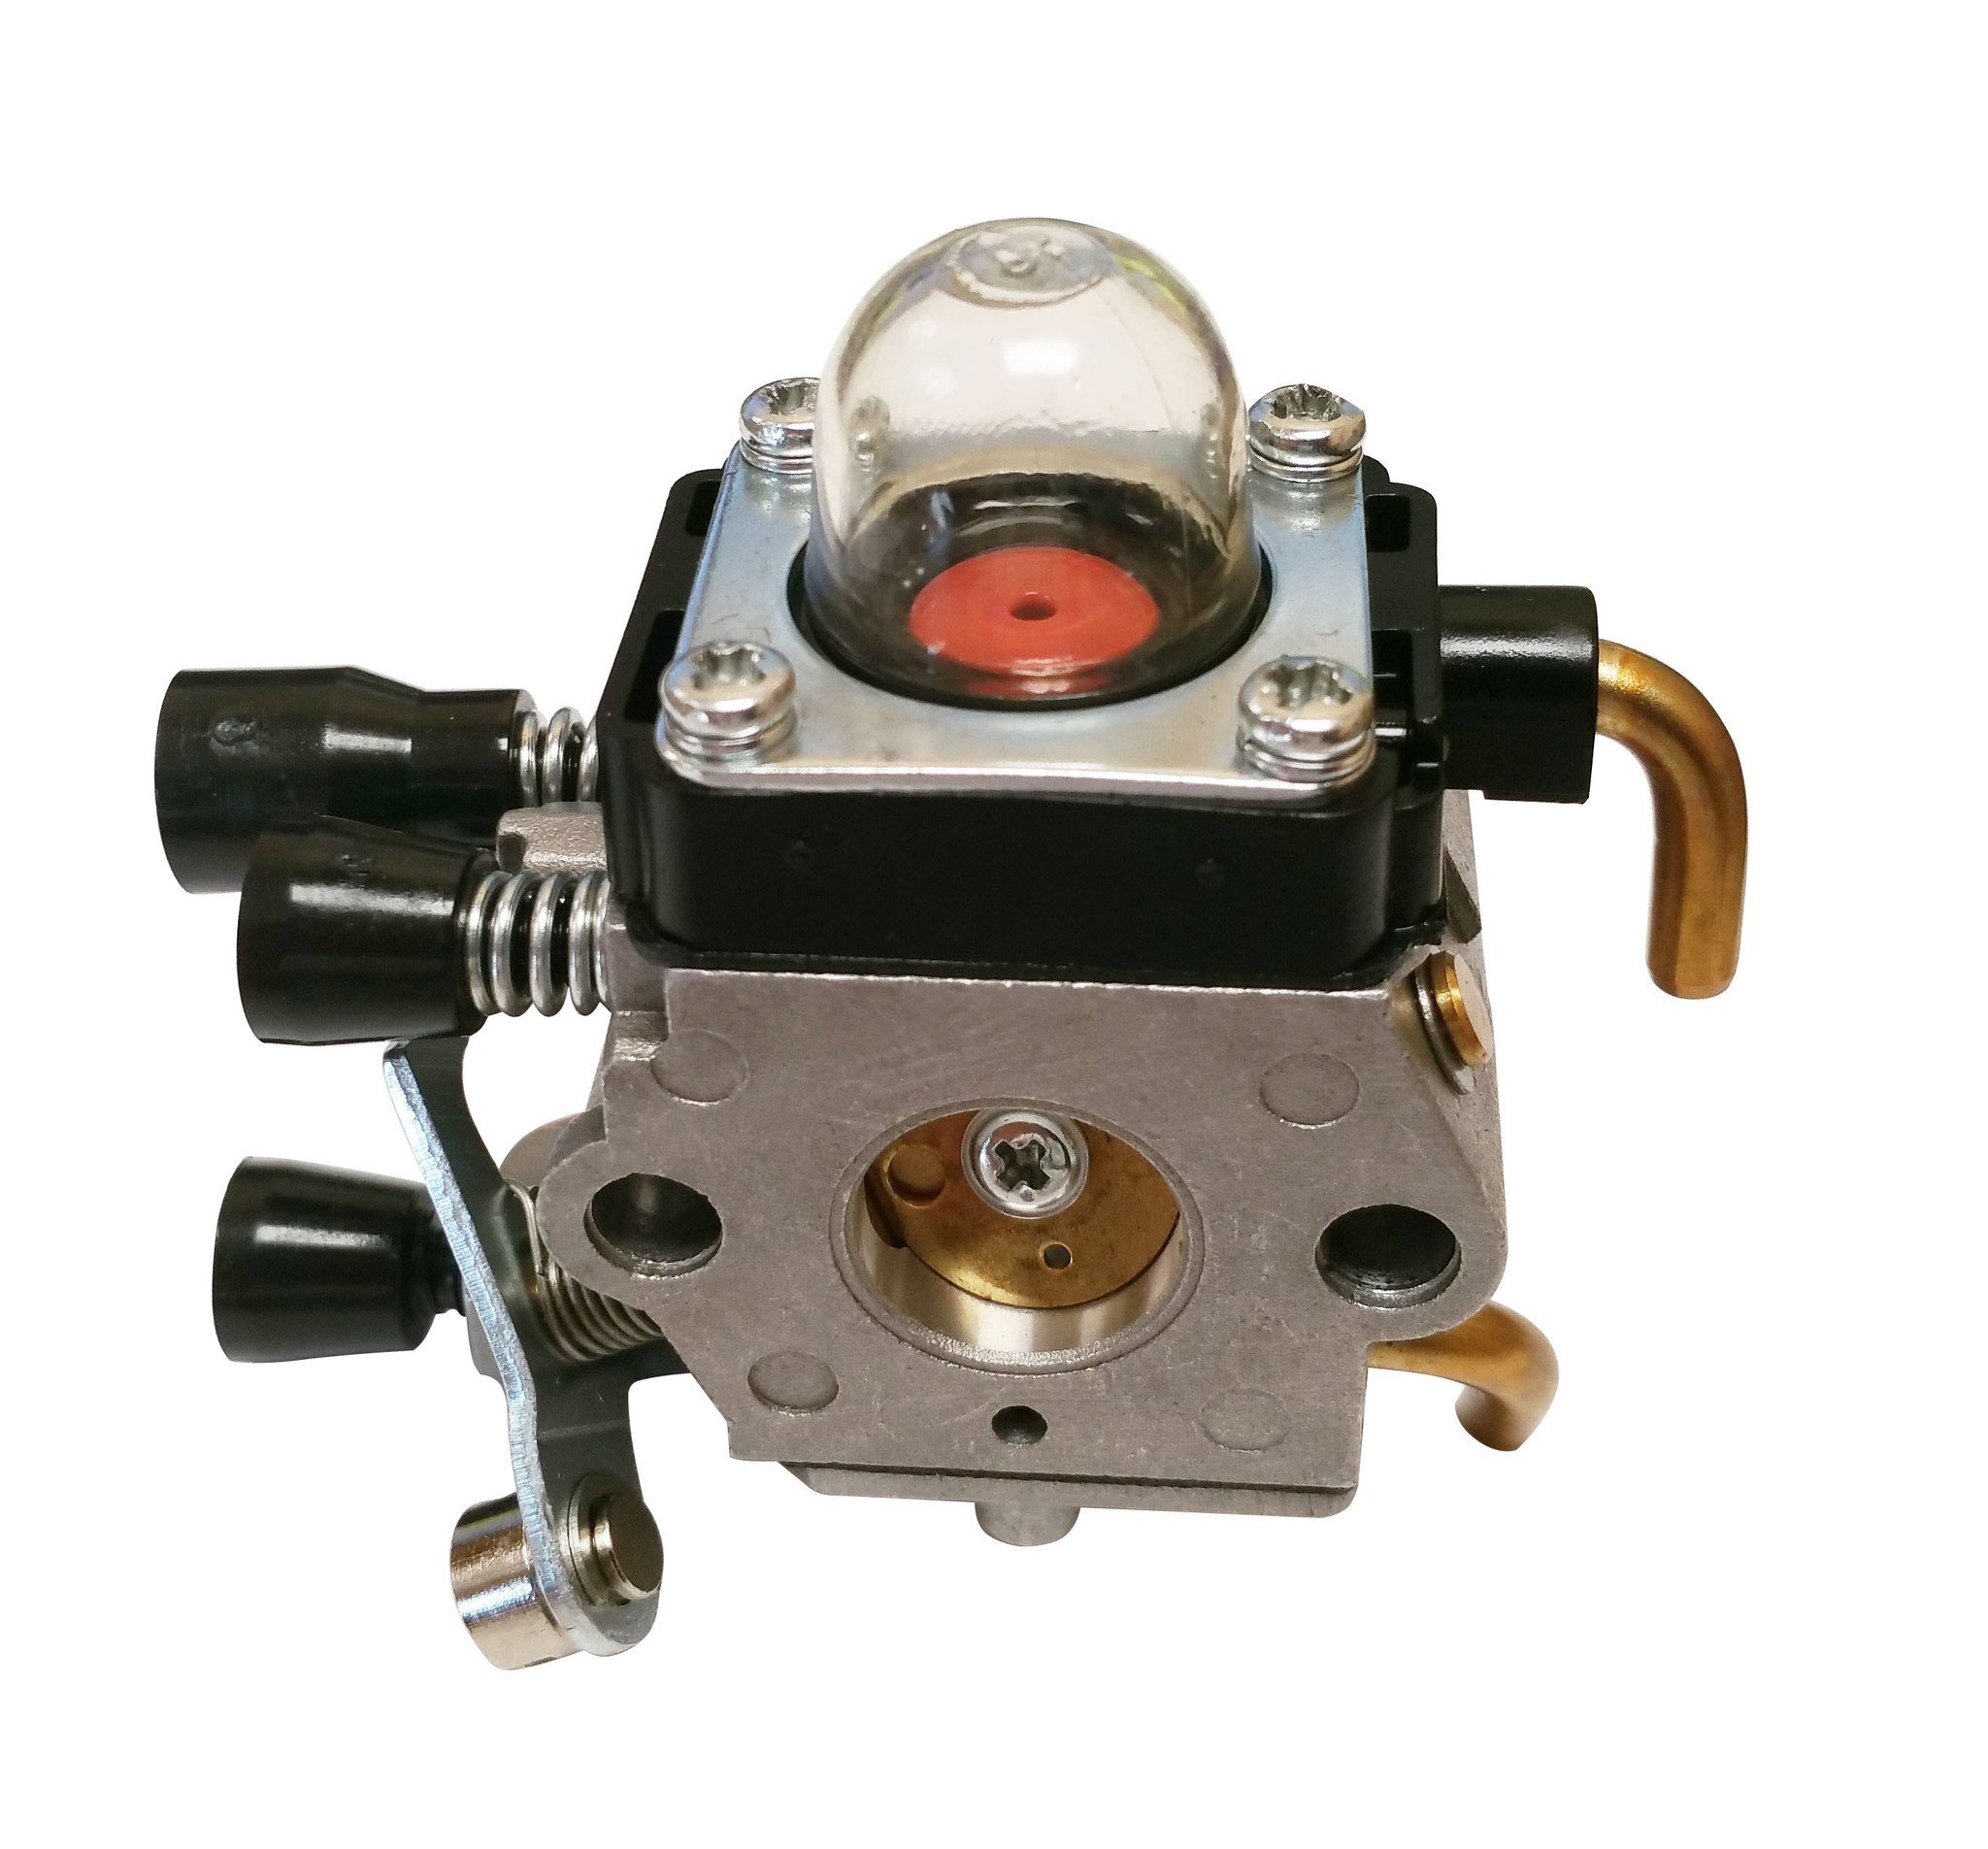
Figure 1: Stihl FS80 FS85 FC75 KM80 KM85 Carburetor. This image displays the carburetor, highlighting its fuel inlet, air intake, and adjustment screws. The clear primer bulb is prominently visible on the top surface.
4. Setup and Installation
Carburetor replacement requires careful attention to detail. If you are not experienced with small engine repair, it is recommended to seek professional assistance.
4.1. Preparation
- Ensure the engine is off and cool. Disconnect the spark plug wire to prevent accidental starting.
- Drain any fuel from the fuel tank.
- Gather necessary tools, including screwdrivers, wrenches, and pliers.
4.2. Removal of Old Carburetor
- Locate the carburetor on your equipment. It is typically situated between the air filter and the engine cylinder.
- Carefully disconnect the fuel lines, throttle linkage, and choke linkage from the old carburetor. Note their positions for reassembly.
- Remove the mounting bolts or nuts securing the carburetor to the engine.
- Gently remove the old carburetor and any gaskets. Inspect the intake manifold for debris.
4.3. Installation of New Carburetor
- Install new gaskets if provided, ensuring they are correctly aligned.
- Position the new carburetor onto the mounting studs or bolts.
- Secure the carburetor with the mounting bolts/nuts, tightening them evenly to prevent air leaks.
- Reconnect the fuel lines, throttle linkage, and choke linkage to their correct positions. Double-check all connections.
- Reconnect the spark plug wire.
5. Operating Instructions
After installation, proper starting and initial adjustments are necessary.
5.1. Fueling and Priming
- Fill the fuel tank with the correct fuel mixture (gasoline and 2-stroke oil, as specified by your equipment's manufacturer).
- Press the primer bulb several times until fuel is visible in the bulb and flows freely, indicating the carburetor is primed.
5.2. Starting the Engine
- Follow your equipment's specific starting procedure (e.g., set choke, pull starter cord).
- Once the engine starts, allow it to warm up for a few minutes.
5.3. Carburetor Adjustments (if applicable)
Some carburetors may require fine-tuning. Refer to your equipment's original manual for specific adjustment procedures for idle speed (LA), high-speed (H), and low-speed (L) mixture screws. Incorrect adjustments can damage the engine.
6. Maintenance
Regular maintenance ensures the longevity and performance of your carburetor.
- Fuel Filter: Regularly inspect and replace the fuel filter in the fuel tank to prevent debris from entering the carburetor.
- Air Filter: Keep the air filter clean to ensure proper air intake and prevent dirt from reaching the carburetor.
- Fuel Quality: Always use fresh, clean fuel mixed according to your equipment's specifications. Stale or contaminated fuel can cause carburetor issues.
- Storage: Before long-term storage, drain the fuel tank and run the engine until it stops to clear fuel from the carburetor, or use a fuel stabilizer.
7. Troubleshooting
If you encounter issues, consider the following common problems and solutions:
| Problem | Possible Cause | Solution |
|---|---|---|
| Engine won't start | No fuel, clogged fuel filter, incorrect choke setting, spark plug issue. | Check fuel level, replace fuel filter, adjust choke, inspect/replace spark plug. Ensure carburetor is primed. |
| Engine runs poorly/lacks power | Dirty air filter, incorrect carburetor adjustment, stale fuel. | Clean/replace air filter, adjust carburetor (if applicable), use fresh fuel. |
| Fuel leaks | Loose fuel lines, damaged gaskets, faulty primer bulb. | Inspect and tighten fuel lines, replace gaskets, replace primer bulb. |
If troubleshooting steps do not resolve the issue, consult a qualified service technician.
8. Specifications
- Model Number: 4137-120-0614
- Compatible Equipment: STIHL FS80, FS85, FC75, KM80, KM85
- Fuel Type: Gasoline (mixed with 2-stroke oil as per equipment manufacturer's specifications)
9. Warranty and Support
For warranty information or technical support regarding this carburetor, please refer to the original purchase documentation or contact the seller directly. STIHL also provides extensive support for its products through authorized dealers and its official website.
For general product information, you may visit the official Stihl USA website.


