1. Product Overview
The JBL Professional LSR310S is a powered 10-inch studio monitor subwoofer designed to extend the low-frequency performance of any studio monitor system. It delivers deep, dynamic bass response and is an ideal companion for JBL 3 Series studio monitors. Its robust design ensures faithful audio reproduction for critical listening environments.

Figure 1: Front view of the JBL Professional LSR310S Subwoofer. This image displays the sleek black finish and the front-firing port design.
2. What's in the Box
- JBL Professional LSR310S Studio Monitor Subwoofer
- Power Cable
- Set-up Guide

Figure 2: Included accessories: Quick Setup Guide and Power Cable.
3. Setup Instructions
Proper setup is crucial for optimal performance of your LSR310S subwoofer. Follow these steps for connection and initial configuration.
3.1 Placement
Position the subwoofer on the floor, ideally between your main studio monitors. Experiment with placement to find the optimal bass response for your listening environment. The patented JBL front-firing Slip Stream™ port design allows for flexible placement without compromising low-frequency extension.
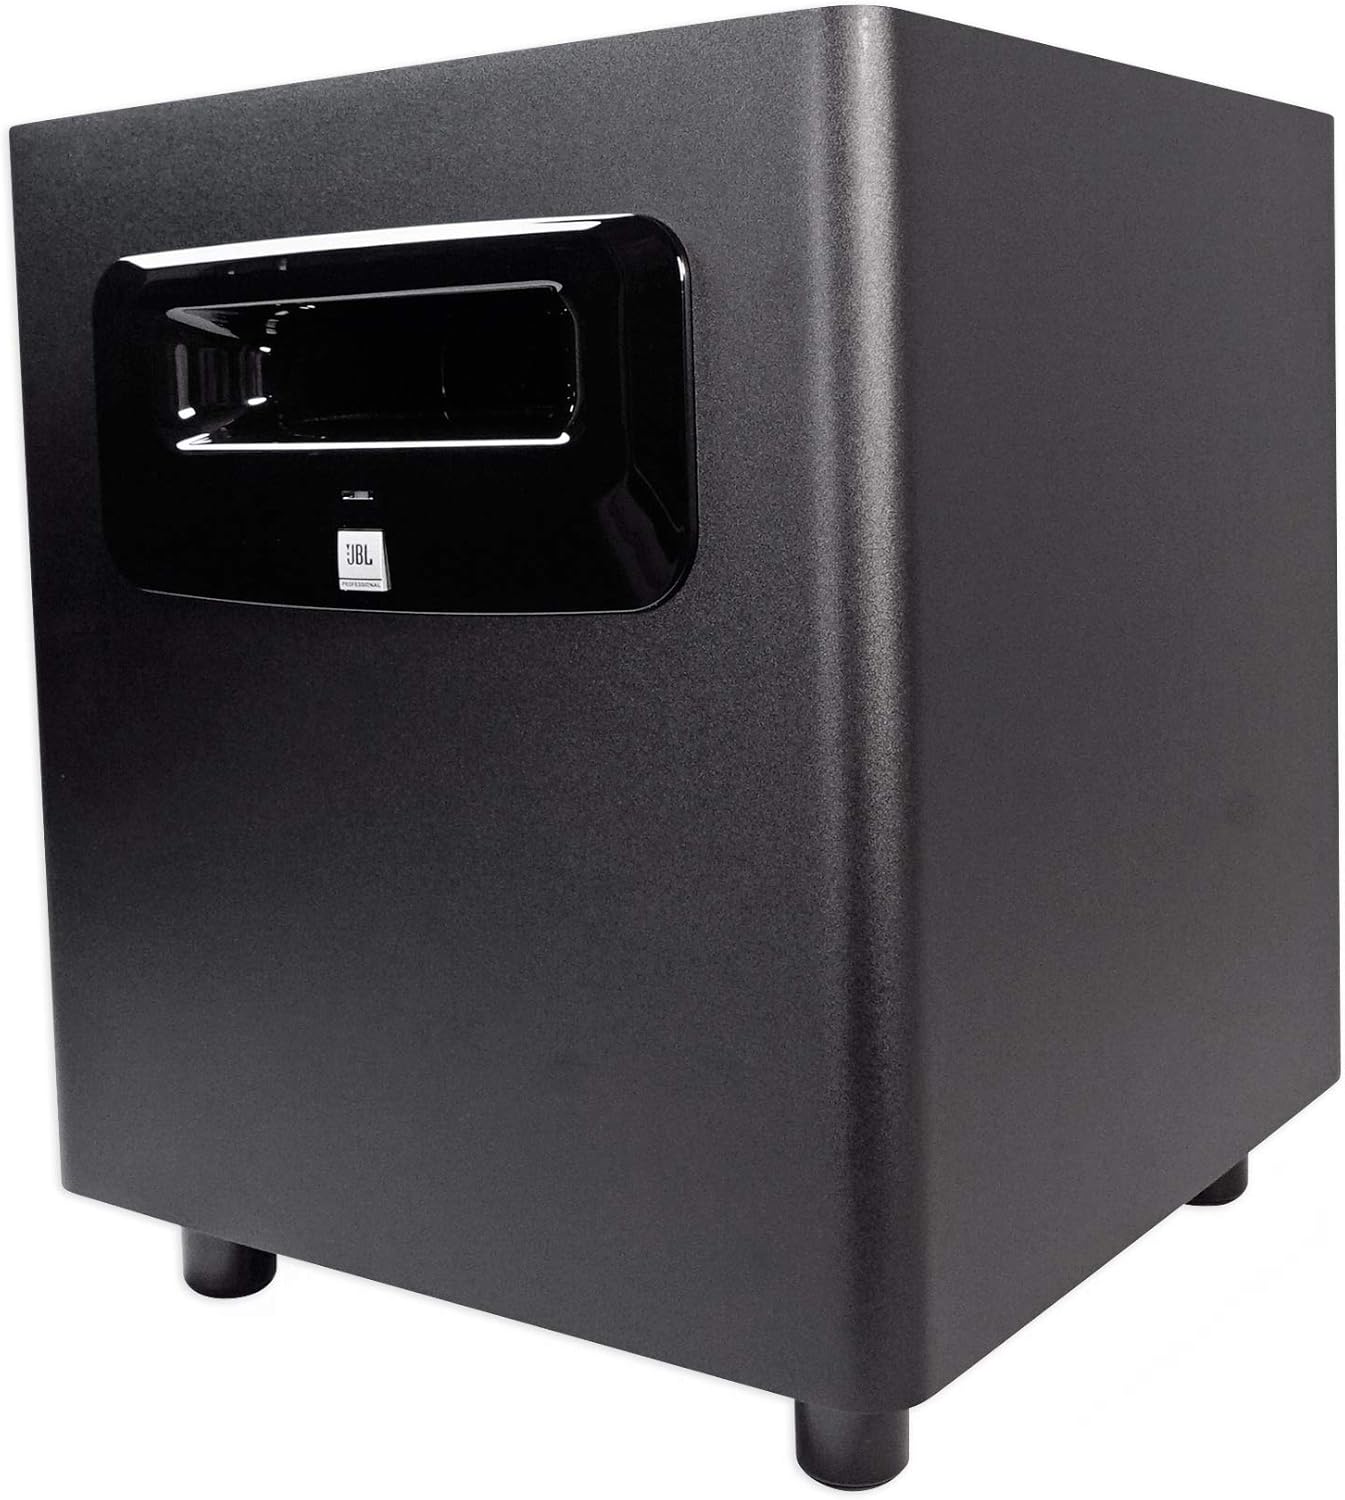
Figure 3: Side view of the JBL Professional LSR310S Subwoofer, showing its compact design suitable for various placements.
3.2 Audio Connections
The LSR310S features professional balanced XLR and 1/4" TRS inputs and XLR outputs, allowing seamless integration into any studio monitor system or for use as an LFE channel in a surround sound setup.
- Connect your audio source (e.g., audio interface, mixer) to the INPUTS on the subwoofer using balanced XLR or 1/4" TRS cables.
- Connect the OUTPUTS of the subwoofer to your main studio monitors. The subwoofer will pass the processed signal to your monitors.
- Ensure all connections are secure.

Figure 4: Rear panel of the LSR310S, detailing the input/output connections and control knobs.
3.3 Power Connection
- Connect the provided power cable to the AC inlet on the rear panel of the subwoofer.
- Plug the other end of the power cable into a grounded AC outlet.
- Ensure the power switch is in the OFF position before connecting to power.
4. Operating Instructions
Familiarize yourself with the controls on the rear panel to optimize your listening experience.
4.1 Initial Power-Up
- After all connections are made, switch the power button to the ON position. The power indicator will illuminate.
- Slowly increase the volume of your audio source and the subwoofer to a comfortable listening level.
4.2 Controls Overview
- Volume Control: Adjusts the overall output level of the subwoofer.
- Crossover Frequency: Select the crossover point (e.g., 80 Hz, 100 Hz, 120 Hz) to seamlessly integrate the subwoofer with your main monitors.
- Polarity Switch: Adjusts the phase of the subwoofer (0° or 180°) to ensure optimal acoustic alignment with your main monitors.
- -10dBV/+4dBu Sensitivity Switch: Ensures compatibility with a broad range of signal sources, preventing input overload from high-output professional equipment.
- XLF Setting: Activates an extended low-frequency tuning that emulates the bass response found in dance clubs, providing an inspiring sound for dance music production.
5. Features
- Patented Slip Stream™ Port: This unique port design works in concert with the 10-inch low-frequency driver for deep, dynamic bass response at all playback levels. Its double-flared shape optimizes low-frequency extension.
- XLF Extended Low Frequency Setting: A JBL innovation, this setting emulates the ample bass tuning used in today's dance clubs, inspiring producers working on dance tracks.
- Custom-Designed 10-inch Driver: Engineered for deep low-frequency response down to 20 Hz and 113 dB peak output, ensuring long-term reliability even at full rated power.
- Professional Balanced Inputs and Outputs: Features balanced XLR and 1/4" inputs and XLR outputs for versatile connectivity with any studio monitor system or surround sound setup.
- Selectable Input Sensitivity: The -10dBV/+4dBu sensitivity switch ensures compatibility with various signal sources, preventing input overload from high-output professional equipment.
6. Specifications
| Specification | Value |
|---|---|
| Model Name | LSR310S |
| Speaker Type | Subwoofer |
| Woofer Diameter | 10 Inches (25.4 Centimeters) |
| Speaker Maximum Output Power | 200 Watts |
| Frequency Response | 27 Hz |
| Signal-to-Noise Ratio | 113 dB |
| Connectivity Technology | Wired (2 x XLR, 2 x TRS Balanced) |
| Audio Output Mode | Stereo, Surround |
| Product Dimensions | 15.7"D x 15"W x 17.7"H |
| Item Weight | 34.3 pounds (15.6 Kilograms) |
| Material | Polyvinyl Chloride (PVC) |
| Color | Black |
| Input Voltage | 110 Volts |

Figure 5: Dimensions of the JBL Professional LSR310S Subwoofer.
7. Troubleshooting
If you encounter issues with your LSR310S subwoofer, refer to the following common troubleshooting steps:
- No Sound: Ensure the subwoofer is powered on, the volume is turned up, and all audio cables are securely connected. Check the audio source for output.
- Distorted Sound: Verify that the input sensitivity switch is correctly set for your equipment. Reduce the volume of the subwoofer and/or the audio source. Check for damaged cables.
- Hum or Buzz: Ensure all equipment is properly grounded. Try using the Ground Lift switch if available on your audio interface or mixer. Check for loose connections.
- Weak Bass: Adjust the volume and crossover frequency settings. Experiment with subwoofer placement in your room. Ensure the polarity switch is correctly set for optimal phase alignment with your main monitors.
8. Maintenance
To ensure the longevity and optimal performance of your JBL Professional LSR310S subwoofer, follow these maintenance guidelines:
- Cleaning: Use a soft, dry cloth to clean the exterior of the subwoofer. Avoid using abrasive cleaners, solvents, or waxes, as these can damage the finish.
- Ventilation: Ensure adequate airflow around the subwoofer. Do not block the rear panel or any vents.
- Environment: Operate the subwoofer in a stable environment, away from extreme temperatures, humidity, and direct sunlight.
- Cable Management: Keep audio and power cables organized and free from kinks or excessive tension to prevent damage.
9. Official Product Videos
Watch the official product video for an overview of JBL Studio Monitors, including the 3 Series, which the LSR310S is a part of.
Video 1: Overview of JBL LSR305 5" 2-Way Powered Studio Monitor. This video provides insights into the JBL 3 Series studio monitors, which the LSR310S subwoofer is designed to complement.
10. Warranty & Support
10.1 Warranty Information
The JBL Professional LSR310S Subwoofer comes with a Limited Warranty. Please refer to the detailed warranty card included in your product packaging or visit the JBL Professional website for specific terms and conditions regarding coverage duration and service.
10.2 Customer Support
For technical assistance, troubleshooting, or service inquiries, please contact JBL Professional customer support. Contact details can be found in your product documentation or on the official JBL Professional website.


