
1. Introduction
The BenQ XL2420Z is a 24-inch Full HD LED LCD monitor designed for high-performance gaming. It offers a 1ms response time and a 144Hz refresh rate, providing a fluid and responsive visual experience. This monitor incorporates advanced features such as Motion Blur Reduction, Low Blue Light, and Gaming-comfort Flicker-free technology to enhance user comfort during extended use. The Display Pilot software and Gaming Refresh Rate Optimization Management (GROM) further allow for precise control and customization of display settings.
2. Package Contents
Please check the package contents carefully. If any items are missing or damaged, contact your retailer immediately.
- BenQ XL2420Z Monitor
- Monitor Stand (Base and Neck)
- Power Cable
- DVI-D Cable
- HDMI Cable
- USB Cable
- S Switch Controller
- Quick Start Guide
- Driver CD (or link to download drivers)
3. Product Overview
The BenQ XL2420Z monitor is engineered to provide a competitive edge in gaming with its high refresh rate and fast response time. It features multiple input ports for versatile connectivity and an ergonomic stand for comfortable viewing.
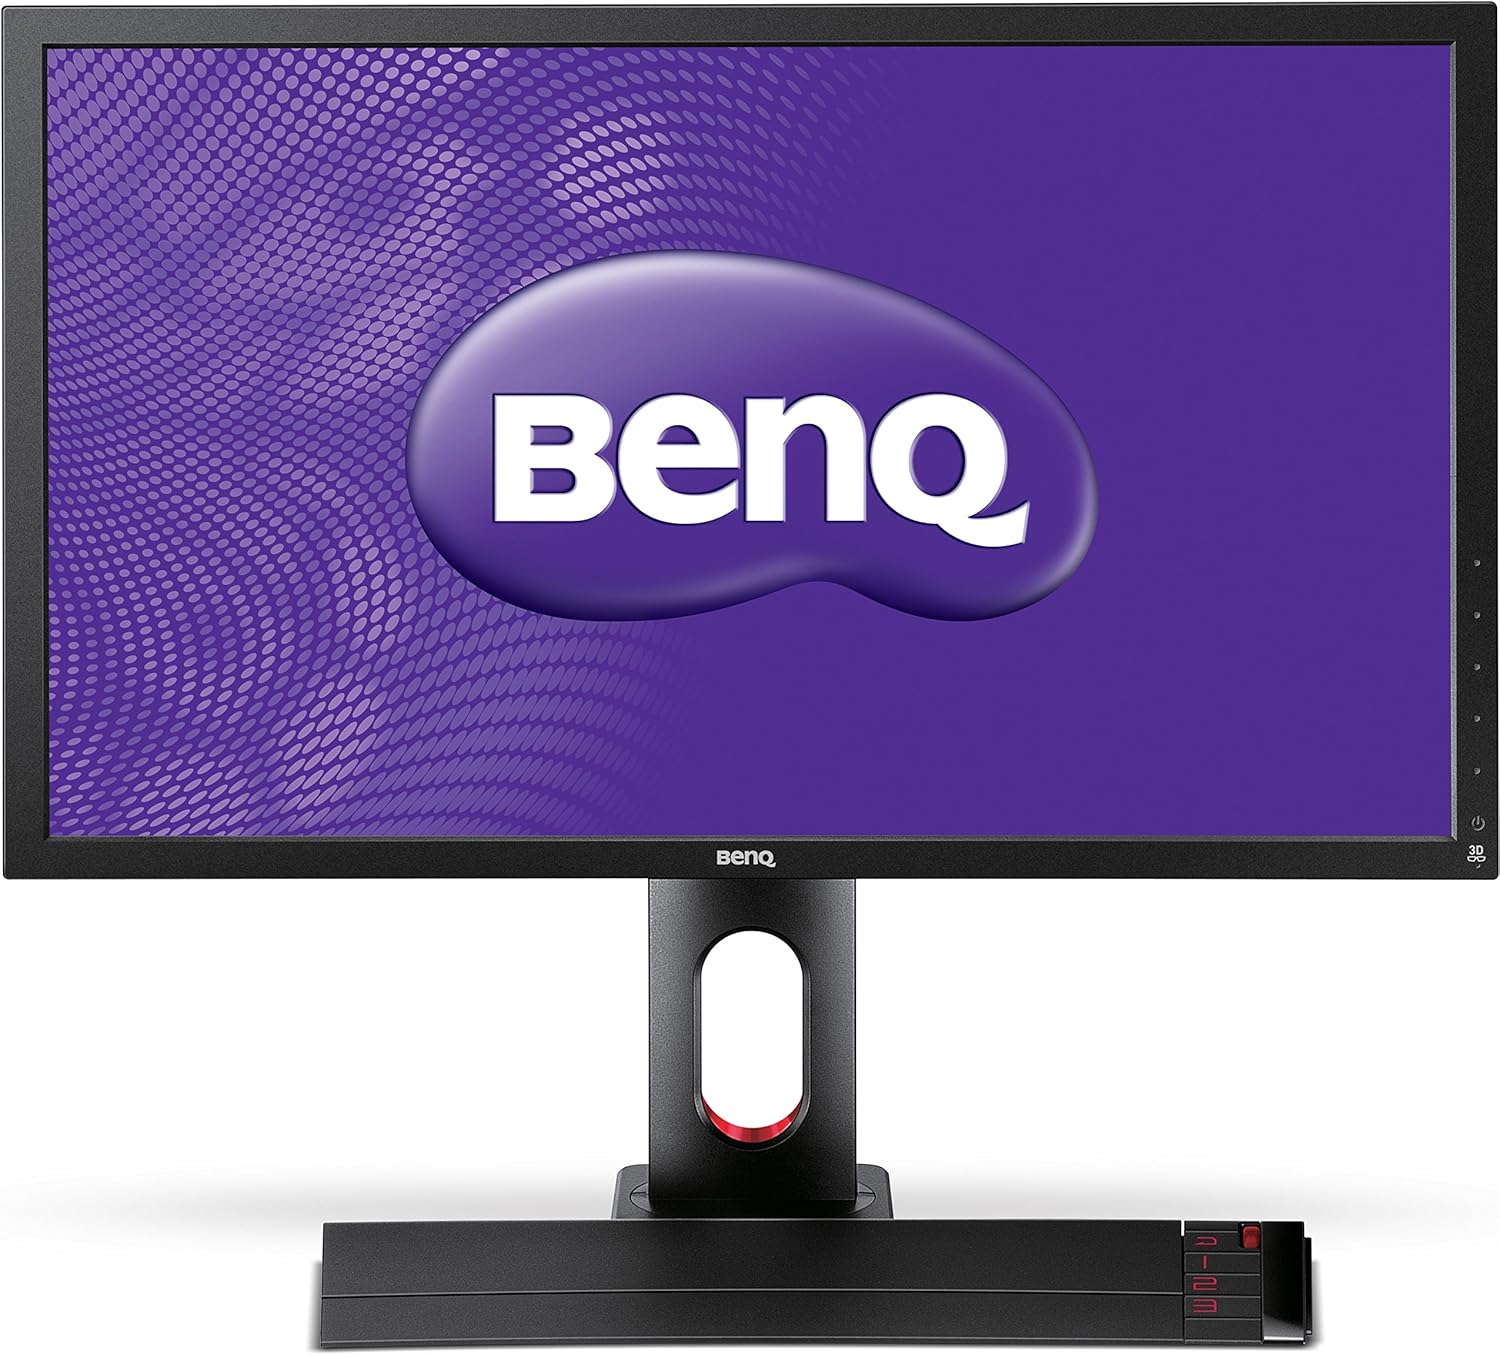
Figure 3.1: Front view of the BenQ XL2420Z monitor. This image shows the monitor from the front, displaying the BenQ logo on its screen, with the stand and the S Switch controller positioned in front of the base.

Figure 3.2: Rear view of the BenQ XL2420Z monitor. This image highlights the various input ports located on the back of the monitor, including D-SUB, DVI-D, HDMI, and USB ports, along with the stand attachment point.
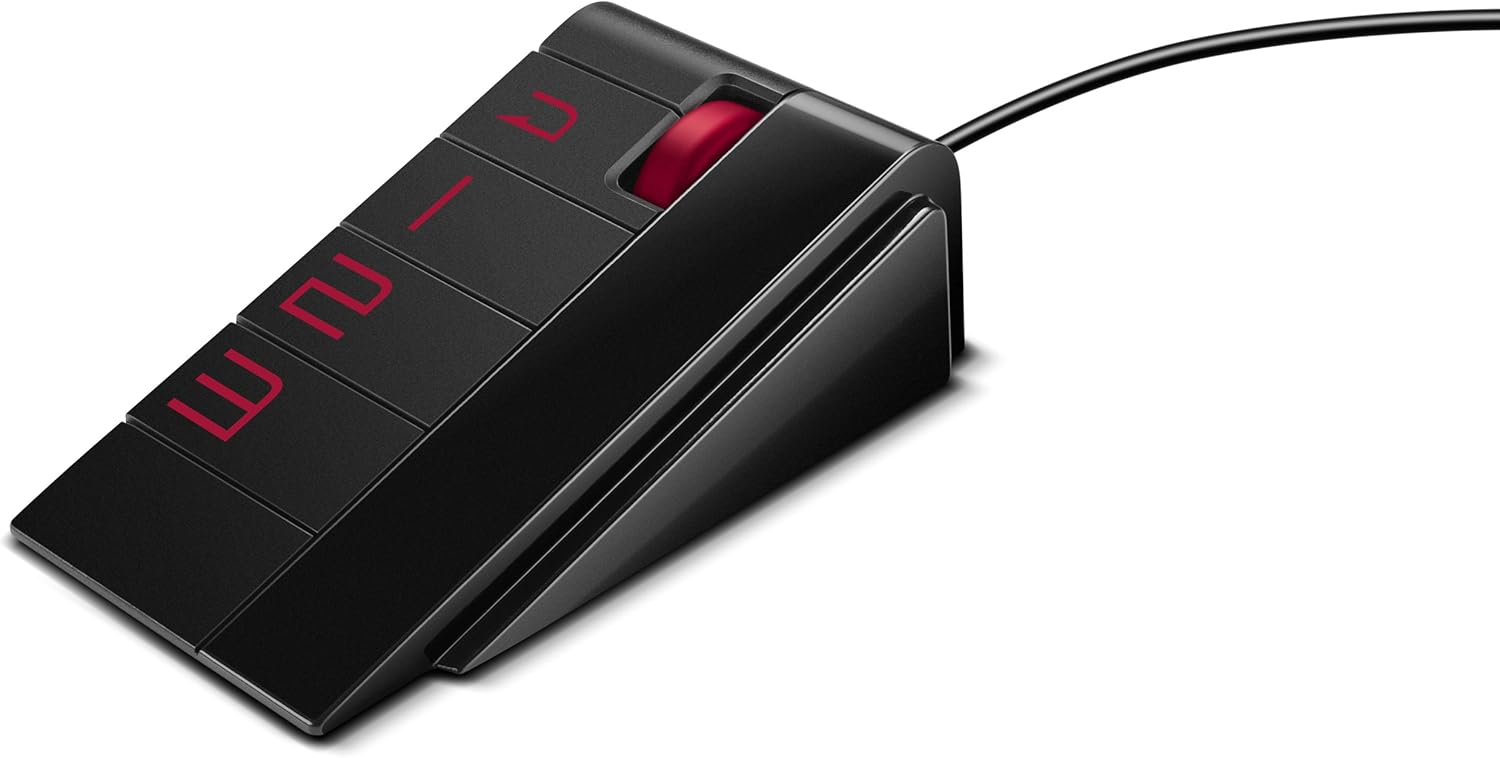
Figure 3.3: The S Switch controller. This external controller allows for quick and convenient navigation of the monitor's On-Screen Display (OSD) menu and switching between custom display modes.
Key Features:
- 24-inch Full HD Display: 1920x1080 resolution for crisp visuals.
- 144Hz Refresh Rate: Provides ultra-smooth motion for competitive gaming.
- 1ms GTG Response Time: Minimizes ghosting and motion blur.
- Motion Blur Reduction: Enhances clarity of fast-moving images.
- Low Blue Light & Flicker-free: Designed to reduce eye strain during prolonged use.
- S Switch: External controller for quick OSD navigation and preset switching.
- Versatile Connectivity: DVI-D, HDMI (x2), DisplayPort, VGA, USB hub.
- Ergonomic Stand: Height adjustment, tilt, swivel, and pivot for optimal viewing angles.
4. Setup
4.1 Assembling the Monitor
- Carefully remove all components from the packaging.
- Place the monitor screen face down on a soft, clean surface to prevent scratches.
- Attach the stand neck to the monitor panel, ensuring it clicks securely into place.
- Attach the stand base to the stand neck and tighten the captive screw at the bottom of the base.
- Gently lift the assembled monitor and place it upright on a stable desk.
4.2 Connecting to a Computer
The XL2420Z offers multiple input options. For optimal performance (144Hz), use the DVI-D Dual Link or DisplayPort connection.
- Power Connection: Connect the power cable to the monitor's power input and then to a power outlet.
- Video Connection:
- DVI-D: Connect one end of the DVI-D Dual Link cable to the monitor's DVI-D port and the other end to your computer's graphics card DVI-D port.
- HDMI: Connect an HDMI cable from the monitor's HDMI port to your computer's HDMI port.
- DisplayPort: Connect a DisplayPort cable from the monitor's DisplayPort to your computer's DisplayPort.
- VGA (D-SUB): Connect a VGA cable from the monitor's D-SUB port to your computer's VGA port.
- USB Hub Connection: Connect the upstream USB cable (Type-B to Type-A) from the monitor to an available USB port on your computer to enable the monitor's USB 2.0 ports.
- Audio Connection: If using DVI or VGA, connect an audio cable from your computer's audio output to the monitor's audio input. For HDMI/DisplayPort, audio is carried digitally.

Figure 4.1: Side view of the monitor with accessible ports. This image shows the USB and headphone jack ports conveniently located on the side of the monitor for easy access.

Figure 4.2: Side profile of the monitor. This image provides a clear view of the monitor's slim profile, the ergonomic stand, and the side-mounted USB and audio ports.
4.3 Initial Power On
After connecting all necessary cables:
- Press the power button on the monitor (located on the lower right bezel).
- The monitor will automatically detect the active input source. If not, use the S Switch or the OSD menu to manually select the input.
- Install the monitor drivers from the provided CD or download them from the official BenQ website (www.benq.com) for full functionality.
5. Operating the Monitor
5.1 On-Screen Display (OSD) Menu Navigation
The OSD menu allows you to adjust various monitor settings. You can navigate the OSD using the touch-sensitive buttons on the monitor bezel or the included S Switch controller.
- Using the S Switch: The S Switch provides dedicated buttons for quick access to preset display modes (e.g., FPS, RTS) and a scroll wheel for OSD navigation.
- Using Bezel Buttons: Press any of the touch-sensitive buttons on the right side of the monitor to bring up the OSD menu. Use the up/down arrows to navigate and the enter button to select.
5.2 Common OSD Settings
- Picture Mode: Select from various preset modes (Standard, Movie, Photo, sRGB, Eco, FPS1, FPS2, RTS, Gamer1/2/3) or customize your own.
- Display: Adjust brightness, contrast, sharpness, gamma, and color temperature.
- Input: Manually select the video input source (DVI, HDMI1, HDMI2, DisplayPort, VGA).
- Audio: Adjust volume or mute.
- System: Access settings for OSD language, OSD timeout, DDC/CI, and reset to factory defaults.
5.3 Ergonomic Adjustments
The monitor stand allows for various adjustments to optimize your viewing comfort:
- Height Adjustment: Raise or lower the monitor to eye level.
- Tilt: Adjust the screen angle forward or backward.
- Swivel: Rotate the monitor left or right on its base.
- Pivot: Rotate the screen 90 degrees for portrait mode viewing.
6. Maintenance
Proper care and maintenance will extend the life of your monitor.
- Cleaning the Screen: Gently wipe the screen with a soft, lint-free cloth. For stubborn marks, dampen the cloth slightly with water or a non-ammonia, non-alcohol based screen cleaner. Do not spray cleaner directly onto the screen.
- Cleaning the Casing: Use a soft, dry cloth to wipe the monitor casing. Avoid using abrasive cleaners or solvents.
- Ventilation: Ensure the ventilation openings on the monitor are not blocked. Do not place the monitor in an enclosed space without adequate airflow.
- Power Off: Always turn off the monitor and unplug it from the power outlet before cleaning or if it will be unused for an extended period.
7. Troubleshooting
If you encounter issues with your BenQ XL2420Z monitor, refer to the following common problems and solutions:
| Problem | Possible Cause | Solution |
|---|---|---|
| No image on screen | Power cable not connected; Video cable not connected; Incorrect input source selected. | Ensure power cable is securely connected. Check video cable connection to both monitor and computer. Select correct input source via OSD or S Switch. |
| Image is blurry or distorted | Incorrect resolution; Loose video cable; Graphics card driver issue. | Set display resolution to 1920x1080. Reconnect video cable. Update graphics card drivers. |
| No sound | Audio cable not connected (for DVI/VGA); Volume too low; Incorrect audio output selected on PC. | Ensure audio cable is connected if not using HDMI/DP. Increase monitor volume via OSD. Check PC audio output settings. |
| Monitor flickers | Refresh rate mismatch; Interference. | Ensure refresh rate is set correctly (e.g., 144Hz). Check for nearby electronic devices causing interference. |
| OSD menu not appearing | Buttons not responding; Monitor in power-saving mode. | Ensure monitor is powered on. Try pressing different OSD buttons or using the S Switch. |
If the problem persists after trying these solutions, please contact BenQ customer support.
8. Specifications
| Feature | Detail |
|---|---|
| Model Number | 9H.LC5LB.RBE |
| Screen Size | 24 Inches |
| Panel Type | TN (Twisted Nematic) |
| Resolution | 1920 x 1080 (Full HD) |
| Aspect Ratio | 16:9 |
| Refresh Rate | 144Hz (via DVI-D Dual Link / DisplayPort) |
| Response Time | 1ms (GtG) |
| Brightness | 300 cd/m² |
| Contrast Ratio | 1000:1 (Typical) |
| Viewing Angle | 170° (H) / 160° (V) |
| Connectivity | 1x D-SUB, 1x DVI-D Dual Link, 2x HDMI, 1x DisplayPort, USB 2.0 Hub (3x Downstream, 1x Upstream), Headphone Jack, Mic Jack |
| Power Consumption | 5 Volts (Operating) |
| Dimensions (WxHxD) | 22.48 x 20.31 x 5.87 inches (with stand) |
| Weight | 13.42 pounds (with stand) |
| Special Features | Motion Blur Reduction, Low Blue Light, Flicker-free, S Switch, Gaming Refresh Rate Optimization Management (GROM), Display Pilot |
9. Warranty and Support
9.1 Warranty Information
The BenQ XL2420Z monitor comes with a 1-Year Manufacturer's Warranty. This warranty covers defects in materials and workmanship under normal use. Please retain your proof of purchase for warranty claims.
For detailed warranty terms and conditions, please refer to the warranty card included with your product or visit the official BenQ website.
9.2 Customer Support
For technical assistance, troubleshooting beyond this manual, or warranty service, please contact BenQ customer support through their official channels:
- BenQ Official Website: Visit www.benq.com for support resources, FAQs, driver downloads, and contact information.
- Online Support: Many common issues can be resolved by checking the support section of the BenQ website.