
Introduction
This manual provides detailed instructions for the safe and efficient operation of your Singer 1412 Sewing Machine. Please read all instructions carefully before using the machine to ensure proper function and to prevent damage.
The Singer 1412 Sewing Machine features a heavy-duty metal frame for skip-free sewing and a very fast threading system, ensuring a smooth sewing experience. It is an ideal choice for both experienced textile artisans and beginners, offering unparalleled ease of use. Electronic speed control assists in managing sewing speed effectively.
Important Safety Instructions
When using an electrical appliance, basic safety precautions should always be followed, including the following:
- Read all instructions before using this sewing machine.
- Keep these instructions in a convenient place near the machine.
- Always unplug the machine from the electrical outlet immediately after using and before cleaning, removing covers, lubricating, or making any other user servicing adjustments mentioned in the instruction manual.
- Do not allow to be used as a toy. Close attention is necessary when this machine is used by or near children.
- Use this product only for its intended use as described in this manual. Use only attachments recommended by the manufacturer.
- Never operate this sewing machine if it has a damaged cord or plug, if it is not working properly, if it has been dropped or damaged, or dropped into water.
- Never drop or insert any object into any opening.
- Do not use outdoors.
- Do not operate where aerosol (spray) products are being used or where oxygen is being administered.
Setup
Unpacking and Initial Inspection
Carefully remove the sewing machine from its packaging. Retain all packaging materials for future storage or transport. Inspect the machine for any visible damage. Ensure all included accessories are present.

Figure 1: Front view of the Singer 1412 Sewing Machine. This image shows the overall design and main controls of the machine.
Power Connection
Connect the foot controller plug to the machine's power socket. Then, plug the machine's power cord into a suitable electrical outlet. Ensure the power switch is in the "OFF" position before connecting to power.
Included Components
Your Singer 1412 Sewing Machine comes with several essential accessories to enhance your sewing experience. These include:
- 4 Presser Feet
- Bobbins
- Needle Set
- Seam Ripper/Brush
- Spool Holders
- Screwdriver
- Foot Controller

Figure 2: Various accessories included with the Singer 1412 Sewing Machine, such as bobbins, needles, and different presser feet.
Threading the Machine
Proper threading is crucial for good stitch quality. Follow these steps carefully:
- Winding the Bobbin: Place an empty bobbin onto the bobbin winder spindle. Guide the thread from the spool pin through the tension disc and around the bobbin several times. Push the bobbin winder spindle to the right and press the foot controller to start winding. Stop when the bobbin is full and cut the thread.
- Inserting the Bobbin: Open the bobbin cover plate. Insert the wound bobbin into the bobbin case, ensuring the thread unwinds in the correct direction (usually counter-clockwise). Guide the thread through the tension spring and out the bobbin case opening.
- Upper Threading: Raise the presser foot and the needle to its highest position. Place a spool of thread on the spool pin. Guide the thread through the upper thread guide, down through the tension discs, up and around the take-up lever, and then down to the needle. Thread the needle from front to back.
- Drawing up the Bobbin Thread: Hold the upper thread lightly with your left hand. Turn the handwheel towards you to lower the needle, then raise it again. The upper thread will catch the bobbin thread, bringing it up through the needle plate opening. Pull both threads under the presser foot and towards the back of the machine.
Operating Instructions
Stitch Selection
The Singer 1412 offers 12 built-in stitches. To select a stitch, turn the stitch selector dial to the desired stitch pattern. Refer to the dial markings for available stitches.
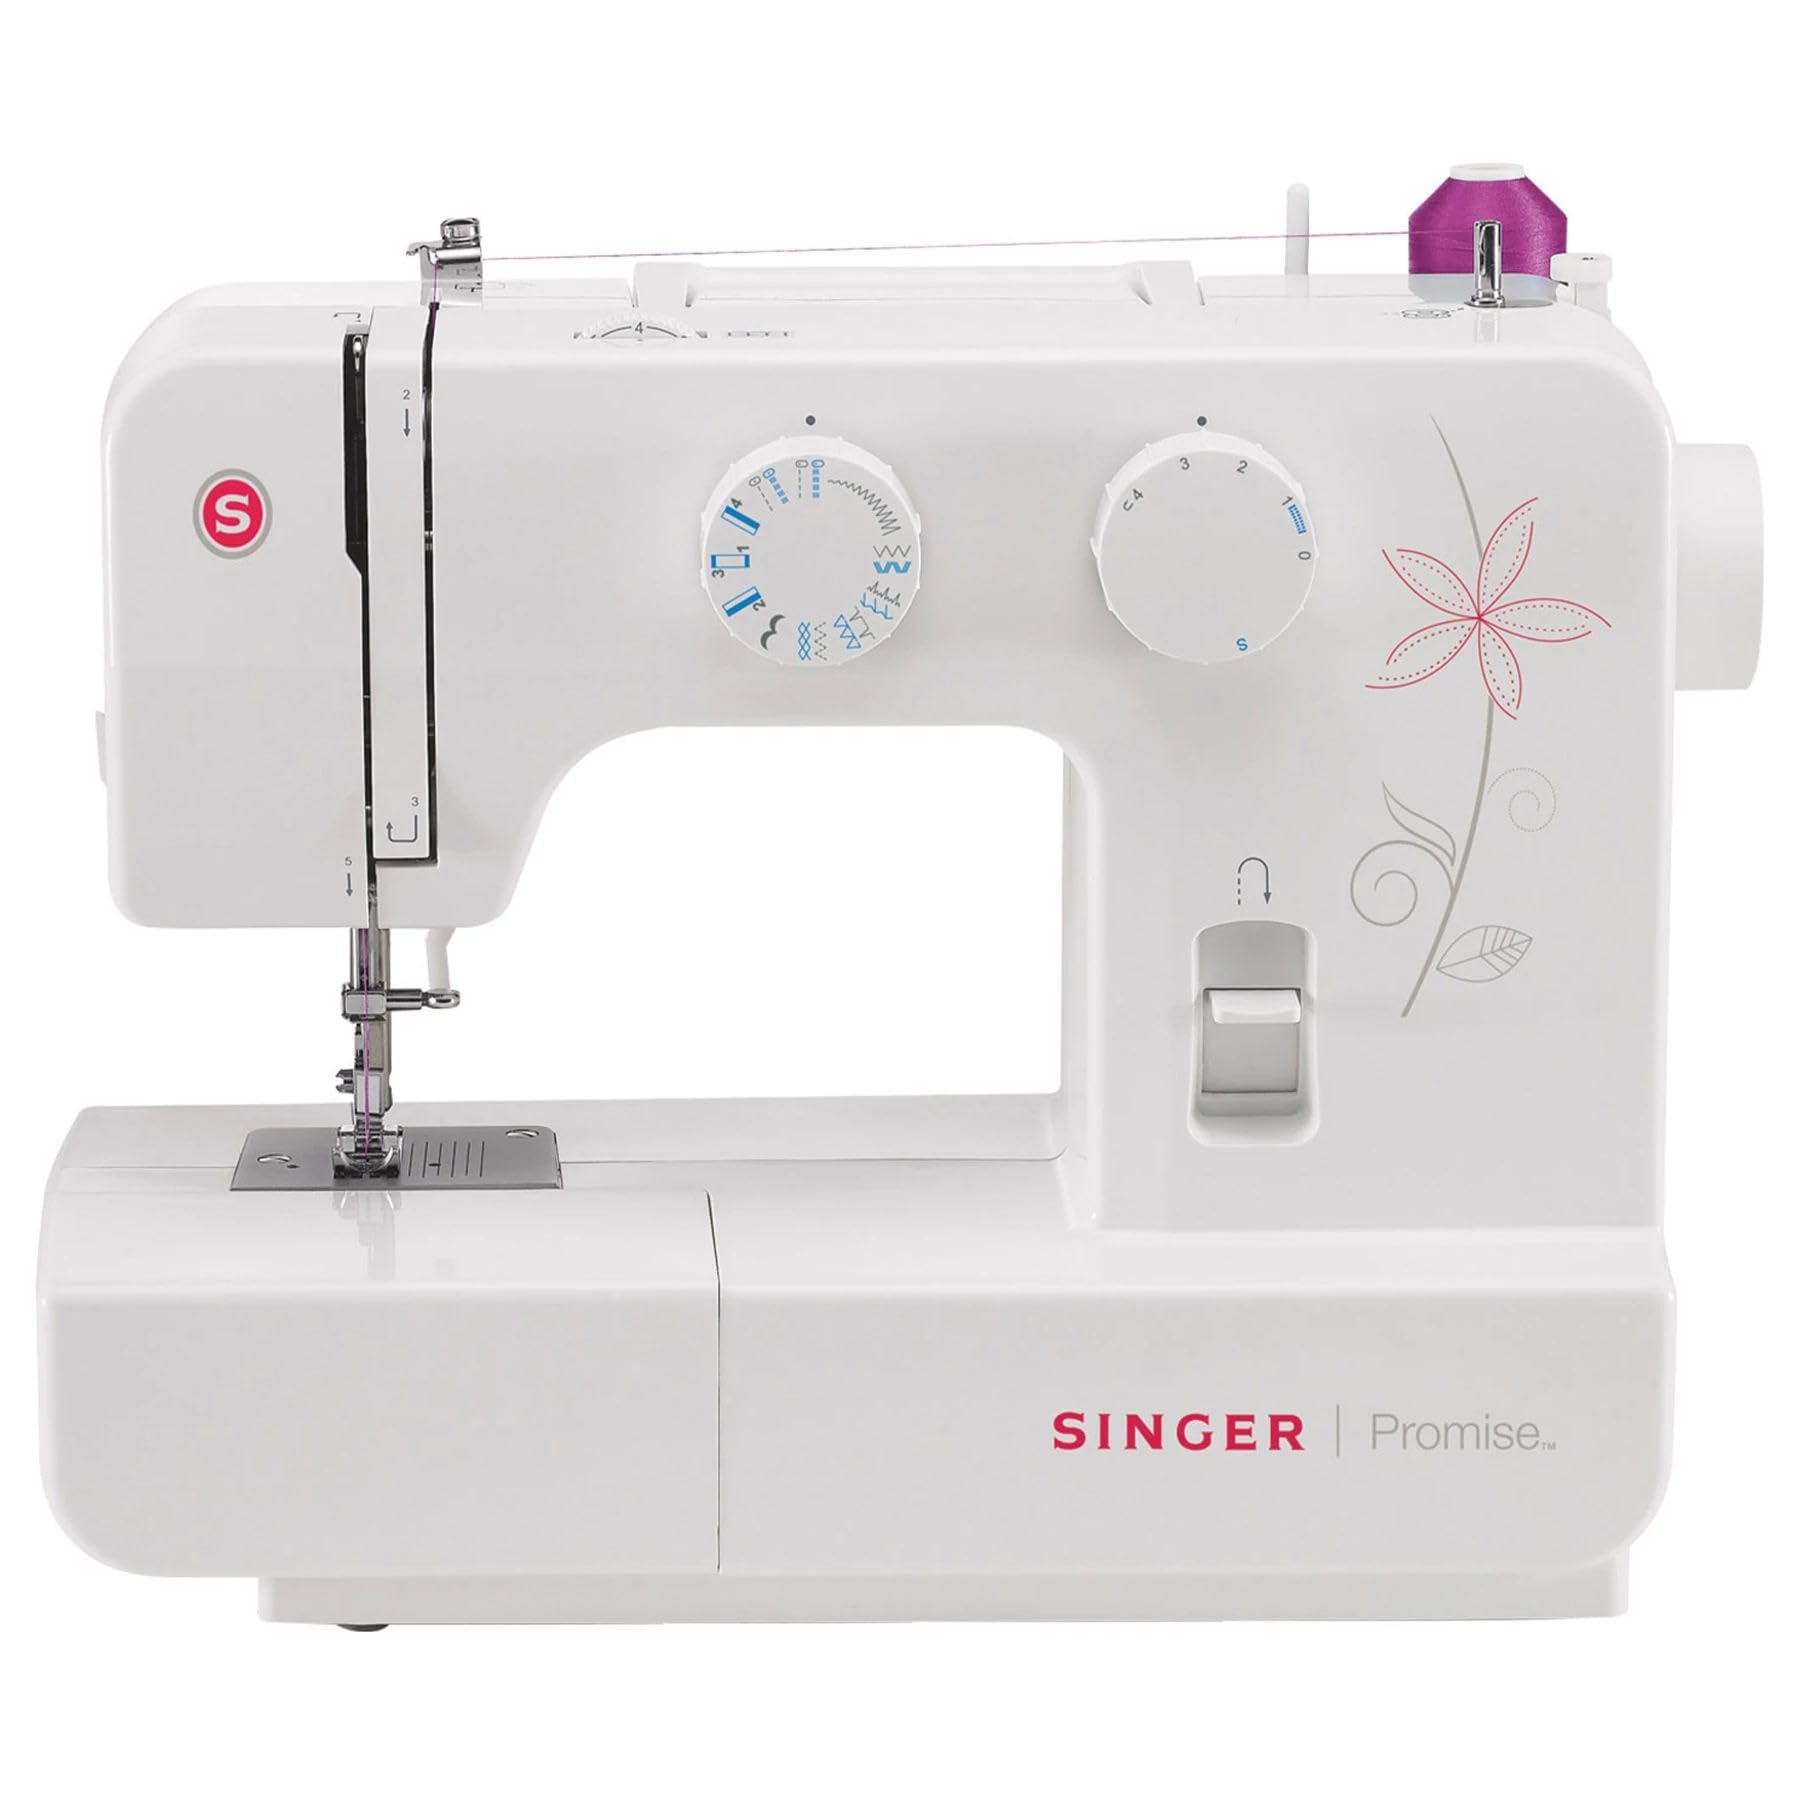
Figure 3: Close-up of the stitch selector dial, showing the 12 available stitch patterns and their corresponding numbers.
Adjusting Stitch Length and Width
You can adjust the length and width of most stitches to suit your fabric and project needs. Use the dedicated dials for stitch length and width adjustments. Experiment on a scrap piece of fabric to find the optimal settings.
Using Presser Feet
The machine includes 4 presser feet for various sewing tasks. Each foot is designed for specific functions like general sewing, zipper insertion, buttonholes, and button attachment. To change a presser foot, raise the presser foot lever, press the release button at the back of the foot holder, and snap the new foot into place.

Figure 4: The buttonhole presser foot attached to the Singer 1412, demonstrating its use for creating buttonholes on fabric.
Sewing Basics
Place your fabric under the presser foot, aligning the edge with the desired seam allowance guide on the needle plate. Lower the presser foot. Gently press the foot controller to start sewing. The electronic speed control allows for precise speed management. To reverse stitch, press and hold the reverse lever/button.
Maintenance
Cleaning
Regular cleaning ensures smooth operation. Always unplug the machine before cleaning.
- Feed Dogs: Use the included brush to remove lint and dust from the feed dogs and bobbin area.
- Tension Discs: Occasionally, run a piece of lint-free cloth through the tension discs to remove any trapped lint.
- Exterior: Wipe the exterior surfaces with a soft, damp cloth. Do not use harsh chemicals.
Needle Replacement
Replace the needle regularly, especially after every 8-10 hours of sewing or if it becomes bent or dull. A dull needle can cause skipped stitches and fabric damage.
- Turn off and unplug the machine.
- Loosen the needle clamp screw.
- Remove the old needle.
- Insert a new needle with the flat side facing the back of the machine, pushing it up as far as it will go.
- Tighten the needle clamp screw securely.
Troubleshooting
This section addresses common issues you might encounter with your sewing machine.
| Problem | Possible Cause | Solution |
|---|---|---|
| Skipped Stitches | Incorrectly inserted needle, bent or dull needle, incorrect needle size for fabric, improper threading. | Re-insert needle correctly, replace needle, use appropriate needle, re-thread machine. |
| Thread Breaking | Improper threading, tension too tight, poor quality thread, bent needle, burr on needle plate. | Re-thread machine, adjust tension, use good quality thread, replace needle, check for burrs. |
| Fabric Not Moving | Feed dogs lowered, presser foot not lowered. | Raise feed dogs, lower presser foot. |
| Machine Not Starting | Not plugged in, power switch off, bobbin winder engaged. | Check power connection, turn power switch on, disengage bobbin winder. |
Specifications
| Feature | Detail |
|---|---|
| Brand | Singer |
| Model Number | 1412 |
| Product Dimensions (Overall) | 50 x 50 x 28 cm |
| Product Dimensions (DxWxH) | 22 x 42.5 x 33.8 cm |
| Item Weight | 5 Kilograms |
| Material | Plastic, Metal |
| Color | White |
| Power Source | Electric |
| Number of Stitches | 12 Built-in Stitches |
| Stitch Adjustment | Adjustable stitch length and width |
| Presser Feet | 4 included |
| Frame Type | Heavy-duty metal frame |
| Included Components | Foot control unit |
| Assembly Required | No |
| Batteries Required | No |
| EU Spare Part Availability | 10 years |
| UPC | 374318843742, 764488962440 |
| ASIN | B00HIDDY6Y |
Warranty and Support
The manufacturer provides a warranty for this product. Please refer to the warranty card included with your purchase for specific terms and conditions. For technical support, spare parts, or service inquiries, please contact Singer customer service or visit their official website. Keep your purchase receipt as proof of purchase for warranty claims.
Warranty Description: Manufacturer's warranty.


