
Boston Acoustics PRO-A804
Contents
Boston Acoustics PRO-A804 4-Channel Car Audio Amplifier User Manual
Model: PRO-A804
1. Introduction
This manual provides detailed instructions for the installation, operation, and maintenance of your Boston Acoustics PRO-A804 4-Channel Car Audio Amplifier. Please read this manual thoroughly before installation and use to ensure proper function and safety.
The Boston Acoustics PRO-A804 is a high-performance 800W 4-channel amplifier designed to enhance your car audio system with clear and powerful sound reproduction.
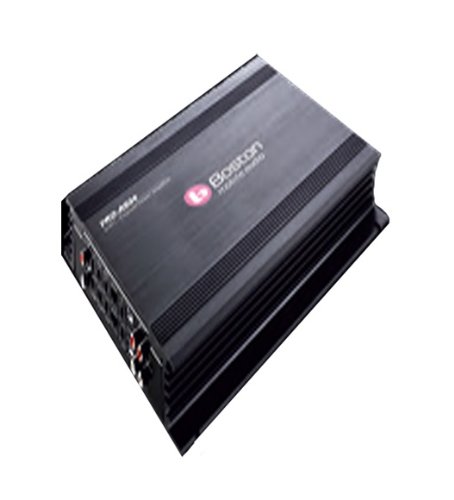
Figure 1: Boston Acoustics PRO-A804 4-Channel Car Audio Amplifier. This image shows the top-down view of the amplifier, highlighting its sleek black casing and the Boston Acoustics logo.
2. Safety Information
Always observe the following safety precautions to prevent injury or damage to the amplifier or vehicle:
- Disconnect the vehicle's negative battery terminal before starting any installation.
- Ensure all wiring is properly routed and secured to prevent pinching or damage.
- Do not mount the amplifier in locations exposed to direct sunlight, excessive heat, moisture, or dust.
- Use appropriate gauge wiring for power and ground connections as specified in this manual.
- Consult a professional car audio installer if you are unsure about any part of the installation process.
3. Package Contents
Verify that all items are present in the package:
- Boston Acoustics PRO-A804 Amplifier
- Mounting Hardware (screws)
- User Manual (this document)
4. Setup and Installation
4.1. Mounting Location
Choose a mounting location that is dry, well-ventilated, and away from direct heat sources. Common locations include under a seat, in the trunk, or behind a panel. Ensure sufficient space for wiring connections and airflow around the amplifier's heatsink.
4.2. Wiring Connections
Follow these steps for proper wiring:
- Power Connection: Connect a suitable gauge power wire (e.g., 8 AWG or 4 AWG depending on total system power) directly from the positive terminal of the car battery to the amplifier's +12V terminal. Install an inline fuse holder within 18 inches (45 cm) of the battery.
- Ground Connection: Connect a ground wire of the same gauge as the power wire from the amplifier's GND terminal to a clean, unpainted metal surface on the vehicle chassis. Ensure a solid electrical connection.
- Remote Turn-On: Connect a remote turn-on wire from your head unit's remote output to the amplifier's REM terminal. This wire turns the amplifier on and off with your head unit.
- RCA Input: Connect RCA cables from your head unit's pre-amp outputs to the amplifier's RCA input jacks (CH1/2, CH3/4).
- Speaker Output: Connect speaker wires from the amplifier's speaker terminals to your speakers. Observe correct polarity (+ to + and - to -). The PRO-A804 supports 4-channel output.
4.3. Initial Settings
Before powering on, set the amplifier's gain controls to their minimum (fully counter-clockwise) position. Set crossover switches (if applicable) to a neutral or full-range position for initial testing.
5. Operating Instructions
5.1. Powering On
Once all connections are secure, reconnect the vehicle's negative battery terminal. Turn on your car's ignition and head unit. The amplifier's power indicator should illuminate.
5.2. Gain Adjustment
The gain control matches the amplifier's input sensitivity to the output level of your head unit. To set the gain:
- Play a familiar piece of music with a strong signal.
- Set your head unit's volume to about 75% of its maximum.
- Slowly increase the amplifier's gain control until you hear distortion, then back it off slightly until the sound is clear.
- Repeat for all channels if independent gain controls are present.
5.3. Crossover Settings
The PRO-A804 may feature built-in crossovers (High-Pass Filter - HPF, Low-Pass Filter - LPF). Adjust these to optimize sound quality for your specific speakers:
- HPF: Used for full-range speakers or tweeters to block low frequencies.
- LPF: Used for subwoofers to block high frequencies.
- Refer to your speaker manufacturer's recommendations for optimal crossover points.
6. Maintenance
The Boston Acoustics PRO-A804 amplifier requires minimal maintenance. Keep the amplifier clean and free from dust and debris. Periodically check all wiring connections for tightness and corrosion. Do not use harsh chemicals or abrasive cleaners on the amplifier's surface.
7. Troubleshooting
| Problem | Possible Cause | Solution |
|---|---|---|
| No power/No sound | Blown fuse, loose power/ground/remote wire, amplifier in protect mode. | Check inline fuse and amplifier fuses. Verify all power, ground, and remote connections. Check speaker wiring for shorts. |
| Distorted sound | Gain set too high, improper crossover settings, poor quality audio source. | Reduce gain. Adjust crossover settings. Test with a different audio source. |
| Amplifier gets hot | Insufficient ventilation, impedance mismatch, prolonged high output. | Ensure proper airflow around the amplifier. Verify speaker impedance matches amplifier specifications. Reduce volume or check for shorts. |
| Noise (hiss, whine) | Poor ground connection, RCA cable interference, alternator whine. | Improve ground connection. Reroute RCA cables away from power wires. Install a ground loop isolator if necessary. |
8. Specifications
| Feature | Detail |
|---|---|
| Model | PRO-A804 |
| Channels | 4-Channel |
| Output Power | 800 Watts (Peak) |
| Mounting Type | Surface Mount |
| ASIN | B00GPJ9QB4 |
Note: Specifications are subject to change without notice.
9. Warranty and Support
Boston Acoustics products are designed for reliability and performance. For warranty information, please refer to the warranty card included with your product or visit the official Boston Acoustics website. For technical support or service inquiries, please contact your authorized Boston Acoustics dealer or customer service.
Keep your purchase receipt as proof of purchase for warranty claims.
Ask a question about this manual
Ask about setup, troubleshooting, compatibility, parts, safety, or missing instructions. Manuals+ will review the question and use this page’s manual context to help answer it.