
1. Introduction
Thank you for purchasing the DBPOWER RD-806 HD Home Theater Projector. This manual provides essential information for setting up, operating, and maintaining your projector. Please read these instructions carefully before use to ensure optimal performance and longevity of your device. Keep this manual for future reference.
2. Product Overview
The DBPOWER RD-806 is a high-definition home theater projector designed for a versatile viewing experience. It features a native resolution of 1280x800, supporting 1080P input, and offers 2800 lumens brightness for clear images. Its LED lamp has an impressive lifespan of 50,000 hours. The projector includes multiple input options and built-in speakers, making it suitable for movies, gaming, and presentations.
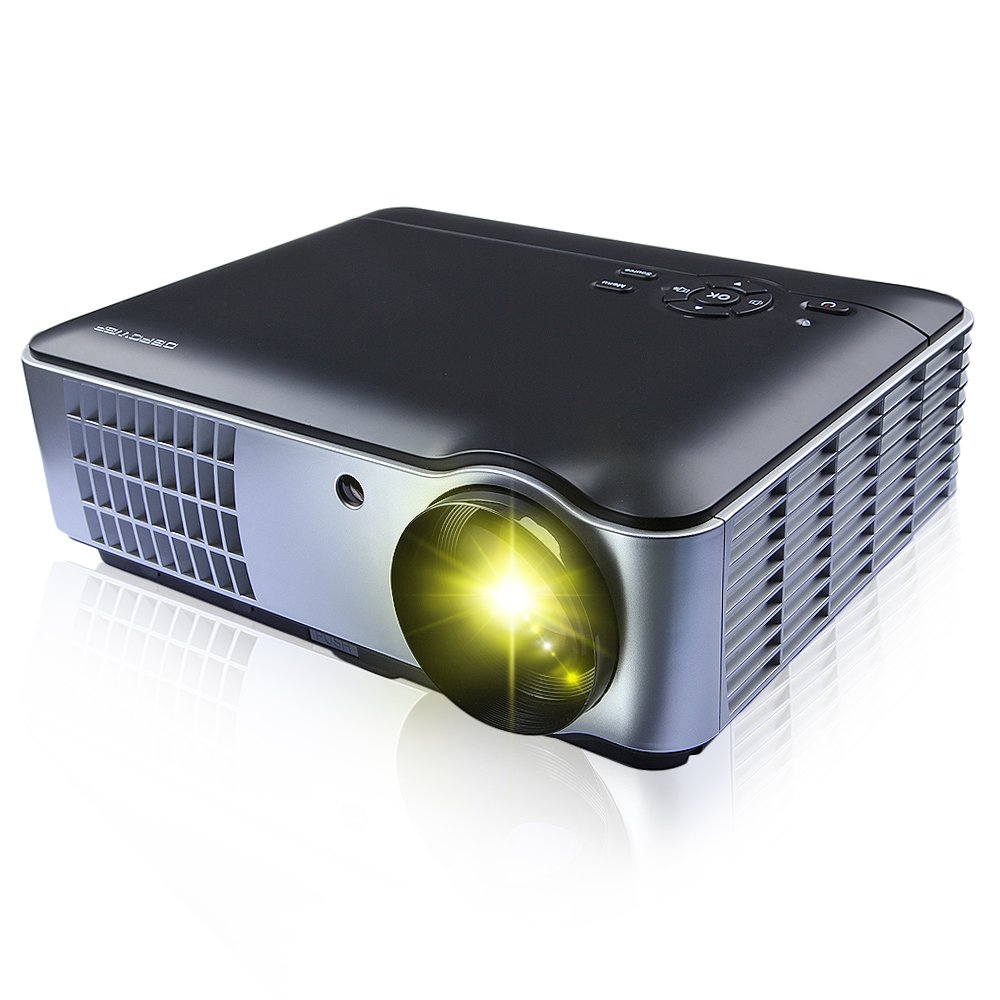
Figure 2.1: Front, side, and bottom view of the DBPOWER RD-806 projector, showing its dimensions (33.6cm length, 26.3cm width, 11.8cm height) and the included remote control.
3. Package Contents
Please check that all items are present and in good condition upon unpacking:
- 1 x DBPOWER RD-806 Projector
- 1 x Remote Control
- 1 x VGA Cable
- 1 x AV Cable
- 1 x Power Cord
- 1 x Lens Cover
- 1 x User Manual (this document)
4. Setup
4.1 Placement
Position the projector on a stable, flat surface or mount it to the ceiling. Ensure there is adequate ventilation around the projector to prevent overheating. The projection distance should be between 1.85 and 5.8 meters for an optimal screen size of 50 to 200 inches.

Figure 4.1: The projector can be placed on a table or mounted to the ceiling using a compatible bracket.
4.2 Power Connection
- Connect the power cord to the projector's power input port.
- Plug the other end of the power cord into a standard AC 110-240V, 50/60Hz electrical outlet.
4.3 Connecting Devices
The RD-806 projector offers multiple input options for various devices:

Figure 4.2: Rear panel connections including USB, AV, VGA, HDMI, and power input.
- HDMI: Connect Blu-ray players, gaming consoles, laptops, or streaming devices using an HDMI cable to either HDMI1 or HDMI2 port.
- USB: Insert a USB flash drive into USB1 or USB2 port to play multimedia files directly.
- VGA: Connect a computer or laptop using a VGA cable to the VGA port.
- AV: Use the provided AV cable to connect older devices like DVD players or VCRs to the AV input.
- Component/TV: Additional input options are available for specific devices.
5. Operating Instructions
5.1 Powering On/Off
- Press the power button on the projector or the remote control to turn the unit on. The power indicator light will illuminate.
- To turn off, press the power button again. Allow the projector to cool down before unplugging it.
5.2 Focus Adjustment
To achieve a clear image, adjust the focus ring located around the projector lens.

Figure 5.1: Rotate the lens ring to adjust image focus.
5.3 Keystone Correction
If the projected image appears trapezoidal (wider at the top or bottom), use the keystone correction dial to adjust the image geometry. This corrects the distortion when the projector is not perfectly perpendicular to the screen.
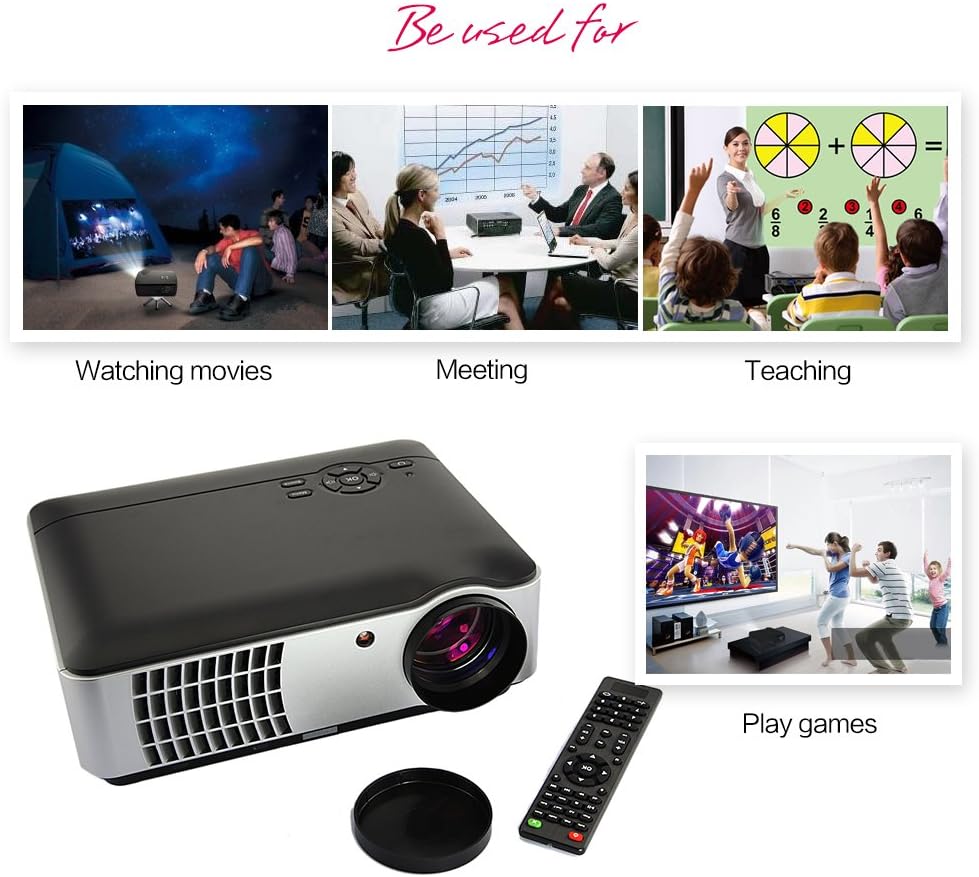
Figure 5.2: Adjust the keystone dial to correct image distortion.
5.4 Input Source Selection
After connecting your devices, select the appropriate input source using the projector's control panel or the remote control.

Figure 5.3: Projector control panel. Use the 'Source' button to cycle through input options.
- Press the 'Source' button on the control panel or remote.
- Navigate through the input options (HDMI1, HDMI2, USB1, USB2, AV, VGA, TV) using the arrow keys.
- Press 'OK' or 'Enter' to confirm your selection.
5.5 Remote Control Usage
The included remote control allows for convenient operation of the projector from a distance. It provides access to power, menu, source selection, volume, and navigation functions.
6. Maintenance
Proper maintenance ensures the longevity and performance of your projector.
- Cleaning the Lens: Use a soft, lint-free cloth specifically designed for optical lenses. Do not use abrasive cleaners or cloths that could scratch the lens.
- Cleaning the Projector Body: Wipe the exterior with a soft, dry cloth. For stubborn dirt, a slightly damp cloth can be used, followed by a dry cloth. Avoid using harsh chemicals.
- Ventilation: Ensure the projector's ventilation openings are clear of dust and obstructions to prevent overheating.
- Lamp Life: The LED light source has an estimated lifespan of 50,000 hours, requiring no regular lamp replacement under normal use.
7. Troubleshooting
If you encounter issues with your projector, refer to the following common problems and solutions:
- No Power:
- Check if the power cord is securely connected to both the projector and the power outlet.
- Ensure the power outlet is functional.
- No Image:
- Verify that the correct input source is selected (e.g., HDMI1, USB).
- Check the connection cable between the projector and the source device.
- Ensure the source device is powered on and outputting a signal.
- Blurry Image:
- Adjust the focus ring on the projector lens.
- Ensure the projection distance is within the recommended range (1.85-5.8m).
- Trapezoidal Image:
- Adjust the keystone correction dial on the projector.
- No Sound:
- Check the volume settings on both the projector and the source device.
- Ensure audio cables are correctly connected if using external speakers.
8. Specifications
| Feature | Specification |
|---|---|
| Model | RD-806 |
| Projection System | Single 5.8-inch LCD |
| Native Resolution | 1280 x 800 (supports 1080P) |
| Brightness | 2800 Lumens |
| Contrast Ratio | 1500:1 |
| Projection Method | Front / Rear / Hanging Cast |
| Projection Lens | Manual Focus |
| Aspect Ratio | 16:9 / 4:3 |
| Built-in Speaker | 5W x 2 |
| Projection Distance | 1.85 - 5.8 meters |
| Light Source | LED150W |
| Light Source Life | 50,000 hours |
| Projection Size | 50 - 200 inches |
| Keystone Correction | ± 15 degrees |
| Noise Level | <25 dB |
| Power Supply | AC110-240V / 50-60Hz |
| Input Ports | HDMI1, HDMI2, USB1, USB2, Video, Computer (VGA), Component, TV |
| Product Dimensions | 33.6 x 26.3 x 11.8 cm |
| Product Weight | 4.15 kg |
9. Warranty and Support
The DBPOWER RD-806 projector comes with a standard manufacturer's warranty. Please refer to the warranty card included in your package for specific terms and conditions. For technical support, troubleshooting assistance beyond this manual, or warranty claims, please contact DBPOWER customer service through their official website or the retailer where the product was purchased.


