1. Introduction
This manual provides detailed instructions for the installation, operation, and maintenance of your Esky FBA_EC170-09 Backup Camera. Designed for universal vehicle compatibility, this license plate frame camera enhances rear visibility with its wide-angle lens and night vision capabilities, contributing to safer reversing maneuvers.
2. Product Features
- Weather-Resistant and Waterproof: IP67 rating ensures protection against rain, snow, and dust. Operates reliably in temperatures from -58°F to 176°F.
- 170° Wide Angle Design: Provides an expansive view, effectively eliminating blind spots behind the vehicle. The camera angle is adjustable by 45° for optimal positioning.
- True-to-Life Images: Equipped with an advanced color CMOS image sensor for sharp, high-resolution video output during both day and night.
- Versatile Fit: Designed to perfectly match standard US license plates, offering a secure and integrated installation.
- Automatic LED Night Vision: Features 7 powerful LED lights controlled by a photoresistor, which automatically activate in low-light conditions for enhanced visibility.
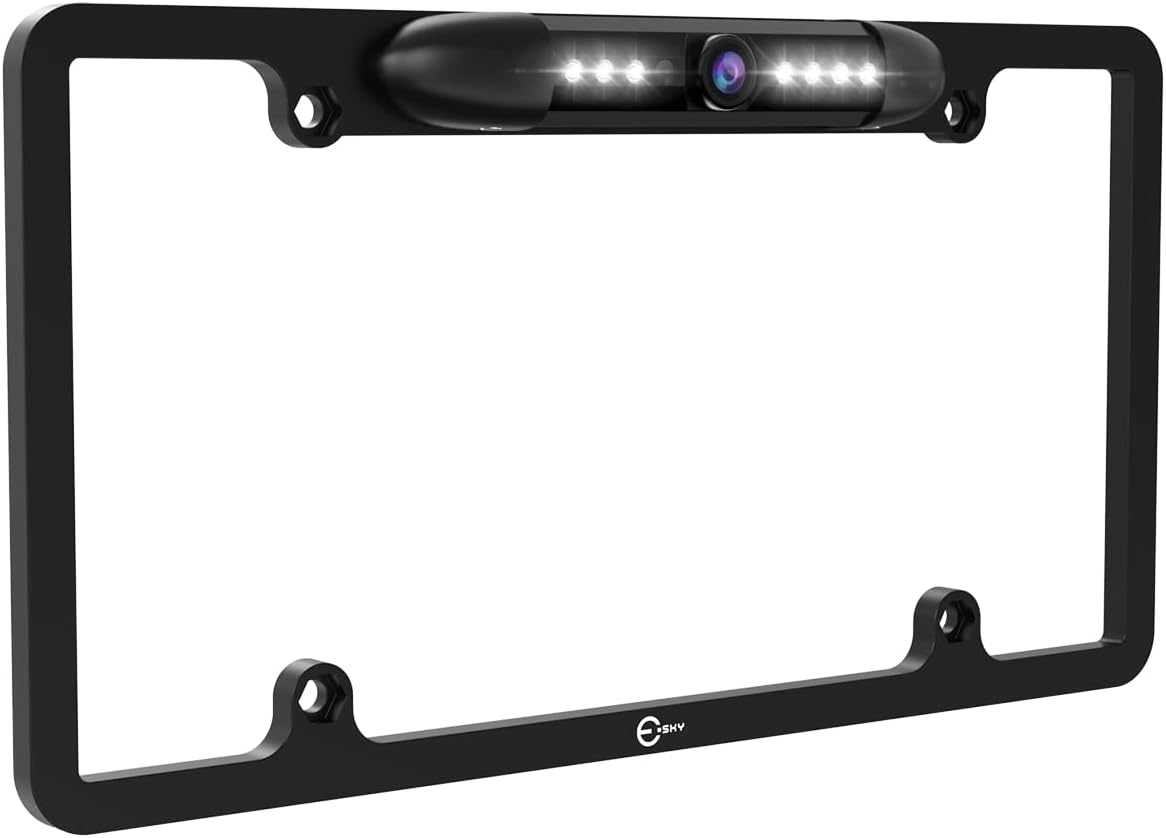
Figure 2.1: Esky FBA_EC170-09 Backup Camera integrated into a license plate frame.

Figure 2.2: Comparison of day and night vision capabilities, highlighting the clarity provided by the 7 bright LEDs.

Figure 2.3: The IP67 waterproof design ensures durability against various weather conditions and car washes.
3. Package Contents
The Esky FBA_EC170-09 Backup Camera package typically includes:
- 1 x Esky License Plate Frame Backup Camera
- 1 x RCA Video Cable (approx. 20ft)
- 1 x Power Cable
- Mounting Hardware (screws, nuts)
- User Manual
4. Specifications
| Feature | Specification |
|---|---|
| Product Dimensions | 13.5 x 7.9 x 1.5 inches |
| Item Weight | 1.55 pounds |
| Item Model Number | FBA_EC170-09 |
| Display Technology | LED |
| Color | Black |
| Compatible Devices | Monitor (RCA input) |
| Installation Type | Surface Mount (License Plate Frame) |
| Voltage | 12 Volts |
| Optical Sensor Technology | CMOS |
| Lens Type | Wide Angle |
| Real Angle of View | 170 Degrees |
| Connector Type | RCA |
| Optical Sensor Size | 0.2 inches |
5. Safety Information
- Always disconnect the vehicle's battery before beginning any electrical installation to prevent short circuits or electrical shock.
- Ensure all wiring connections are secure and properly insulated to prevent damage from moisture or vibration.
- Route cables away from moving parts, sharp edges, and heat sources within the vehicle.
- The backup camera is an aid for reversing; always check your surroundings visually and use your mirrors before and during backing maneuvers.
- If you are not familiar with vehicle electrical systems or trim removal, consult a qualified professional for installation.
6. Setup & Installation
Proper installation is crucial for optimal performance. This section outlines the general steps. For a visual guide, please refer to the installation video below.
6.1. Installation Video Guide
Video 6.1: Detailed installation guide for the Esky License Plate Backup Camera. This video demonstrates the wiring and routing process within a vehicle.
6.2. Step-by-Step Installation
- Prepare the Vehicle: Ensure the vehicle is turned off and the parking brake is engaged. Disconnect the negative terminal of the car battery.
- Mount the Camera: Remove your existing license plate. Position the Esky backup camera frame behind your license plate and secure it using the provided screws. Ensure the camera lens is unobstructed.
- Route Video Cable: Carefully route the RCA video cable from the camera through a discreet opening near the license plate into the vehicle's trunk. This may involve drilling a small hole (ensure to seal it properly afterward) or utilizing existing grommets.
- Route Power Cable: Connect the camera's power cable to the vehicle's reverse light circuit. Identify the positive (+) and negative (-) wires for your reverse lights using a multimeter. The red wire from the camera connects to the positive reverse light wire, and the black wire connects to a chassis ground or the negative reverse light wire.
- Connect to Monitor: Route the RCA video cable from the trunk to your in-dash monitor or display unit. This typically involves running the cable along the vehicle's interior trim, under carpets, and behind panels to the front dashboard.
- Secure Wiring: Use zip ties or electrical tape to secure all cables, preventing them from interfering with moving parts or becoming damaged. Reinstall any removed trim pieces.
- Test the System: Reconnect the car battery. Start the vehicle and shift into reverse. The monitor should automatically display the camera feed. Adjust the camera angle as needed by loosening the small screws on the camera housing, setting the desired angle, and re-tightening.

Figure 6.1: Basic wiring diagram illustrating connections from the camera to the monitor and vehicle power.

Figure 6.2: The camera's adjustable angle feature allows for precise positioning to optimize your rear view.
7. Operating Instructions
- Automatic Activation: The Esky FBA_EC170-09 backup camera is designed to activate automatically when the vehicle is shifted into reverse gear. The video feed will appear on your connected monitor.
- Parking Guidelines: The camera provides on-screen parking guidelines to assist with judging distance and alignment. These lines typically include green, yellow, and red segments indicating safe, caution, and stop zones, respectively.
- Night Vision: The integrated 7 LED lights will automatically turn on in low-light conditions, providing clear visibility even in dark environments.

Figure 7.1: The display shows dynamic parking guidelines to assist with reversing.
8. Maintenance
- Cleaning the Lens: Regularly clean the camera lens with a soft, damp cloth to ensure a clear image. Avoid abrasive cleaners that could scratch the lens.
- Checking Connections: Periodically inspect all wiring connections for tightness and signs of wear or corrosion. Ensure waterproof seals are intact.
- Frame Inspection: Check the license plate frame for any damage or loose mounting screws.
9. Troubleshooting
- No Image on Monitor:
- Check all power connections to ensure they are secure and receiving 12V.
- Verify the RCA video cable is securely connected at both the camera and monitor ends.
- Ensure the monitor is set to the correct input source for the camera.
- Blurry or Distorted Image:
- Clean the camera lens.
- Check for any physical damage to the camera or cables.
- Ensure the camera is securely mounted and not vibrating.
- Night Vision Not Working:
- Verify the 7 LEDs are not obstructed.
- Ensure the photoresistor (light sensor) on the camera is clean and unobstructed, allowing it to detect low light.
10. Warranty and Support
For warranty information, technical support, or further assistance, please refer to the contact details provided with your product packaging or visit the official Esky website. Keep your purchase receipt as proof of purchase for warranty claims.


