
EBERTH IW8-PA10
EBERTH Pneumatic Chisel Hammer User Manual
Model: IW8-PA10
1. Introduction
This user manual provides essential information for the safe and effective operation, maintenance, and troubleshooting of your EBERTH Pneumatic Chisel Hammer, Model IW8-PA10. Please read this manual thoroughly before using the tool to ensure proper handling and to prevent injury or damage.
The EBERTH IW8-PA10 is a robust, air-powered chisel hammer designed for professional and DIY applications. Its high performance and impact power make it suitable for tasks such as breaking concrete, masonry, removing welds, rust, and paint. The 10-piece set includes the hammer, various chisels, and essential accessories for immediate use.
2. Package Contents
Upon opening the package, verify that all components listed below are present and undamaged. If any items are missing or damaged, contact your retailer immediately.
- 1 x EBERTH Pneumatic Chisel Hammer (Model IW8-PA10)
- 5 x Chisels (170 mm, various shapes)
- 1 x Retaining Spring
- 1 x Compressed Air Connection Nipple (1/4")
- 1 x Empty Oil Container
- 1 x Plastic Carrying Case
- 1 x Instruction Manual

Figure 2.1: The EBERTH Pneumatic Chisel Hammer and its complete set of accessories neatly organized within the durable black carrying case. This image shows the hammer, five chisels, oil container, and air connection nipple, all securely fitted for transport and storage.

Figure 2.2: All components of the EBERTH Pneumatic Chisel Hammer set, including the hammer, five chisels, retaining spring, air connection, and empty oil container, are displayed outside their carrying case. This provides a clear view of each individual item included in the 10-piece kit.
3. Safety Instructions
Always adhere to the following safety guidelines to prevent personal injury or damage to the tool.
- Wear Personal Protective Equipment (PPE): Always wear safety glasses, hearing protection, and gloves when operating the pneumatic chisel hammer.
- Secure Workpiece: Ensure the workpiece is stable and securely clamped before beginning work.
- Maintain a Clean Work Area: Keep your work area well-lit and free of clutter to prevent accidents.
- Proper Air Supply: Use a clean, dry, and regulated air supply. Do not exceed the maximum operating pressure of 6 bar.
- Disconnect Air Supply: Always disconnect the air supply before changing chisels, performing maintenance, or when the tool is not in use.
- Inspect Tool Before Use: Check the tool and accessories for any damage or wear before each use. Do not use damaged equipment.
- Avoid Accidental Starting: Ensure the trigger is not depressed when connecting to the air supply.
- Keep Hands Clear: Never place hands near the chisel tip during operation.
- Ventilation: Operate in a well-ventilated area, especially when working with materials that produce dust.
4. Setup
4.1 Connecting to Air Supply
- Ensure your air compressor is capable of providing at least 200 l/min of air consumption at 6 bar pressure.
- Attach the supplied 1/4" compressed air connection nipple to the air inlet of the chisel hammer.
- Connect a suitable air hose from your compressor to the nipple. Ensure all connections are secure to prevent air leaks.

Figure 4.1: A detailed view of the handle section of the EBERTH Pneumatic Chisel Hammer, highlighting the air inlet port where the compressed air connection nipple is attached, and an adjustment knob for controlling airflow or power.
4.2 Installing Chisels
- Disconnect the tool from the air supply before installing or changing chisels.
- Place the retaining spring over the barrel of the hammer.
- Insert the desired chisel into the hammer's chuck until it clicks into place.
- Ensure the retaining spring is properly seated to hold the chisel securely.

Figure 4.2: The EBERTH Pneumatic Chisel Hammer shown with one of its chisels fully inserted into the tool's chuck, secured by the retaining spring. This demonstrates the correct assembly for operation.
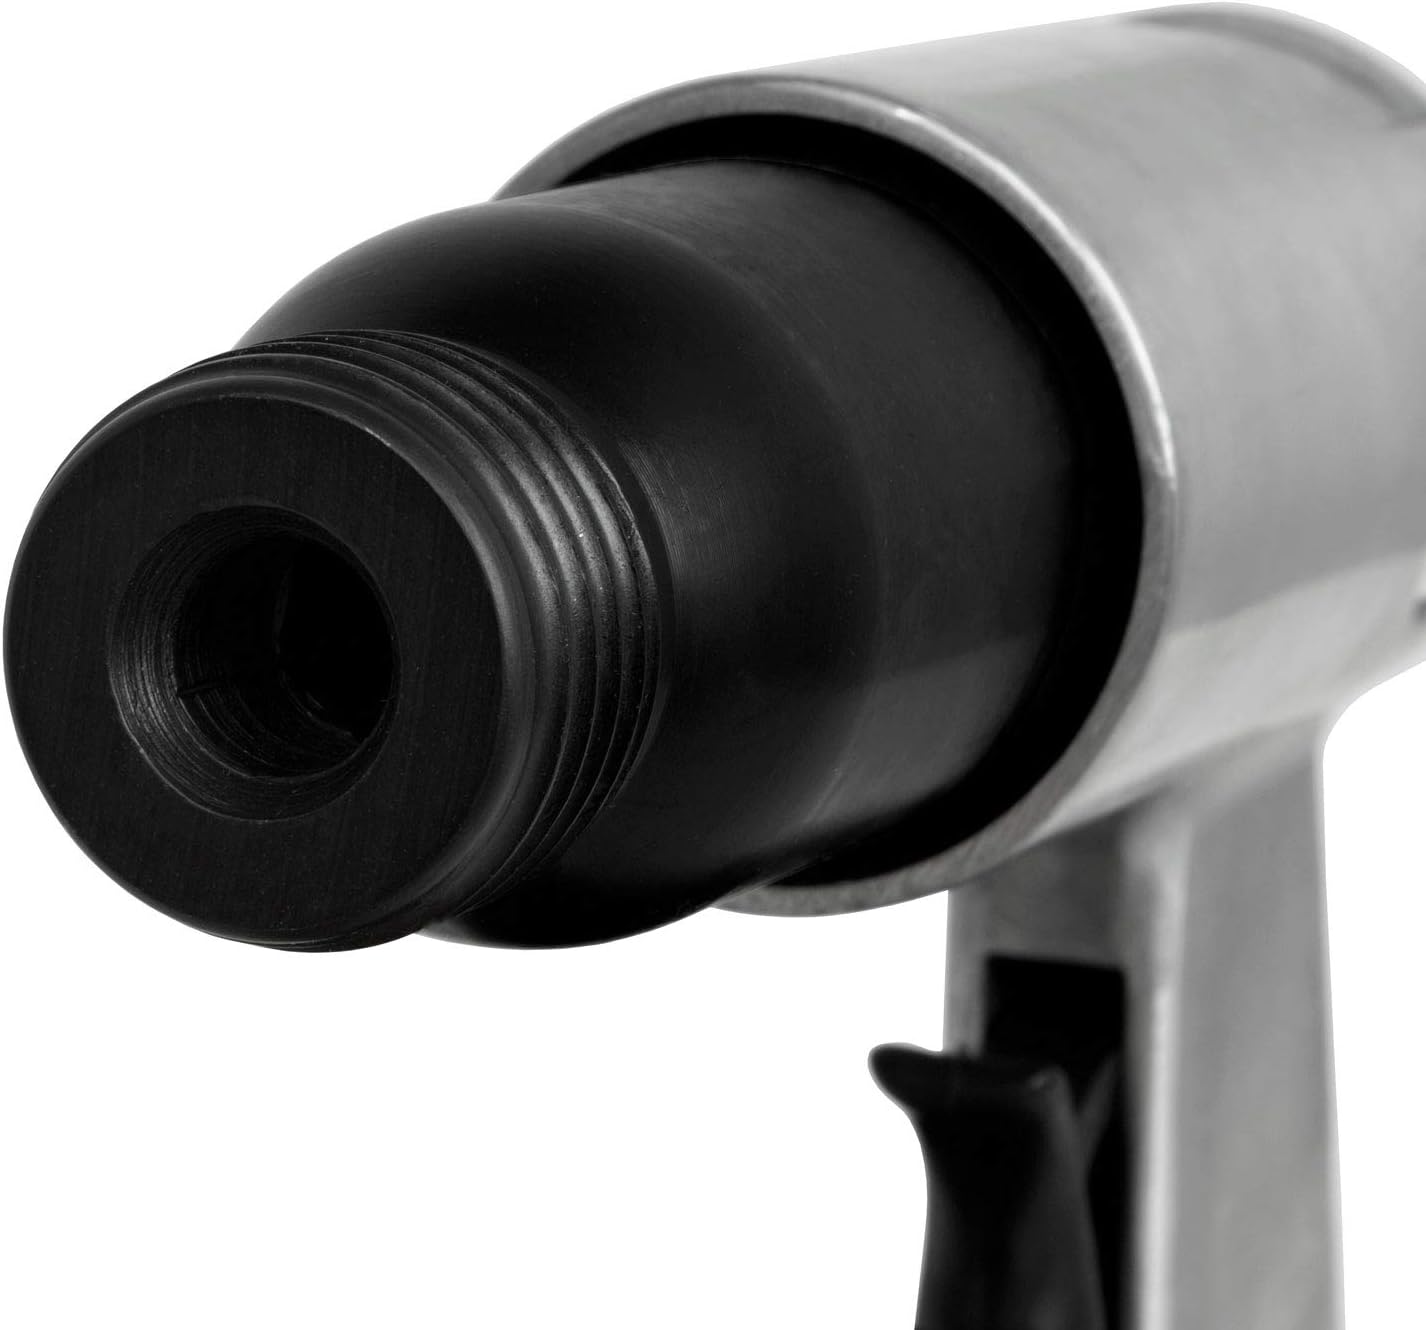
Figure 4.3: A close-up view of the front end of the EBERTH Pneumatic Chisel Hammer, showing the opening where the chisel is inserted and the threading for the retaining spring mechanism.

Figure 4.4: A detailed image of the retaining spring, an essential component that secures the chisel in place during the pneumatic hammer's operation. Its coiled design allows for quick and easy chisel changes.

Figure 4.5: A close-up view showcasing the five distinct chisel tips provided with the EBERTH Pneumatic Chisel Hammer. Each tip is designed for specific applications, offering versatility for various demolition and material removal tasks.

Figure 4.6: The complete set of five chisels, each approximately 170mm in length, laid out to display their full form and varying tip designs. These chisels are made from high-carbon steel for durability.
4.3 Initial Lubrication
Before first use, and regularly thereafter, add a few drops of pneumatic tool oil into the air inlet. This lubricates the internal components and extends the tool's lifespan. Use the provided empty oil container for convenience.
5. Operation
5.1 Basic Operation
- Ensure the chisel is securely installed and the air supply is connected.
- Hold the tool firmly with both hands, maintaining a stable stance. The ergonomic design (1.5 kg weight) ensures comfortable handling.
- Position the chisel tip against the material to be worked on.
- Press the trigger to activate the hammer. The tool will deliver up to 4500 strokes per minute.
- Apply steady, controlled pressure. Do not force the tool.
- Release the trigger to stop the operation.

Figure 5.1: A detailed view of the EBERTH Pneumatic Chisel Hammer, showcasing its robust aluminum construction and ergonomic grip. This image highlights the main body and trigger mechanism, ready for operation.
5.2 Recommended Uses
The EBERTH Pneumatic Chisel Hammer is versatile and can be used for:
- Light demolition work on concrete and masonry.
- Chipping and scaling applications.
- Removing rust, paint, and weld spatter.
- Automotive repair tasks.
- General workshop and DIY projects.
6. Maintenance
Regular maintenance ensures the longevity and optimal performance of your pneumatic chisel hammer.
6.1 Lubrication
Add 5-10 drops of pneumatic tool oil into the air inlet before each use or after every hour of continuous operation. This is crucial for lubricating the internal motor and preventing wear.
6.2 Cleaning
- After each use, clean the tool's exterior with a dry cloth.
- Periodically check and clean the air filter on your compressor to ensure a clean air supply to the tool.
- Remove and clean chisels after use, applying a light coat of oil to prevent rust.
6.3 Storage
Store the pneumatic chisel hammer and its accessories in the provided plastic carrying case in a dry, clean environment, away from direct sunlight and extreme temperatures.
7. Troubleshooting
Refer to the table below for common issues and their solutions.
| Problem | Possible Cause | Solution |
|---|---|---|
| Tool not operating or low power. | Insufficient air pressure or flow. Air leaks in connections. Lack of lubrication. Clogged air filter. | Ensure compressor provides adequate pressure (max 6 bar) and flow (200 l/min). Check all air connections for tightness. Add pneumatic tool oil to the air inlet. Clean or replace compressor air filter. |
| Chisel not held securely. | Retaining spring improperly seated or damaged. Incorrect chisel size. | Ensure retaining spring is correctly positioned. Replace if damaged. Use only chisels designed for this tool (170mm). |
| Excessive vibration or noise. | Lack of lubrication. Worn internal components. | Lubricate the tool as per maintenance instructions. If problem persists, contact customer support for inspection. |
8. Specifications
| Feature | Value |
|---|---|
| Model Number | IW8-PA10 |
| Max Working Pressure | 6 bar |
| Strokes Per Minute (SPM) | 4500 min-1 |
| Max Impact Force | 1.2 Joules |
| Air Consumption | 200 l/min |
| Compressed Air Connection | 1/4 inch |
| Weight | 1.5 kg |
| Material | Aluminum, Carbon Steel |
| Chisel Length | 170 mm |
9. Warranty and Support
EBERTH products are manufactured to high-quality standards. For information regarding warranty coverage, repair services, or technical support, please refer to the warranty card included with your product or visit the official EBERTH website. Keep your purchase receipt as proof of purchase for any warranty claims.
For further assistance, you may also contact your retailer or the EBERTH customer service department.
Ask a question about this manual
Ask about setup, troubleshooting, compatibility, parts, safety, or missing instructions. Manuals+ will review the question and use this page’s manual context to help answer it.