1. Introduction
This manual provides detailed instructions for the proper installation, maintenance, and general information regarding the Genuine Honda 91214-RCA-A01 Crankshaft Oil Seal. Adhering to these guidelines will help ensure the correct function and longevity of the part. Always refer to your vehicle's specific service manual for additional details and torque specifications.
2. Product Overview
The Genuine Honda 91214-RCA-A01 Crankshaft Oil Seal is an essential automotive component designed to prevent engine oil from leaking past the crankshaft. Manufactured to OEM specifications, this seal ensures a precise fit and reliable performance, maintaining the integrity of your engine's lubrication system.
- Product Type: Auto Part
- Package Quantity: 1
- Origin: Made In China
- Approximate Package Dimensions: 12.19 cm (L) x 10.16 cm (W) x 2.03 cm (H)
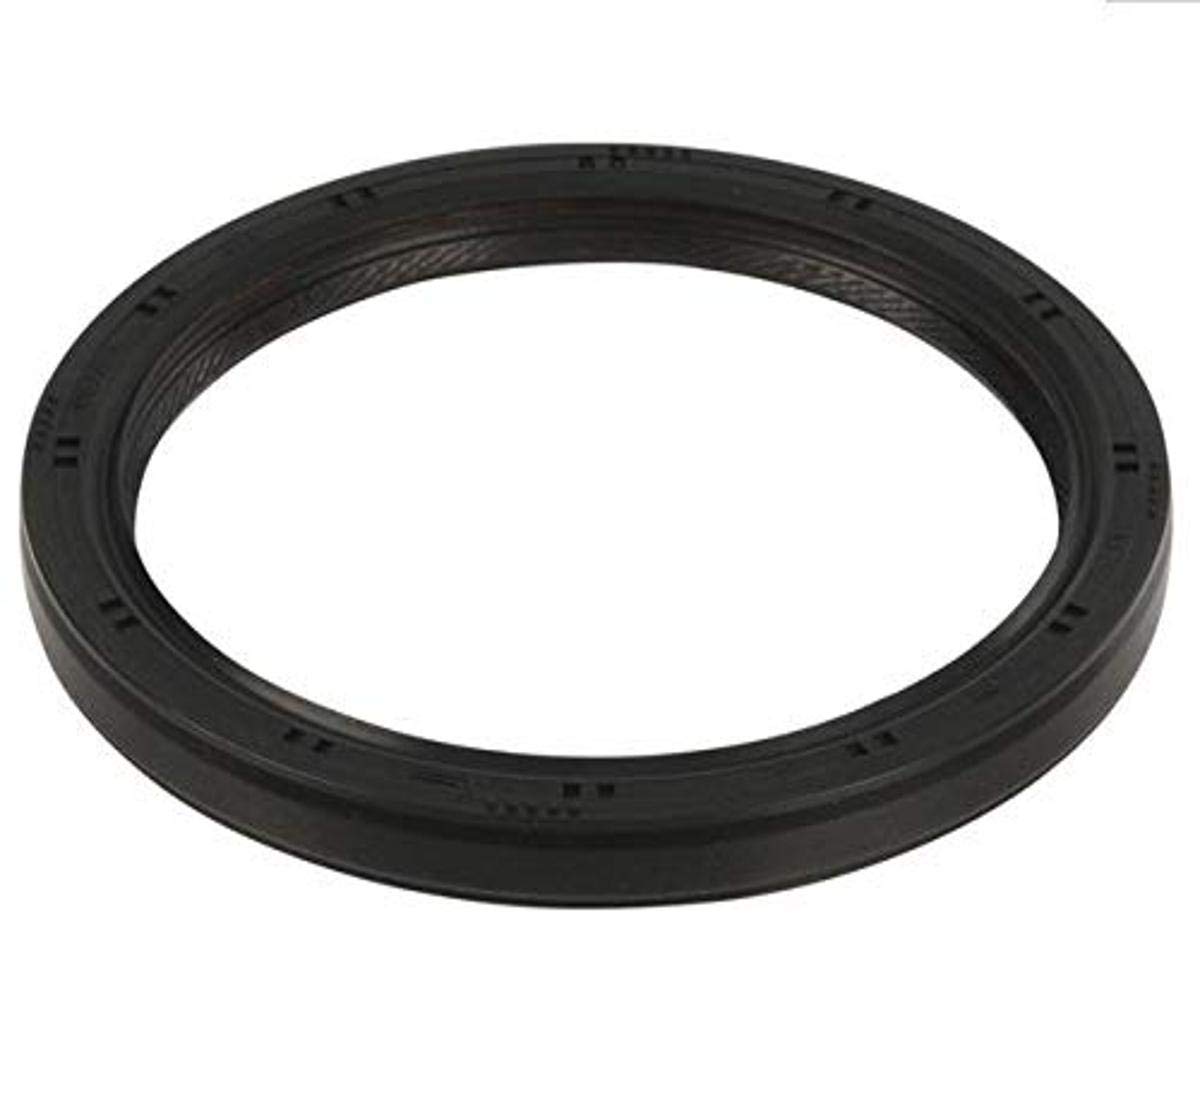
Image showing the Genuine Honda 91214-RCA-A01 Crankshaft Oil Seal, typically a circular component designed to prevent oil leakage from the crankshaft.
3. Safety Information
Always prioritize safety when working on your vehicle. Failure to follow safety precautions can result in serious injury or damage to the vehicle.
- Always wear appropriate personal protective equipment (PPE) such as safety glasses and gloves.
- Ensure the vehicle is securely supported on jack stands on a level surface. Never rely solely on a jack.
- Disconnect the negative battery terminal before starting any work to prevent accidental electrical discharge.
- Allow the engine to cool completely before beginning work to avoid burns.
- Keep a fire extinguisher nearby.
- Dispose of old oil and parts responsibly according to local regulations.
4. Tools Required
The following tools are typically required for crankshaft oil seal replacement:
- Socket set and ratchet
- Torque wrench
- Pry tool or seal puller (for old seal removal)
- Seal installation tool or a socket of appropriate size (to press in the new seal)
- Clean rags or shop towels
- Engine oil (for lubricating the new seal)
- Jack and jack stands
5. Installation Instructions
Follow these steps carefully for the proper installation of the crankshaft oil seal. Refer to your vehicle's service manual for specific component removal and torque specifications.
5.1. Preparation
- Park the vehicle on a level surface and engage the parking brake.
- Safely lift the vehicle and support it with jack stands.
- Disconnect the negative battery terminal.
- Allow the engine to cool completely.
- Remove any components obstructing access to the crankshaft oil seal, such as accessory belts, pulleys, and the timing cover, as per your vehicle's service manual.
- Drain engine oil if the seal replacement requires it.
5.2. Removal of Old Seal
- Carefully pry out the old crankshaft oil seal using a suitable pry tool or a specialized seal puller.
- Exercise extreme caution to avoid scratching or damaging the crankshaft or the engine block's sealing surface. Damage to these surfaces can lead to future leaks.
- Thoroughly clean the sealing surface, removing any old oil, dirt, or debris. Ensure the surface is smooth and free of imperfections.
5.3. Installation of New Seal
- Apply a thin, even coat of clean engine oil to the inner and outer edges of the new Genuine Honda 91214-RCA-A01 Crankshaft Oil Seal. This lubrication aids in installation and initial sealing.
- Position the new seal squarely into the opening.
- Using a specialized seal installation tool or a socket of appropriate size that matches the outer diameter of the seal, gently and evenly tap the seal into place.
- Continue tapping until the seal is flush with the engine block or seated to the specified depth. Ensure the seal is not cocked, bent, or otherwise damaged during installation.
5.4. Reassembly
- Reinstall all removed components in the reverse order of removal.
- Ensure all bolts are tightened to the manufacturer's specified torque settings using a torque wrench.
- Reconnect the negative battery terminal.
- Refill engine oil to the appropriate level if it was drained.
- Start the engine and allow it to reach operating temperature. Carefully check for any signs of oil leaks around the newly installed seal.
6. Maintenance
Proper maintenance helps extend the life of your engine and its components.
- Regularly inspect the area around the crankshaft for any signs of oil leakage.
- Address any leaks promptly to prevent further engine damage and maintain proper oil levels.
- Follow your vehicle's recommended service intervals for oil changes and general engine inspections.
7. Troubleshooting
If you experience issues after installation, consider the following:
7.1. Oil Leakage After Installation
- Incorrect Installation: Verify the seal was installed correctly, squarely, and to the proper depth.
- Damaged Seal: Inspect the seal for any nicks, tears, or deformities that may have occurred during installation.
- Damaged Sealing Surface: Check the crankshaft and engine block sealing surfaces for any scratches, burrs, or corrosion that could compromise the seal.
- Improper Torque: Ensure all surrounding components (e.g., timing cover) are torqued to the manufacturer's specifications.
8. Specifications
| Attribute | Detail |
|---|---|
| Part Number | 91214-RCA-A01 |
| Product Type | Crankshaft Oil Seal |
| Brand | Genuine Honda |
| Manufacturer | Honda |
| Approximate Product Dimensions | 7 x 6 x 2 inches (17.78 x 15.24 x 5.08 cm) |
9. Warranty and Support
This Genuine Honda part is typically subject to the seller's return policy, which may allow returns within 30 days of purchase. For specific warranty details, technical assistance, or further support regarding this product, please contact your authorized Honda service center or the original point of purchase. Always retain your proof of purchase for any warranty claims.


