Important Safety Information
Read and understand all safety warnings and instructions before operating this wet/dry vacuum. Failure to follow these instructions may result in electric shock, fire, or serious injury.
- Electrical Safety: Always disconnect the power cord from the electrical outlet before performing any maintenance or making adjustments. Do not operate the vacuum with a damaged cord or plug.
- Wet Operation: When vacuuming liquids, ensure the foam sleeve is correctly installed and the cartridge filter is removed. Do not pick up flammable or combustible liquids, such as gasoline.
- Dry Operation: When vacuuming dry debris, ensure the washable cartridge filter is correctly installed and the foam sleeve is removed.
- General Use: Do not allow the vacuum to be used as a toy. Close attention is necessary when used by or near children. Do not leave the vacuum unattended when plugged in.
- Proposition 65 Warning: This product may contain chemicals known to the State of California to cause cancer and birth defects or other reproductive harm.
Package Contents
Verify that all items listed below are present in your package:
- Channellock 5 Gallon 5 HP Wall Mount Wet/Dry Vacuum Unit
- 10-foot x 1-7/8 inch Flexible Hose (with remote On/Off switch)
- Additional 11-foot x 1-7/8 inch Flexible Hose
- 2 Extension Wands
- Washable Cartridge Filter
- Foam Sleeve
- Round Dust Brush
- Floor/Utility Nozzle
- Crevice Tool
- Car Nozzle
- Air Noise Diffuser
- Wall Mounting Bracket and Hardware
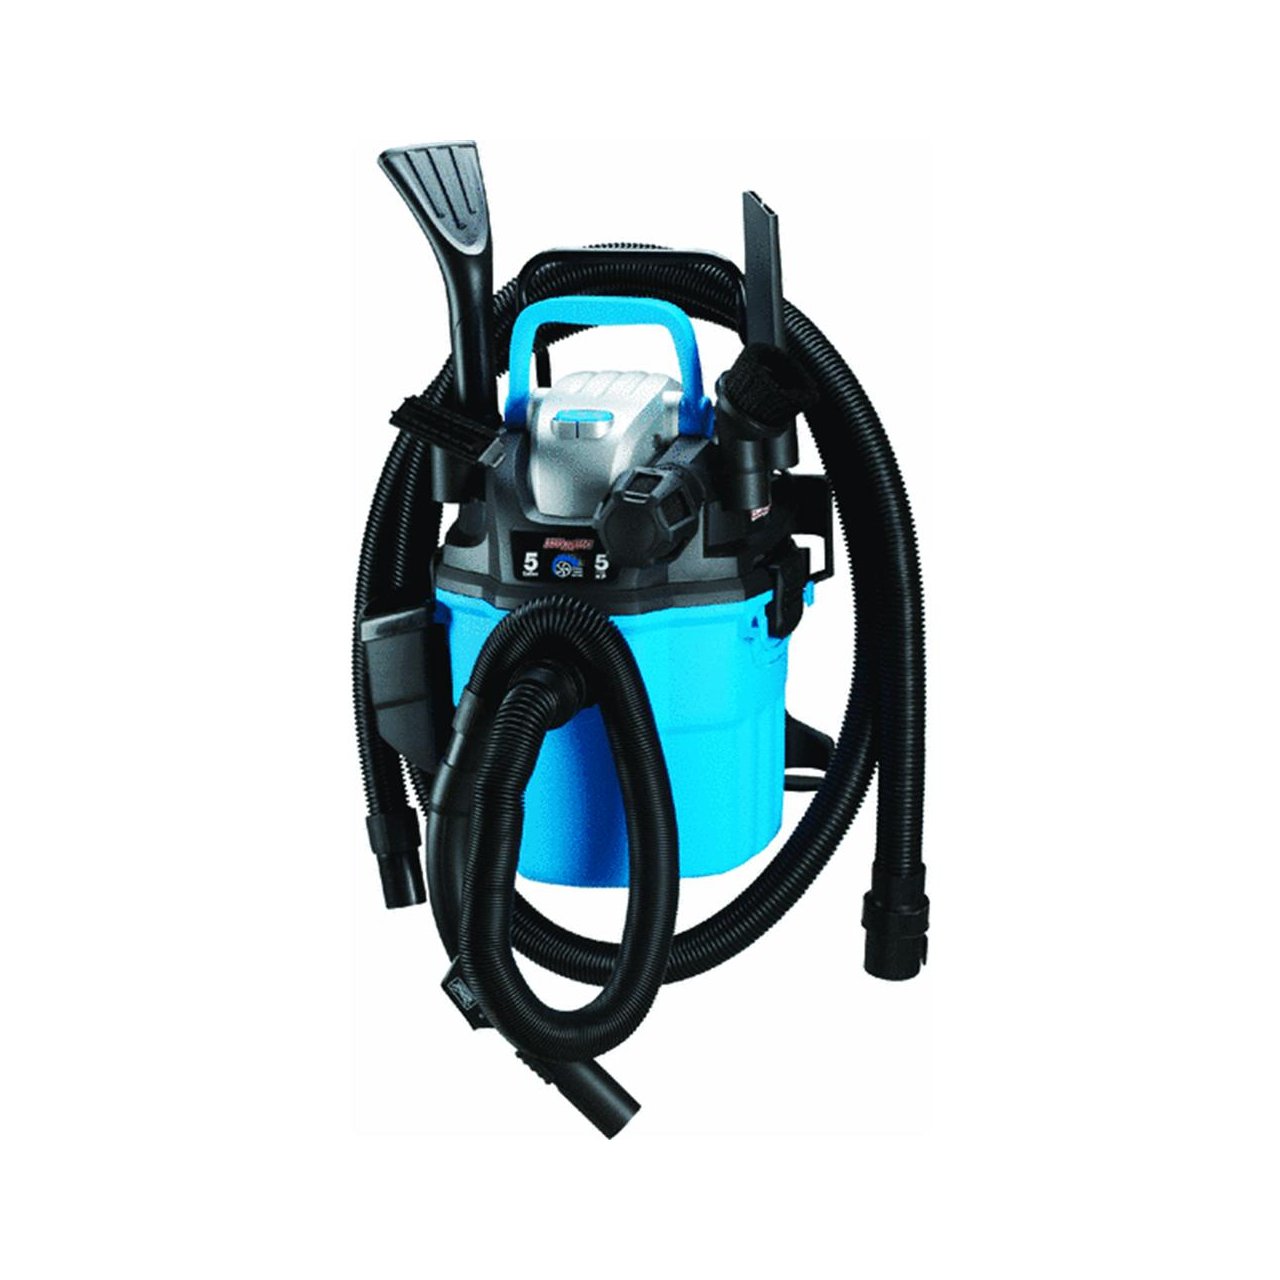
An image showing the Channellock 5 Gallon 5 HP Wall Mount Wet/Dry Vacuum. The unit is blue and gray, with black hoses and various attachments visible, including a crevice tool and a brush.
Setup Instructions
1. Wall Mounting
- Select a suitable location for mounting the vacuum. Ensure the wall can support the weight of the vacuum and its contents.
- Using the provided wall mounting bracket, mark the drilling points on the wall.
- Drill pilot holes and secure the mounting bracket to the wall using the appropriate hardware.
- Carefully hang the vacuum unit onto the secured wall mounting bracket. The unit is designed to be easily detached for portability.
2. Hose and Accessory Connection
- Connect the desired hose(s) to the vacuum's inlet port. The two secure-fit hoses can be connected together to achieve a total length of 21 feet.
- Utilize the on-board accessory storage to keep attachments organized and readily accessible.
Operating Instructions
1. Dry Vacuuming
- Ensure the washable cartridge filter is securely installed inside the vacuum and the foam sleeve is removed.
- Connect the desired attachment (e.g., floor/utility nozzle, crevice tool, dust brush) to the end of the hose.
- Plug the power cord into a suitable electrical outlet.
- Turn the vacuum ON using the power switch on the unit or the remote On/Off switch located on one of the hoses.
- Begin vacuuming dry debris.
- After use, turn the vacuum OFF and unplug it.
2. Wet Vacuuming
- Remove the washable cartridge filter and install the foam sleeve over the filter cage.
- Connect the desired attachment.
- Plug the power cord into an electrical outlet.
- Turn the vacuum ON using the power switch on the unit or the remote On/Off switch.
- Begin vacuuming liquids. The vacuum will automatically shut off when the liquid level reaches its maximum capacity.
- After use, turn the vacuum OFF, unplug it, and empty the tank.
3. Using the Remote On/Off Switch
One of the included hoses features a remote On/Off switch. This switch allows for convenient operation without needing to reach the main power switch on the vacuum unit. It remains active even when both hoses are connected.
Maintenance
1. Emptying the Tank
- Disconnect the power cord.
- Unlatch the motor head from the tank.
- Carefully lift the motor head off the tank.
- Dispose of collected dry debris or liquids.
- Clean the inside of the tank as needed.
- Replace the motor head and secure the latches.
2. Filter Maintenance
- Washable Cartridge Filter (Dry Use): Regularly inspect the cartridge filter for dirt and debris. To clean, gently tap the filter to dislodge loose dirt or rinse it under running water. Allow the filter to air dry completely before reinstallation.
- Foam Sleeve (Wet Use): After wet vacuuming, remove and rinse the foam sleeve with water. Allow it to air dry completely before storing or reinstalling.
- Replace filters if they are damaged or no longer clean effectively.
3. Cord Wrap
The 20-foot power cord features a cord wrap for neat storage when the vacuum is not in use.
Troubleshooting
| Problem | Possible Cause | Solution |
|---|---|---|
| Vacuum does not turn on. | No power supply. Remote switch is off. | Check power cord connection and electrical outlet. Ensure remote switch is in the 'ON' position. |
| Loss of suction. | Hose or attachment clogged. Filter is dirty or improperly installed. Tank is full (wet vacuuming). | Clear any obstructions from the hose or attachments. Clean or replace the filter; ensure it is correctly installed. Empty the tank. |
| Water coming from exhaust. | Foam sleeve not installed or damaged (wet vacuuming). Tank is overfilled. | Install or replace the foam sleeve. Empty the tank immediately. |
Specifications
- Model: 5Gal 5Hp Wall Mount Vac
- Capacity: 5 Gallons
- Motor: 5 Peak Horsepower, Industrial 2-Stage Motor
- Hose Length: 10 feet (can be extended to 21 feet with second hose)
- Hose Diameter: 1-7/8 inches
- Power Cord Length: 20 feet (with cord wrap)
- Filter Type: Washable Cartridge Filter (for dry use), Foam Sleeve (for wet use)
- Special Features: Wall Mountable, Remote On/Off Switch, On-board Accessory Storage, Large Carry Handle
- Included Accessories: 2 Extension Wands, Round Dust Brush, Floor/Utility Nozzle, Crevice Tool, Car Nozzle, Air Noise Diffuser
- Color: Blue
Warranty and Support
For specific warranty information and customer support, please refer to the warranty card included with your product or contact Channellock Products directly. Keep your purchase receipt as proof of purchase for any warranty claims.


