
AcuRite 13024
AcuRite 13024 Atomic Dual Alarm Clock with USB Charging: User Manual
Model: 13024
Introduction
Thank you for purchasing the AcuRite 13024 Atomic Dual Alarm Clock. This manual provides detailed instructions for setting up, operating, and maintaining your new alarm clock. Please read this manual thoroughly before use and retain it for future reference.
The AcuRite Atomic Dual Alarm Clock features an illuminated color display showing indoor temperature, atomic time, date, day of the week, and two independent alarms. It also includes a USB charging port for compatible smartphones. The atomic clock automatically synchronizes with the NIST WWVB radio signal for precise timekeeping and adjusts for Daylight Saving Time (DST).
Important Safety Information
- Read all instructions before operating the device.
- Use only the specified power adapter.
- Do not expose the unit to extreme temperatures, direct sunlight, or moisture.
- Clean the unit with a soft, damp cloth. Do not use abrasive cleaners.
- Keep out of reach of children.
- This product contains chemicals known to the State of California to cause cancer and birth defects or other reproductive harm. Wash hands after handling.
Package Contents
- AcuRite 13024 Atomic Dual Alarm Clock
- AC Power Adapter
- Instruction Manual
Key Features
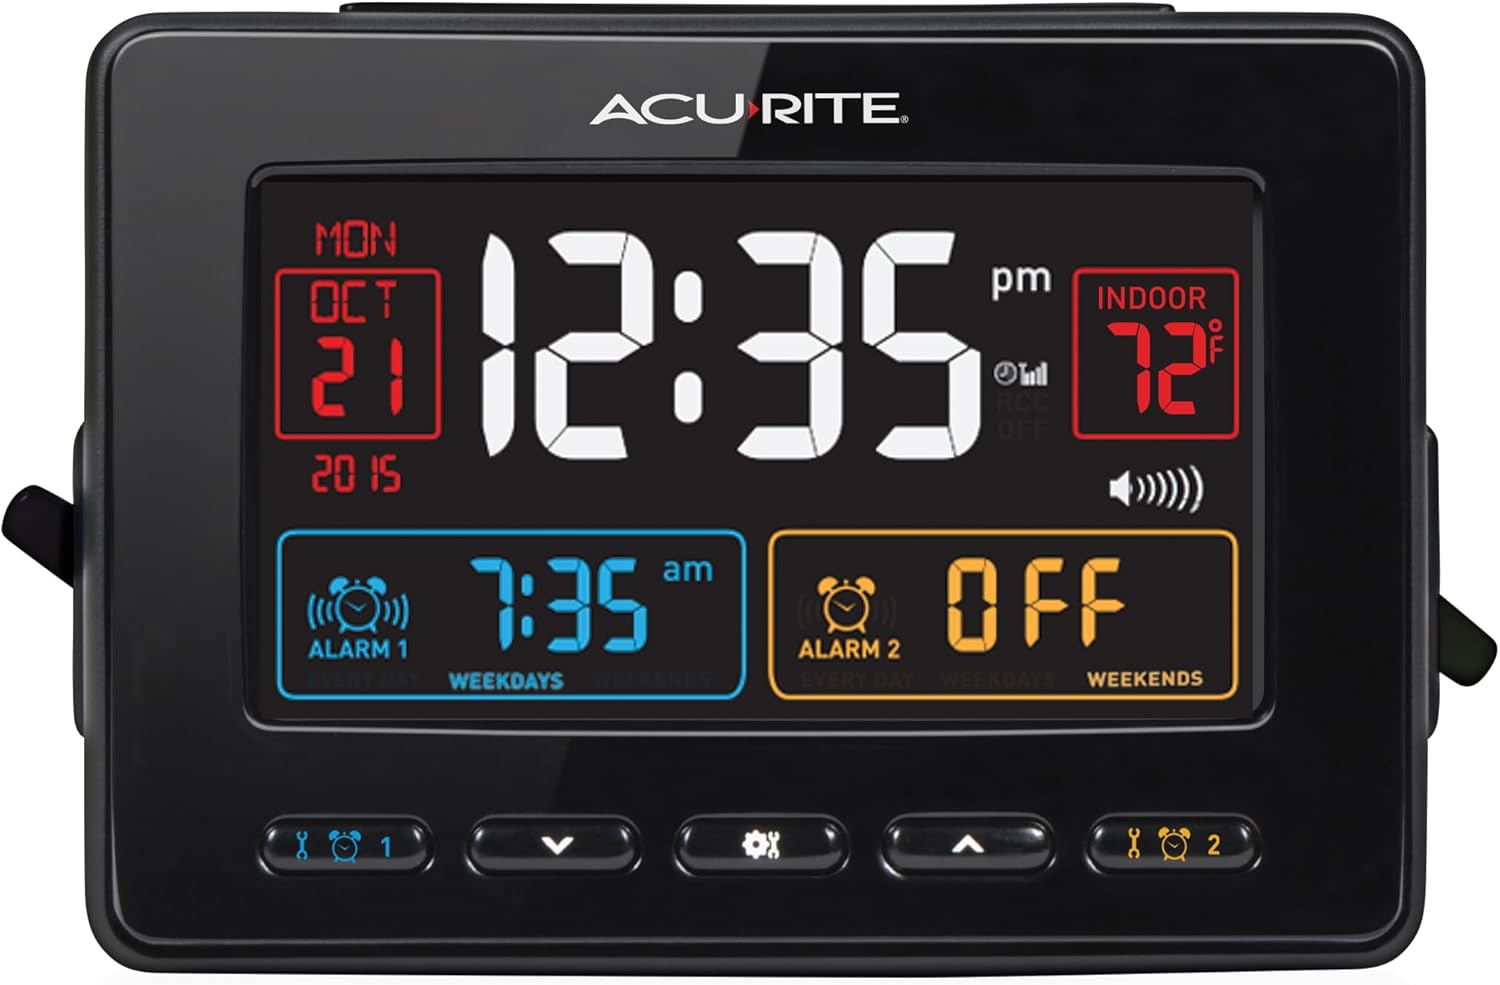
Illuminated Color Display: Clearly shows time, date, day, indoor temperature, and alarm settings.

USB Charging Port: Conveniently charge compatible smartphones and other devices.
- Atomic Clock: Radio-controlled time for split-second accuracy, automatically adjusts for Daylight Saving Time (DST).
- Dual Alarms: Set two independent alarms for daily, weekday, or weekend use.
- Indoor Temperature Display: Monitor the temperature in your room.
- Battery Backup: Maintains time and alarm settings during power outages (requires 2 AA batteries, not included).
Setup Guide
1. Install Backup Batteries
- Locate the battery compartment on the back of the unit.
- Remove the battery compartment cover.
- Insert 2 x AA alkaline batteries (not included) according to the polarity markings (+ and -).
- Replace the battery compartment cover.
Note: Batteries are for backup only and will not power the display. The AC adapter is required for full functionality.
2. Connect AC Power Adapter
- Plug the AC power adapter into the power jack on the back of the alarm clock.
- Plug the power adapter into a standard electrical outlet.
- The clock display will illuminate.
3. Atomic Clock Synchronization
Upon initial power-up, the clock will automatically attempt to synchronize with the WWVB atomic clock signal. This process can take several minutes to several hours, depending on your location and atmospheric conditions. During synchronization, the atomic clock icon will flash.
For best reception, place the clock away from large metal objects, electronic devices, and concrete walls. Once synchronized, the atomic clock icon will appear solid.

The AcuRite 13024 clock positioned on a nightstand, demonstrating typical placement for optimal signal reception and user convenience.
Operating Instructions
Control Buttons Overview
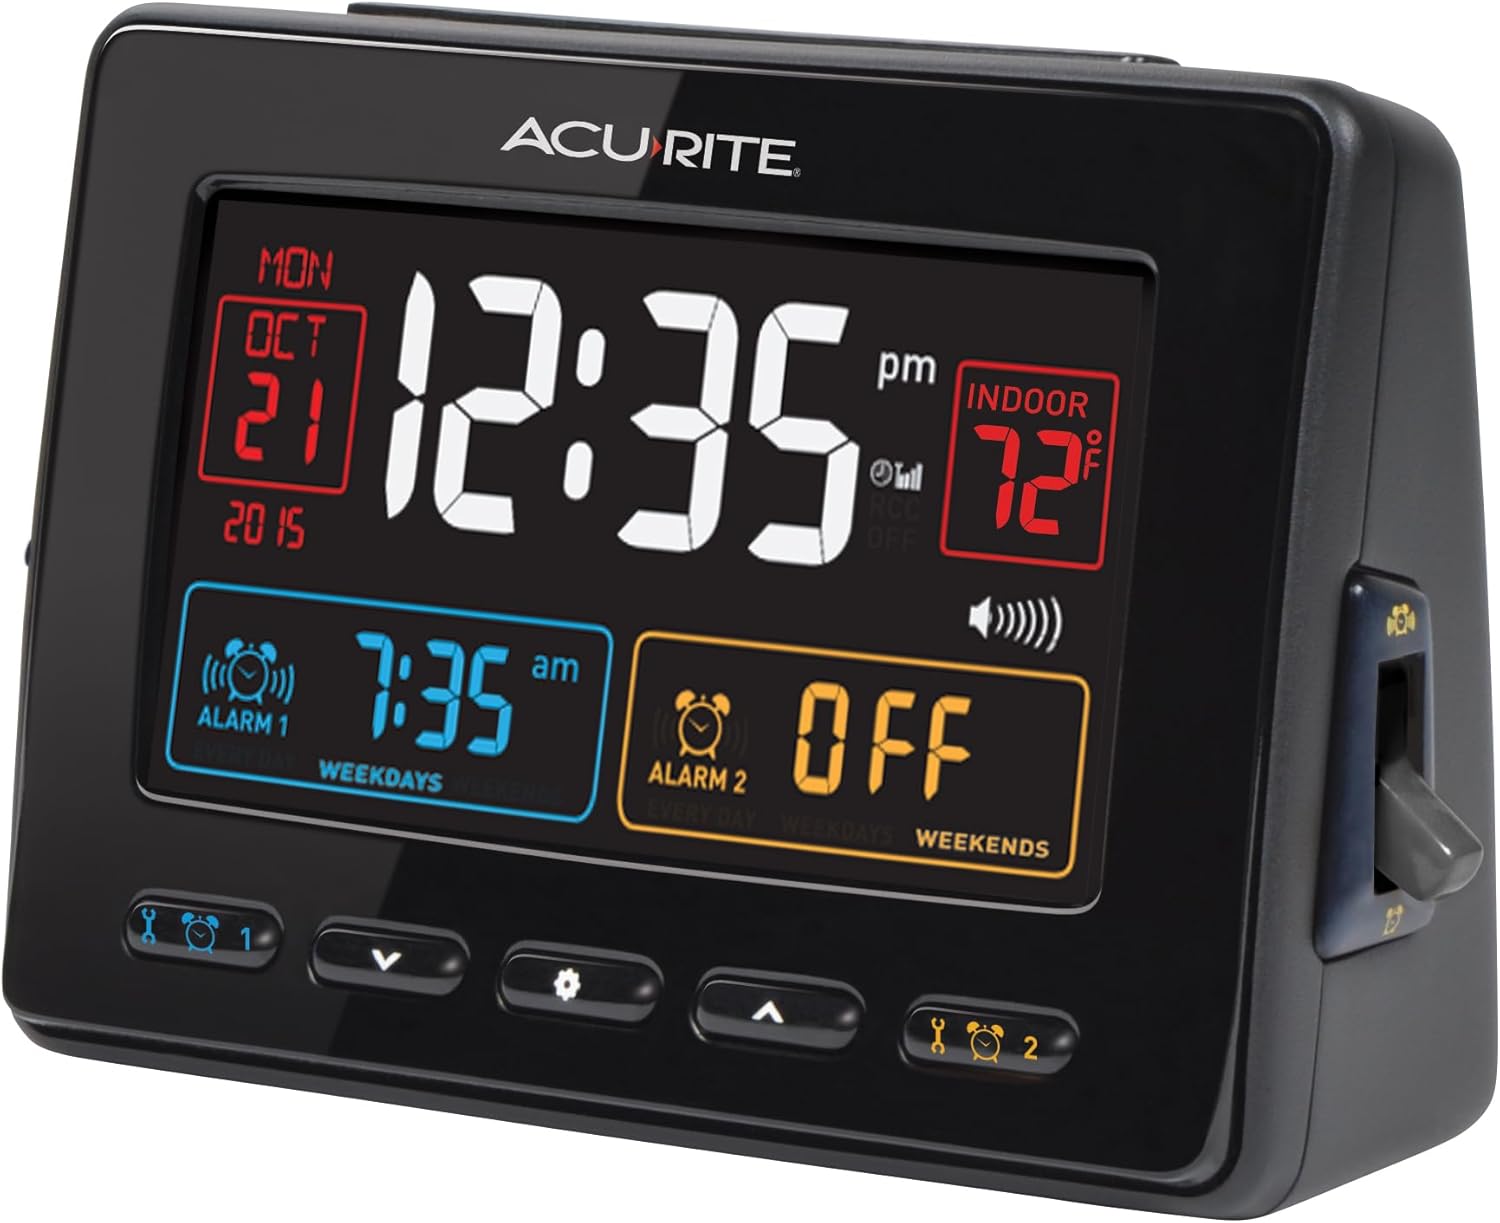
An angled view of the AcuRite 13024 clock, highlighting the various control buttons located on the front and sides for setting time, alarms, and other functions.
| Button | Function |
|---|---|
| SET (Gear icon) | Enters time/date setting mode. Press repeatedly to cycle through settings. |
| UP (Arrow Up) | Increases selected value during setting. |
| DOWN (Arrow Down) | Decreases selected value during setting. |
| ALARM 1 / ALARM 2 (Buttons below display) | Selects alarm to set. |
| SNOOZE / LIGHT (Top button) | Activates snooze function when alarm sounds. Press to temporarily illuminate the display. |
Note: Alarm activation/deactivation is controlled by physical slide switches on the side of the clock.
Setting Time and Date Manually
If the atomic clock signal is unavailable or you wish to set the time manually:
- Press and hold the SET button for 3 seconds to enter manual setting mode. The setting you are adjusting will flash.
- Press the UP or DOWN buttons to adjust the selected value.
- Press the SET button to confirm your selection and move to the next setting.
- The setting order is: Time Zone > DST On/Off > Hour > Minute > Year > Month > Day.
- Press the SET button one last time to exit manual setting mode.
Setting Alarms
The clock features two independent alarms (Alarm 1 and Alarm 2).
- Press the ALARM 1 or ALARM 2 button (located on the front panel, below the display) to select the alarm you wish to set. The alarm time will begin to flash.
- Press the UP or DOWN buttons to adjust the alarm hour.
- Press the selected alarm button again to confirm the hour and move to minutes.
- Press the UP or DOWN buttons to adjust the alarm minute.
- Press the selected alarm button again to confirm the minute and move to alarm mode (Every Day, Weekdays, Weekends).
- Press the UP or DOWN buttons to select the desired alarm mode.
- Press the selected alarm button one last time to confirm and exit alarm setting mode.
To activate or deactivate an alarm, use the physical slide switch on the side of the clock corresponding to Alarm 1 or Alarm 2. When an alarm is active, its icon will appear on the display.
Using the USB Charging Port
The USB charging port is located on the side of the clock. It provides 5V, 500mA output for charging compatible devices.
- Connect your device's USB charging cable (not included) to the USB port on the clock.
- Connect the other end of the cable to your device.
- The device will begin charging.
Note: Charging speed may vary depending on the device and cable used. Some devices requiring higher current (e.g., tablets) may charge slower or not at all.
Maintenance
Cleaning the Unit
- Wipe the display and casing with a soft, lint-free cloth.
- Do not use abrasive cleaners or solvents, as they may damage the surfaces.
- Ensure the unit is unplugged before cleaning.
Battery Replacement
The backup batteries should be replaced annually or when the battery indicator appears on the display (if applicable). This ensures that time and alarm settings are retained during power interruptions.
- Unplug the AC adapter.
- Open the battery compartment on the back of the unit.
- Remove the old batteries and dispose of them properly.
- Insert 2 new AA alkaline batteries, observing polarity.
- Replace the battery compartment cover and plug in the AC adapter.
Troubleshooting
| Problem | Possible Solution |
|---|---|
| No display / Display is dim. |
|
| Atomic clock not synchronizing. |
|
| Alarm does not sound. |
|
| USB charging not working or slow. |
|
| Clock resets when phone is plugged into USB. |
|
Specifications
| Feature | Detail |
|---|---|
| Model Number | 13024 |
| Brand | AcuRite |
| Display Type | Digital, Color LCD |
| Power Source | Corded Electric (AC Power Adapter) |
| Battery Backup | 2 x AA Alkaline Batteries (not included) |
| USB Charging Output | 5V, 500mA |
| Product Dimensions | 4.3" H x 6" W |
| Atomic Clock Frequency | WWVB (60 kHz) |
| Material | Plastic |
| Color | Black |

Visual representation of the AcuRite 13024 clock's dimensions: 4.3 inches in height and 6 inches in width.
Warranty Information
The AcuRite 13024 Atomic Dual Alarm Clock is covered by a one-year limited warranty from the date of purchase. This warranty covers defects in material and workmanship. For full warranty details and to register your product, please visit the AcuRite website or contact customer support.
Customer Support
For additional assistance, troubleshooting, or to inquire about replacement parts, please contact AcuRite Customer Support:
- Website: www.acurite.com/support
- Phone: Refer to AcuRite's official website for current contact numbers.
Related documents13024


Ask a question about this manual
Ask about setup, troubleshooting, compatibility, parts, safety, or missing instructions. Manuals+ will review the question and use this page’s manual context to help answer it.