
Introduction
This manual provides detailed instructions for the safe and effective operation of your Retevis RT-5R Dual Band Two-Way Radio. Please read this manual thoroughly before using the device to ensure proper functionality and to prevent damage. Keep this manual for future reference.
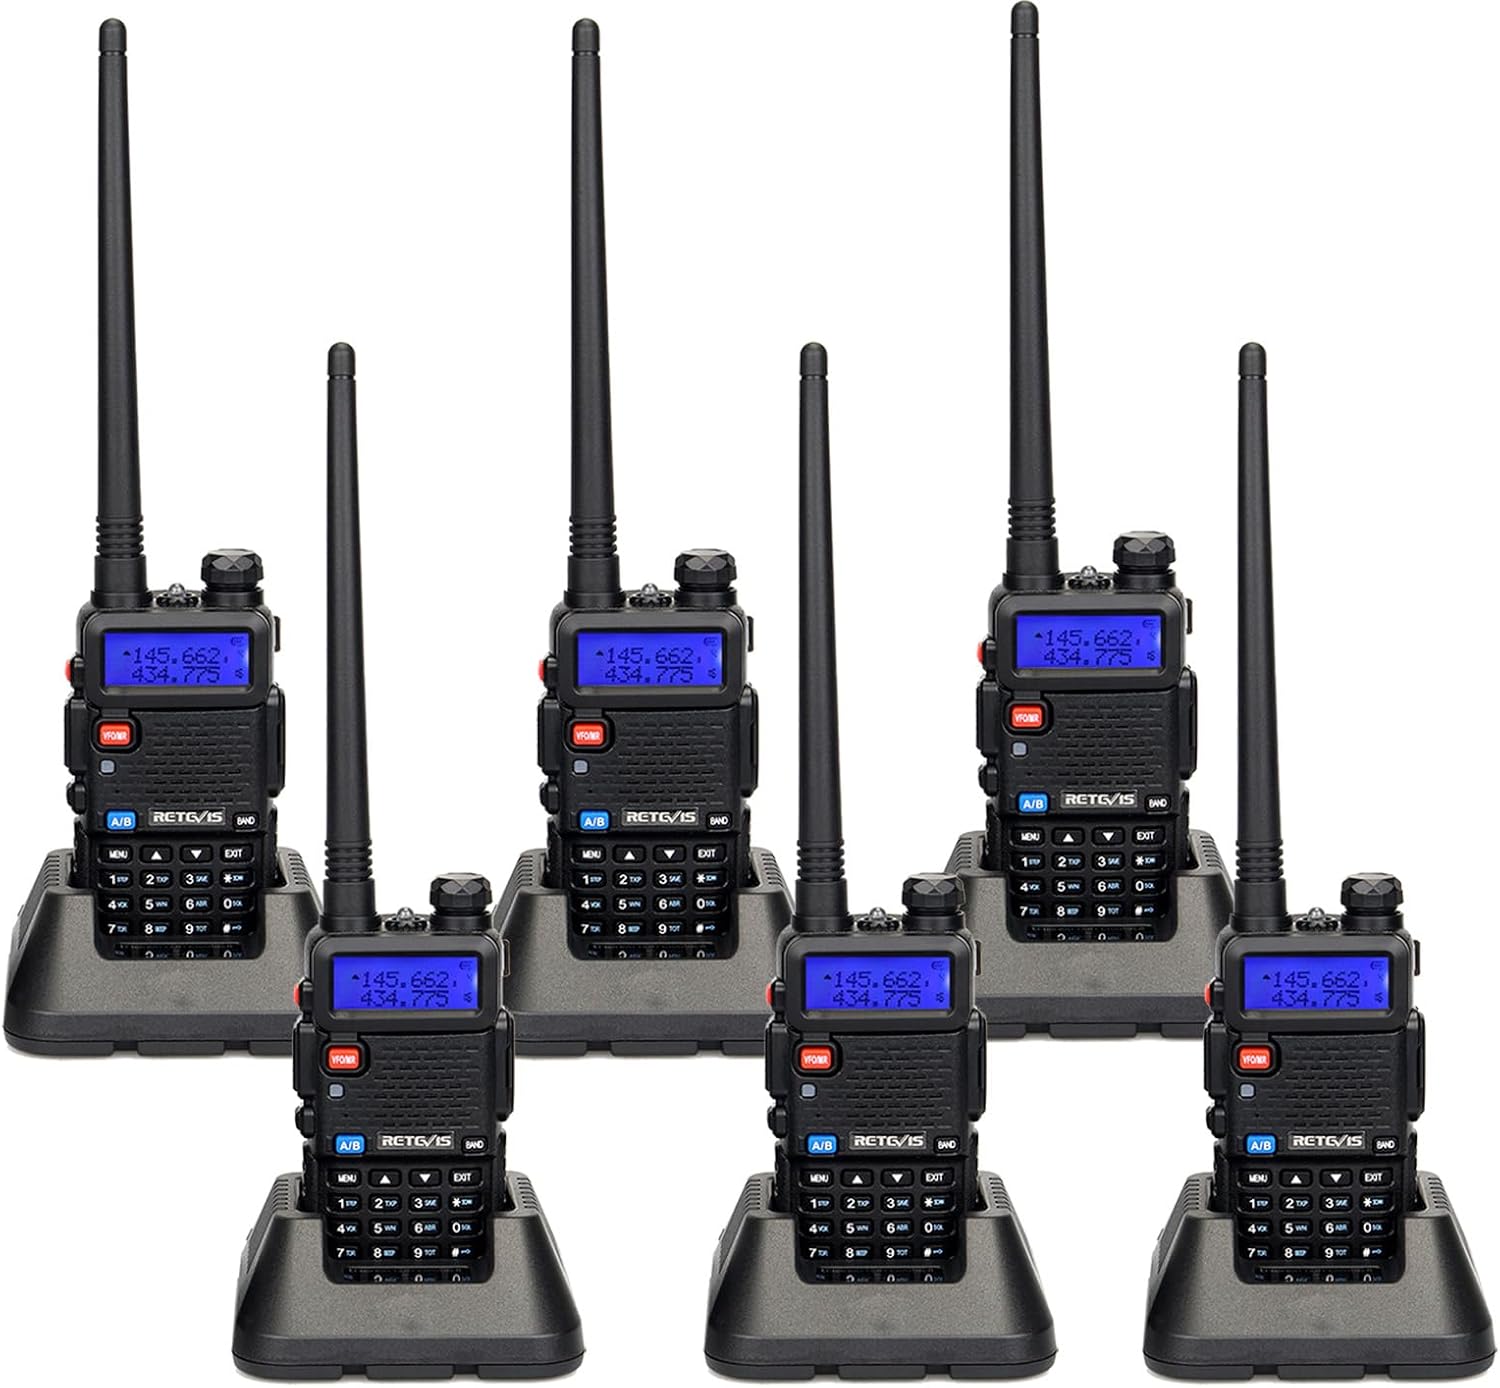
Image: Six Retevis RT-5R two-way radios, each placed in its individual charging base. The radios are black with a digital display showing frequencies, and each has an antenna attached.
Package Contents
Verify that all items listed below are included in your package:

Image: A visual representation of the package contents, including the radio, antenna, battery, belt clip, charging station, manual, adapter, and lanyard.
- Retevis RT-5R Two-Way Radio (6 units)
- Antenna (6 units)
- Earpiece (6 units)
- Belt Clip (6 units)
- Hand Strap (6 units)
- English User's Manual (6 units)
- 1400mAh Lithium-Ion Battery (6 units)
- Charging Base (6 units)
- Power Adapter (6 units)
Product Features
- Dual-Band Operation: The RT-5R supports simultaneous two-way conversations across different frequency bands, enhancing communication efficiency.
- High Power Transmission: Offers extended transmission distance and improved signal penetration, suitable for large areas like warehouses or multi-story buildings.
- CHIRP Software Support: Compatible with CHIRP programming software for simplified customization and channel management.
- Adjustable Squelch Function: Features 1-9 levels of squelch to filter out background noise, improving audio clarity in noisy environments.
- Durable Construction: Designed to be shockproof and drop-proof, capable of withstanding demanding conditions.
- VOX (Voice Operated Exchange): Allows for hands-free communication with adjustable sensitivity levels (0-9).
- Keyboard Lock: Prevents accidental channel changes or setting adjustments during operation.
- Long-Lasting Battery: Equipped with a 1400mAh battery, providing approximately 10-12 hours of continuous use. USB charging is supported.
- FCC Certified: The device is FCC certified with ID: 2ASNSRT5R.
- Emergency Functions: Includes an SOS emergency alarm and a built-in flashlight for enhanced safety.
- LCD Display: Features a backlit LCD for clear visibility of channels and settings.

Image: A graphic illustrating the dual-band capability of the radio, depicting radio waves for both UHF (Ultra High Frequency) and VHF (Very High Frequency) bands.

Image: A diagram showing a radio signal originating from a two-way radio and penetrating through a tall building, illustrating strong signal penetration.
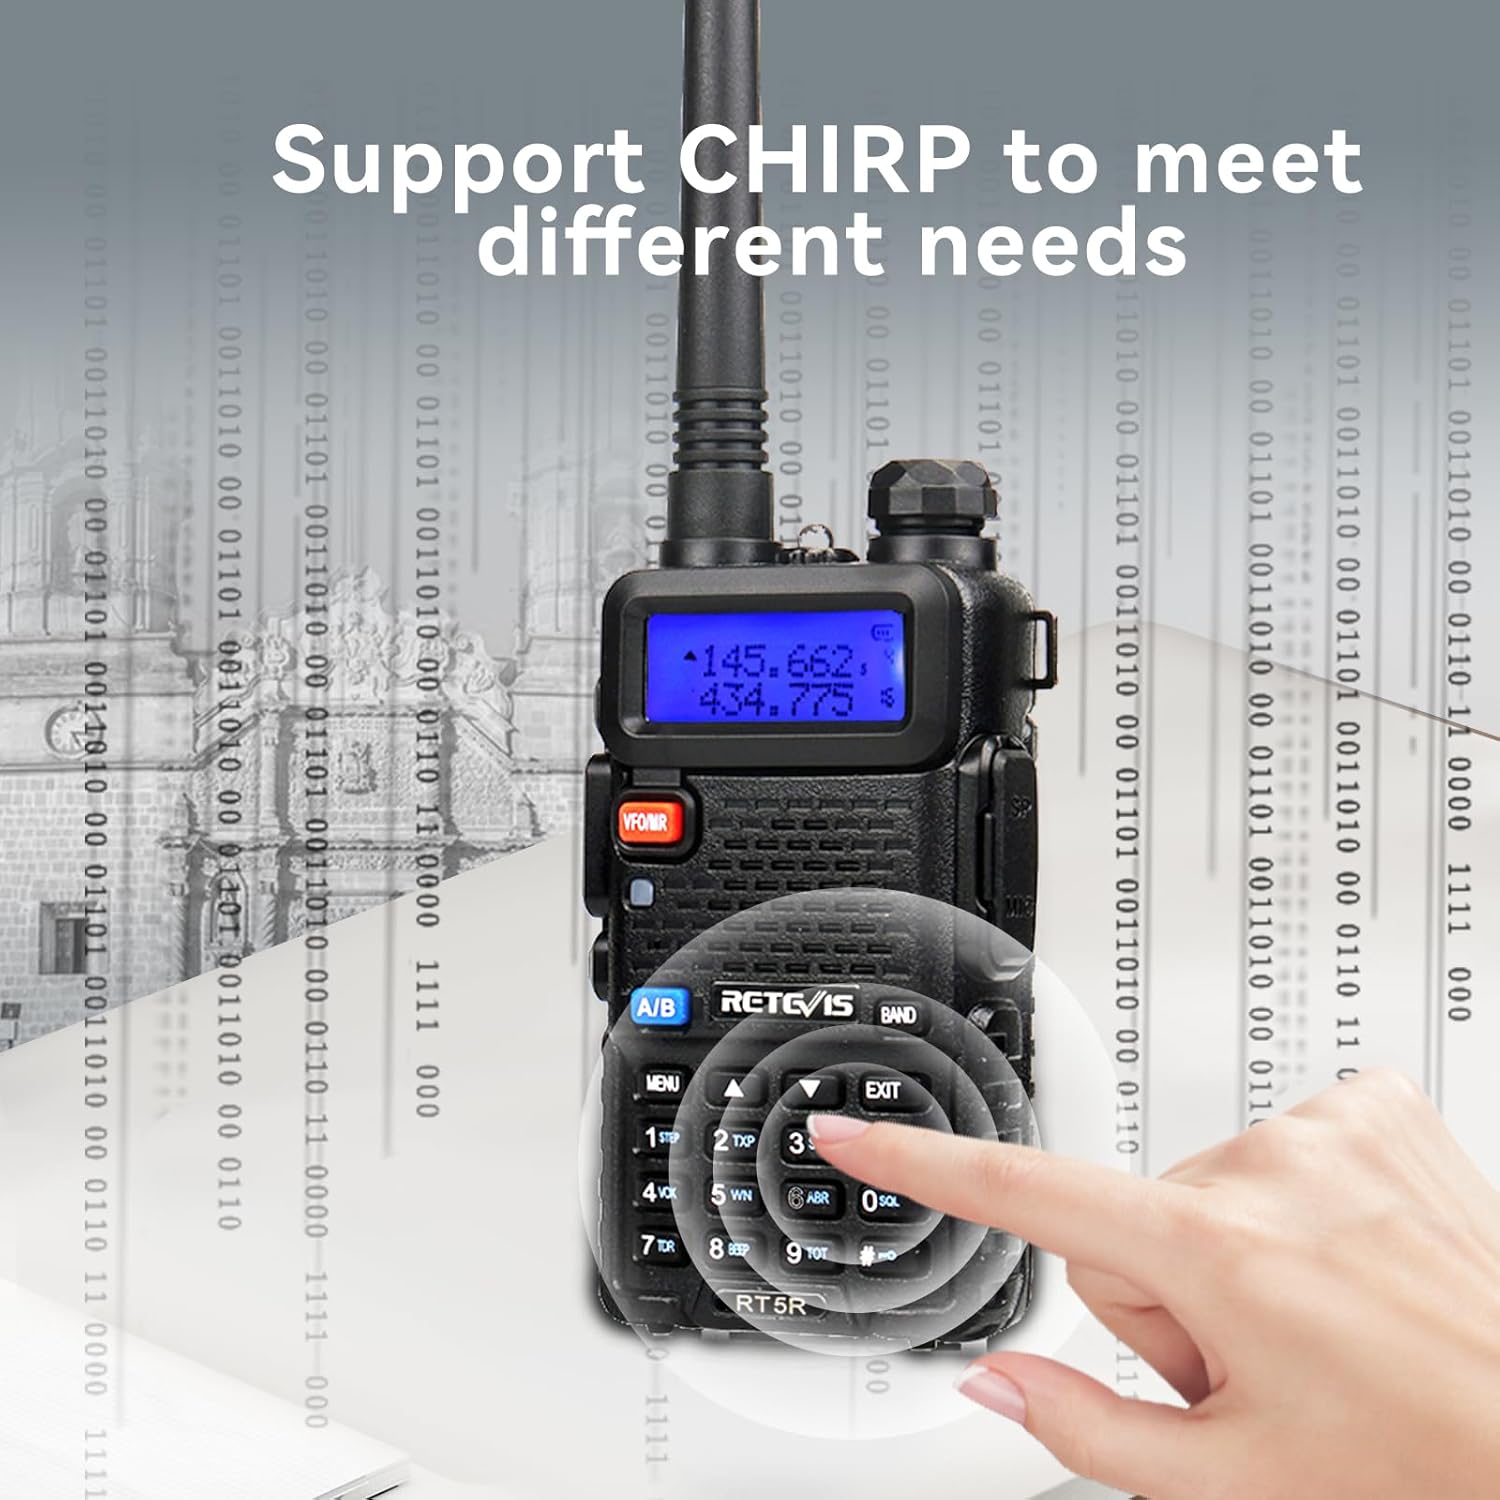
Image: A hand interacting with the radio's keypad, overlaid with a digital pattern, indicating support for CHIRP programming.

Image: A Retevis RT-5R radio shown in mid-air, about to impact a cracked, rocky surface, emphasizing its shock-resistant and sturdy build.

Image: A Retevis RT-5R radio in its charging base, with a prominent graphic of a battery and the text '1400mAh Battery', indicating its capacity.

Image: A close-up view of the battery compartment of the Retevis RT-5R radio, clearly showing the 'RETEVIS Two Way Radio' branding and the FCC ID label.

Image: A Retevis RT-5R radio with a bright beam of light shining from its top, indicating the flashlight function.

Image: A close-up of the Retevis RT-5R radio's LCD screen, clearly showing frequency numbers and other indicators.
Setup Guide
1. Battery Installation
- Align the battery pack with the grooves on the back of the radio.
- Slide the battery pack upwards until it clicks into place.
- To remove, press the battery release latch and slide the battery downwards.
2. Antenna Attachment
- Screw the antenna clockwise into the connector on the top of the radio until it is finger-tight. Do not overtighten.
3. Charging the Battery
- Insert the power adapter into an electrical outlet.
- Connect the adapter cable to the charging base.
- Place the radio (with battery installed) into the charging base. The charging indicator light will illuminate.
- A full charge typically takes 4-5 hours. The indicator light will change color or turn off when charging is complete.
4. Earpiece Connection
- Open the rubber cover on the side of the radio.
- Insert the earpiece plug firmly into the audio jack.
Operating Instructions
1. Power On/Off and Volume Adjustment
- To power on, rotate the volume knob (top-left) clockwise. You will hear a click and a tone.
- Continue rotating the knob clockwise to increase volume, and counter-clockwise to decrease.
- To power off, rotate the volume knob counter-clockwise until you hear a click.
2. Channel Selection
- Use the UP/DOWN arrow keys on the keypad to navigate through available channels.
- Alternatively, enter the channel number directly using the numeric keypad.
- Press the MENU button to access the menu for advanced settings, including frequency input.
3. Transmitting and Receiving
- To transmit, press and hold the PTT (Push-To-Talk) button on the left side of the radio. Speak clearly into the microphone.
- Release the PTT button to receive.
- Ensure the antenna is properly attached for optimal performance.
4. VOX Function (Hands-Free Operation)
- The VOX function allows transmission without pressing the PTT button.
- To activate/deactivate and adjust VOX sensitivity (levels 0-9), navigate through the radio's menu settings. Refer to the on-screen menu for specific steps.
5. Squelch Adjustment
- Squelch filters out weak signals and background noise.
- Adjust squelch levels (1-9) via the radio's menu. Higher levels require stronger signals to open the receiver.
6. Keyboard Lock
- To prevent accidental key presses, activate the keyboard lock function.
- Typically, this is done by pressing and holding the '#' key or through the menu.
7. Emergency Alarm and Flashlight
- The emergency alarm can be activated via a dedicated button (often labeled CALL or FM) or through the menu.
- The built-in flashlight is usually activated by a short press of the FM button or a dedicated side button.
8. CHIRP Programming
- For advanced programming of frequencies, tones, and other settings, the RT-5R supports CHIRP software.
- A programming cable (sold separately) and a computer are required.
- Download the latest CHIRP software and drivers from the official Retevis website or CHIRP project website.
Maintenance
1. Cleaning
- Wipe the radio's surface with a soft, damp cloth. Do not use harsh chemicals or abrasive cleaners.
- Ensure the charging contacts on both the radio and the base are clean and free of debris.
2. Battery Care
- Avoid fully discharging the battery frequently to prolong its lifespan.
- Store batteries in a cool, dry place when not in use.
- If the radio will not be used for an extended period, remove the battery.
3. Storage
- Store the radio in a dry, dust-free environment away from direct sunlight and extreme temperatures.
- Keep the radio away from strong magnetic fields.
Troubleshooting
| Problem | Possible Cause | Solution |
|---|---|---|
| Radio does not power on | Low or dead battery; improperly installed battery | Charge the battery; ensure battery is correctly installed |
| Cannot transmit or receive | Incorrect channel/frequency; antenna not attached; out of range; squelch too high | Verify channel/frequency; attach antenna; move closer to other radios; lower squelch level |
| Poor audio quality / Static | Weak signal; interference; squelch too low | Move to an open area; adjust squelch level; check for obstructions |
| Battery not charging | Charger/adapter faulty; poor contact; battery damaged | Check charger/adapter; ensure radio is seated correctly in base; replace battery if damaged |
| Keyboard locked | Keyboard lock function activated | Press and hold '#' key or refer to menu to unlock |
Specifications
- Model: RT-5R
- Product Dimensions: 4.61 x 2.32 x 1.16 inches
- Item Weight: 6.6 ounces (186 Grams)
- Batteries: 6 Lithium Ion batteries required (included)
- Item Model Number: A0850A*6-US
- Number of Channels: 128
- Special Features: Emergency Alarm, VOX, Keyboard Lock, Flashlight
- Frequency Range: Analog (Dual Band VHF/UHF)
- Voltage: 7.4 Volts
- Water Resistance Level: Water Resistant
- Manufacturer: Retevis
- FCC ID: 2ASNSRT5R
Warranty and Support
Retevis provides a standard warranty for its products. For specific warranty terms, duration, and to register your product, please refer to the warranty card included in your package or visit the official Retevis website. For technical support, troubleshooting assistance, or service inquiries, please contact Retevis customer service through their official channels.
Contact Information: Refer to the Retevis official website or the contact details provided in your product packaging for the most current support information.


