
Introduction
This manual provides comprehensive instructions for the safe and efficient use of your Brother JX2517 Sewing Machine. Designed for both novice and experienced users, this machine offers 17 built-in utility and decorative stitches, a 4-step automatic buttonhole maker, and a jam-resistant quick-set drop-in top bobbin. Please read this manual thoroughly before operating the machine to ensure proper setup, operation, and maintenance.
1. Setup
1.1 Unpacking and Placement
- Carefully remove the machine from its packaging. Retain all packing materials for future transport or storage.
- Place the machine on a stable, flat surface. Ensure adequate space around the machine for comfortable operation.
1.2 Power Connection
- Connect the power cord to the machine's power input jack.
- Plug the power cord into a suitable electrical outlet.
- Connect the foot controller to its designated jack on the machine.
1.3 Winding the Bobbin
- Place a spool of thread on the spool pin.
- Guide the thread through the upper thread guide and around the pre-tension disc.
- Insert the thread through the hole in the bobbin from the inside out.
- Place the bobbin onto the bobbin winder shaft and push it to the right.
- Press the foot controller gently to start winding. Stop when the bobbin is full.
- Cut the thread and push the bobbin winder shaft to the left to remove the bobbin.
1.4 Inserting the Bobbin
- Open the bobbin cover plate.
- Place the wound bobbin into the bobbin case with the thread running counter-clockwise.
- Guide the thread through the tension spring and into the thread guide slot.
- Close the bobbin cover plate.
1.5 Threading the Upper Thread
- Raise the presser foot lever.
- Place the spool of thread on the spool pin.
- Guide the thread through the upper thread guide.
- Follow the numbered threading path down, around the tension discs, and up to the take-up lever.
- Thread the take-up lever from right to left.
- Continue guiding the thread down through the needle bar thread guide.
- Thread the needle from front to back.
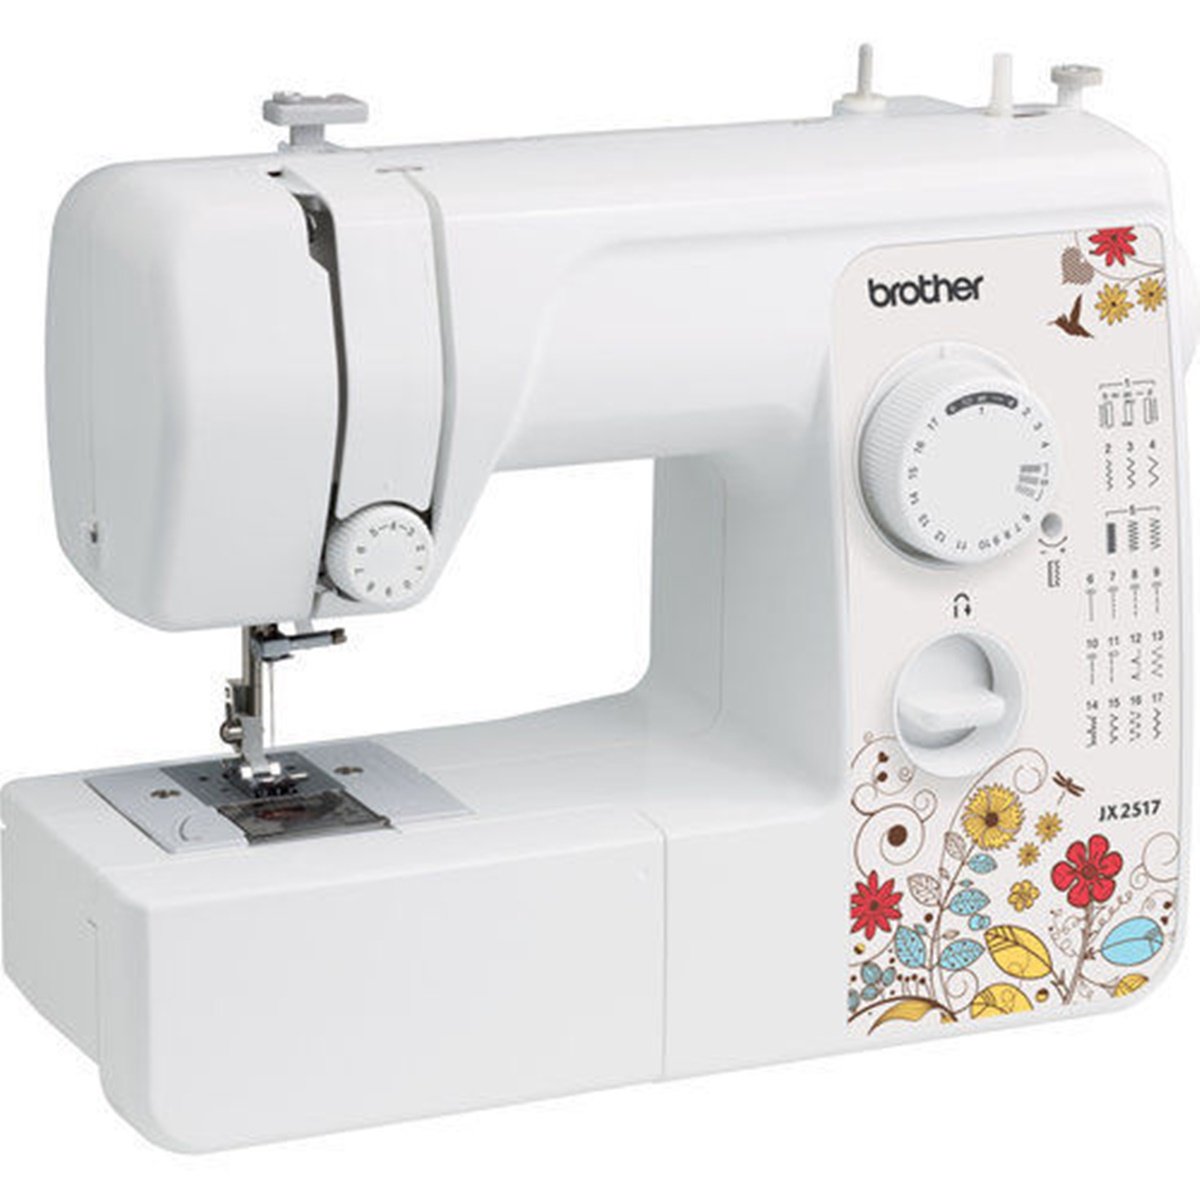
Figure 1: Brother JX2517 Sewing Machine with key threading points. Ensure the thread follows the indicated path for proper tension.
2. Operating Instructions
2.1 Stitch Selection
- Turn the stitch selector dial to choose one of the 17 built-in stitches. Refer to the stitch chart on the machine for stitch patterns.
- The machine offers various utility stitches for basic sewing and decorative stitches for embellishments.
2.2 Sewing Basics
- Place the fabric under the presser foot.
- Lower the presser foot lever.
- Gently press the foot controller to start sewing. The sewing speed is controlled by the pressure applied to the foot controller.
- To reverse stitch (for securing seams), press and hold the reverse sewing lever.
- The built-in LED light illuminates the sewing area for improved visibility.
2.3 4-Step Buttonhole Making
- Attach the buttonhole foot.
- Select the first buttonhole stitch setting (usually indicated by a symbol).
- Sew the first side of the buttonhole.
- Adjust the stitch selector for the next step of the buttonhole, following the machine's markings.
- Repeat for all four steps to complete the buttonhole.
2.4 Blind Hem Stitch
- Select the blind hem stitch from the stitch selector dial.
- Fold the fabric as instructed for a blind hem.
- Sew carefully to create an invisible hem on garments or home decor items.
3. Maintenance
3.1 Cleaning
- Always disconnect the power cord before cleaning.
- Regularly remove the needle plate and bobbin case to clean lint and dust accumulation with the provided brush.
- Wipe the exterior of the machine with a soft, dry cloth. Do not use liquid cleaners or harsh chemicals.
3.2 Needle Replacement
- Turn off the machine and raise the needle to its highest position.
- Loosen the needle clamp screw and remove the old needle.
- Insert a new needle with the flat side facing the back of the machine, pushing it up as far as it will go.
- Tighten the needle clamp screw securely.
- Replace needles frequently, especially when sewing different fabric types or if the needle becomes bent or dull.
4. Troubleshooting
If you encounter issues with your sewing machine, refer to the following common problems and solutions. For more detailed troubleshooting, consult the full instruction manual or contact customer support.
4.1 Common Issues
- Skipped Stitches: Ensure the needle is inserted correctly and is not bent or dull. Use the appropriate needle type for your fabric.
- Thread Breaking: Check for correct threading of both upper and bobbin threads. Verify that the thread tension is set appropriately for your fabric and thread type. Ensure the needle is not damaged.
- Fabric Not Feeding: Confirm the presser foot is lowered. Check if the feed dogs are engaged.
- Machine Not Starting: Ensure the power cord is securely plugged in and the foot controller is connected. Check the power switch.
- Bobbin Jamming: Ensure the bobbin is wound evenly and inserted correctly into the bobbin case. Clean any lint from the bobbin area.
5. Specifications
| Feature | Detail |
|---|---|
| Model Number | JX2517 |
| Dimensions (L x W x H) | 15 x 6 x 12 inches |
| Item Weight | 12 pounds |
| Brand | Brother |
| Color | White |
| Material | Metal |
| Power Source | Corded Electric |
| Built-in Stitches | 17 |
| Buttonhole Type | 4-step automatic |
| Bobbin Type | Jam-resistant quick-set drop-in top bobbin |
| Lighting | LED Light |
| UPC | 012502635482 |
6. Warranty and Support
6.1 Warranty Information
Your Brother JX2517 Sewing Machine is covered by a limited warranty. Please refer to the warranty card included with your product for specific terms, conditions, and duration of coverage. Keep your proof of purchase for warranty claims.
6.2 Customer Support
For technical assistance, service, or to order replacement parts, please contact Brother customer support. You can find contact information on the Brother official website or in the documentation provided with your machine.
Brother Official Website: www.brother-usa.com