1. Introduction
The MakerBot Replicator 2 Desktop 3D Printer is designed for creating high-resolution prototypes and complex models using PLA filament. This manual provides essential information for setting up, operating, maintaining, and troubleshooting your device to ensure optimal performance.
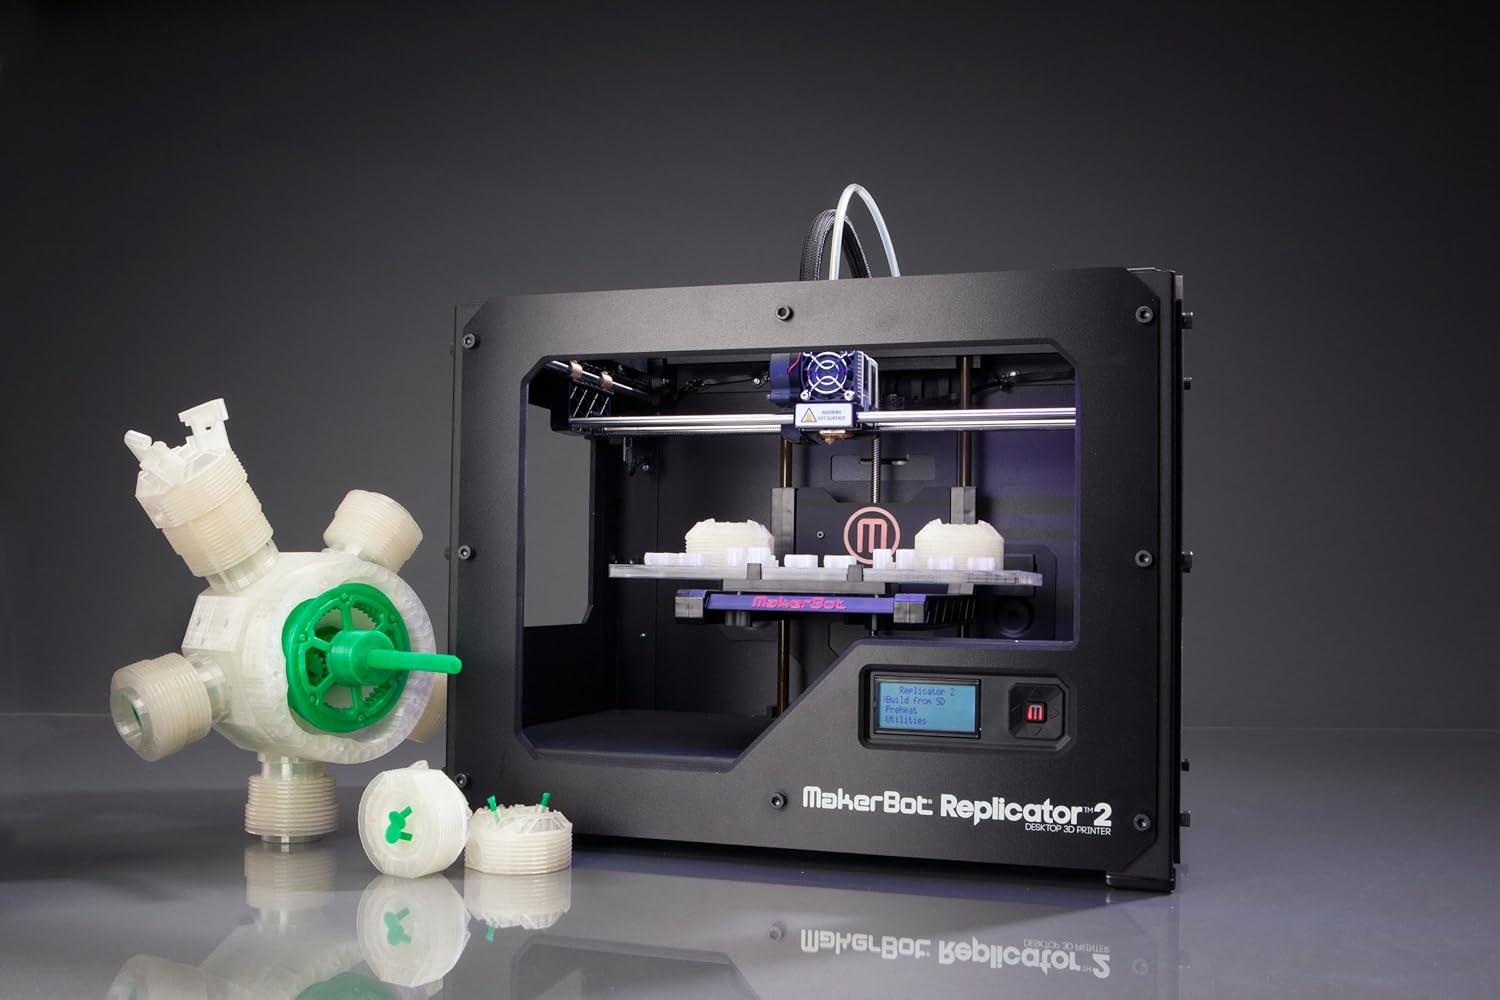
Figure 1: The MakerBot Replicator 2 Desktop 3D Printer with example prints.
2. Setup
2.1 Unboxing and Initial Inspection
Upon receiving your MakerBot Replicator 2, carefully unbox the unit. The owner's manual is typically located at the top of the packaging. Ensure all internal components, such as rods, belts, and gears, are securely fastened with plastic snap-on bars and zip ties.
2.2 Build Plate Leveling
Accurate build plate leveling is critical for successful 3D printing. The printer's initial setup script will guide you through this process. Proper leveling ensures the extruder dispenses PLA plastic correctly. If the build plate is too close, plastic cannot extrude; if too far, the plastic may not adhere. The build plate is made of acrylic and can warp over time due to temperature variations. Consider using a glass build plate for heavy use and applying blue painter's tape to the build plate for easier part removal and surface protection.

Figure 2: Front view of the MakerBot Replicator 2, showing the build plate and extruder.
2.3 Filament Loading
To load PLA filament, gently feed the filament into the extruder. The printer's motor will pull the filament down into the nozzle. Ensure the filament is properly seated for smooth extrusion.
Note: The provided video demonstrates the filament loading process, showing the filament being fed into the extruder and then extruding from the nozzle.
3. Operating Instructions
3.1 Initial Power-Up and Model Selection
After powering on, the printer will run a "First Run Start-Up Script" to guide you through initial checks. You can then select a model to print from the included SD card. The printer's display will show options like "Mr. Jaws," "Comb," "Stretchlet," and "Nut and Bolt."
3.2 Extruder Heating and Printing Process
Once a model is selected, the extruder will begin heating. The printer's internal LED lighting changes color to indicate the heating status, transitioning from violet to red as it approaches the target temperature (e.g., 230°C for PLA). After reaching the optimal temperature, the printer will commence printing, laying down layers of filament to form the object.

Figure 3: The MakerBot Replicator 2 in operation, demonstrating its capability to produce diverse models.
3.3 Software Usage
The MakerBot print software, available for download from the manufacturer's website, is used to prepare models for printing. This software primarily handles printing and saving files in different formats (e.g., .stl). It does not include features for creating or editing 3D models. Models can be printed directly from a computer via USB (optional) or by loading .stl files onto an SD card and inserting it into the printer.
4. Maintenance
Regular maintenance is essential for the longevity and consistent performance of your 3D printer.
- Extruder Maintenance: Periodically check the extruder for any issues. DIY troubleshooting for the extruder may be required.
- Build Plate Care: The acrylic build plate can warp over time. Using blue painter's tape can protect the surface and aid in part removal. For enhanced durability and flatness, consider replacing the acrylic plate with a glass sheet.
- Pulley Adjustment: To ensure accurate printing of round objects, verify that the pulleys remain tight. Loose pulleys can affect print quality.
5. Troubleshooting
This section addresses common issues that may arise during operation.
- Print Failures: Common causes include unsupported sections in the design (requiring support structures) or incorrect model dimensions. Always review your 3D model for structural integrity before printing.
- Clogging Issues: If the extruder nozzle becomes clogged, refer to the manufacturer's guidelines for clearing the obstruction. Persistent clogging may require professional assistance.
- Software-Related Print Anomalies: Issues such as lettering failures, small gaps in round parts, or the inability to insert a pause height during printing are known software limitations. Ensure your software is up-to-date and consult MakerBot support for advanced solutions.
- Part Wear and Breakdowns: Due to the continuous movement of components, parts may wear out over time. Contact MakerBot support for replacement parts and repair guidance.
6. Specifications
| Feature | Detail |
|---|---|
| Model Number | MP04948 |
| Product Dimensions | 19.29 x 16.54 x 14.96 inches |
| Item Weight | 1 Kilogram (2.2 Pounds) |
| Material | PLA |
| Color | Black |
| Layer Resolution | 100-micron |
| Build Volume | 6,717 cm³ |
| Compatible Devices | Laptop, Smartphone |
| Date First Available | November 15, 2012 |
7. Warranty and Support
For detailed information regarding product warranty, technical support, and service, please refer to the official MakerBot website or the documentation included with your printer.


