1. Introduction
This manual provides detailed instructions for the installation, operation, and maintenance of your ACCUTEMP AT0E-2559-7 Electric RTD Thermostat. This device is designed for precise temperature control in industrial applications, utilizing a Resistance Temperature Detector (RTD) for accurate readings. Please read this manual thoroughly before installation and operation to ensure safe and efficient use.
2. Safety Information
WARNING: Electrical shock hazard. Installation and servicing should only be performed by qualified personnel. Disconnect power before installation or maintenance.
- Ensure all wiring complies with local and national electrical codes.
- Do not operate the thermostat with damaged wiring or if it has been exposed to moisture.
- This device operates on 230V. Exercise extreme caution.
- Keep children away from electrical components.
- Do not attempt to modify the thermostat. Unauthorized modifications can lead to hazards and void the warranty.
3. Package Contents
Carefully unpack the box and ensure all items are present and undamaged. If any items are missing or damaged, contact your supplier immediately.
- ACCUTEMP AT0E-2559-7 Electric RTD Thermostat
- Mounting hardware (screws, anchors)
- Quick Start Guide (if applicable)
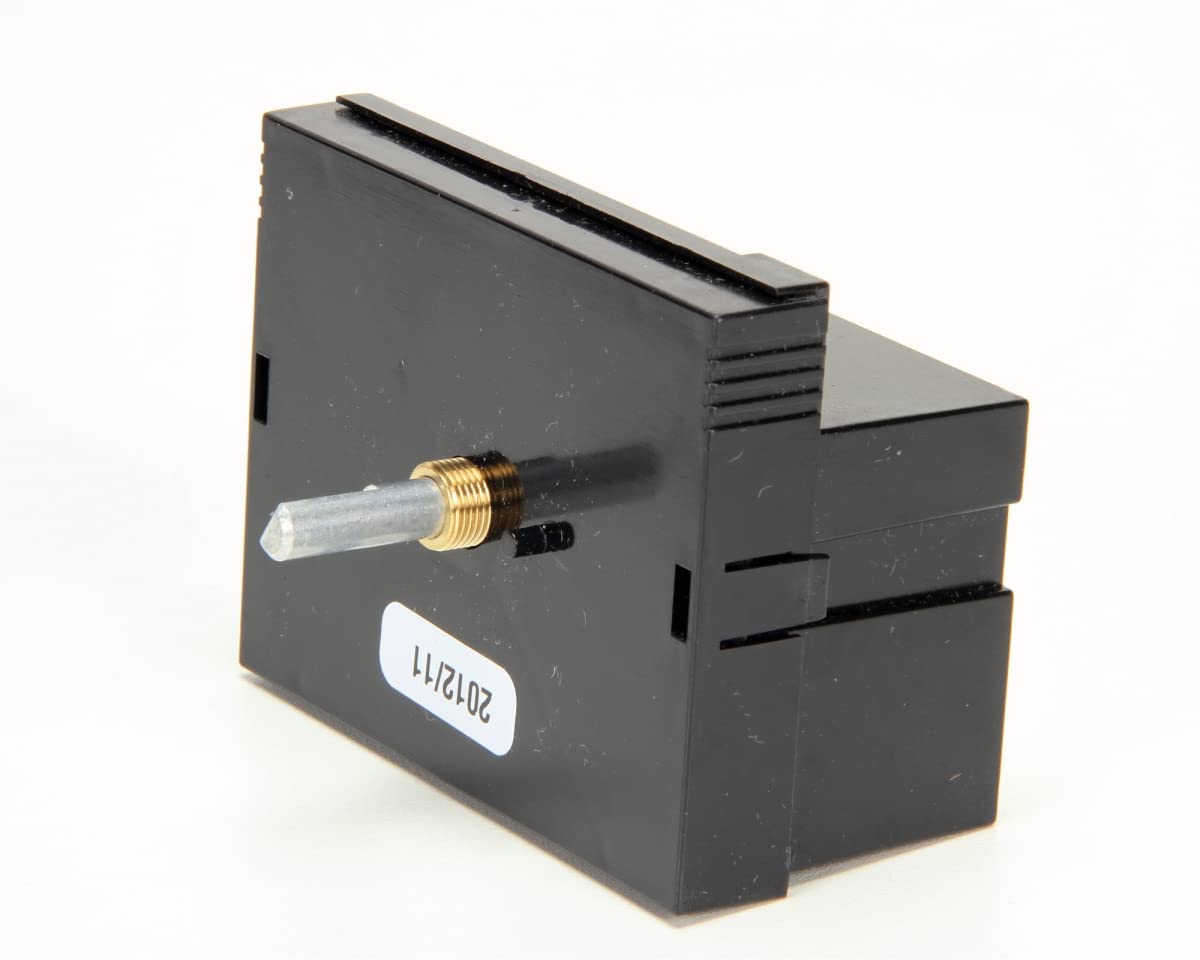
Figure 1: Front view of the ACCUTEMP AT0E-2559-7 Electric RTD Thermostat. The device features a black casing with an LCD display and push-button controls.
4. Setup and Installation
4.1 Mounting
The ACCUTEMP AT0E-2559-7 is designed for wall mounting. Choose a location that is representative of the area where temperature control is desired, away from direct heat sources, drafts, or direct sunlight.
- Disconnect Power: Ensure all power to the circuit is OFF at the main breaker before proceeding.
- Prepare Mounting Surface: Mark the desired mounting holes on the wall using the thermostat as a template.
- Install Anchors: Drill pilot holes and insert wall anchors if mounting into drywall.
- Secure Thermostat: Route wiring through the opening in the back of the thermostat and secure the thermostat to the wall using the provided screws. Do not overtighten.
4.2 Wiring
This thermostat requires a 230V AC power supply and connects to an RTD sensor. Refer to the wiring diagram provided with your specific unit for exact connections. Incorrect wiring can damage the unit or cause electrical hazards.
- Connect the 230V AC power supply to the designated power terminals.
- Connect the RTD sensor wires to the RTD input terminals. Ensure correct polarity if specified by the sensor manufacturer.
- Connect the load (e.g., heating element, cooling unit) to the relay output terminals.
- Double-check all connections for tightness and proper insulation.
4.3 Initial Power-up
After completing all wiring and mounting, restore power to the circuit. The thermostat's LCD display should illuminate, indicating it is powered on. The display will typically show the current temperature reading.
5. Operating Instructions
The ACCUTEMP AT0E-2559-7 features a digital LCD display and push-button controls for easy operation.
5.1 Display Overview (LCD)
The LCD (Liquid Crystal Display) shows the current temperature, setpoint temperature, and various operational indicators (e.g., heating/cooling active, alarm status). Refer to the specific icons and their meanings in your unit's detailed wiring diagram or supplementary documentation.
5.2 Push Button Controls
The thermostat is controlled via push buttons. Common buttons include:
- SET: Used to enter or confirm settings.
- UP (▲): Increases values or navigates menus.
- DOWN (▼): Decreases values or navigates menus.
- MODE: Switches between operating modes (if applicable).
5.3 Setting the Temperature
- Press the SET button once. The setpoint temperature will begin to flash.
- Use the UP (▲) or DOWN (▼) buttons to adjust the setpoint to your desired temperature.
- Press the SET button again to confirm the new setpoint. The display will return to showing the current temperature.
5.4 Advanced Settings (Digital Control)
Your thermostat may have advanced digital control parameters such as hysteresis, calibration offset, or alarm limits. Accessing and adjusting these settings typically involves holding down the SET button for several seconds or a specific button combination. Refer to the full technical documentation for detailed instructions on advanced parameter configuration.
6. Maintenance
The ACCUTEMP AT0E-2559-7 thermostat is designed for reliable operation with minimal maintenance. Regular cleaning and inspection will help ensure its longevity and accuracy.
6.1 Cleaning
- Disconnect Power: Always disconnect power to the thermostat before cleaning.
- Wipe the exterior of the thermostat with a soft, damp cloth. Do not use abrasive cleaners, solvents, or chemical sprays, as these can damage the display or casing.
- Ensure no moisture enters the internal components.
6.2 Inspection
- Periodically check wiring connections for tightness and signs of corrosion.
- Inspect the thermostat casing for any physical damage.
- Ensure the RTD sensor is clean and properly positioned for accurate temperature readings.
7. Troubleshooting
If you encounter issues with your ACCUTEMP AT0E-2559-7 thermostat, refer to the following common problems and solutions:
| Problem | Possible Cause | Solution |
|---|---|---|
| Thermostat display is blank. | No power supply. | Check circuit breaker. Ensure 230V power is connected correctly. |
| Incorrect temperature reading. | Faulty RTD sensor or wiring. Thermostat location issues. | Check RTD sensor connections. Verify sensor is not damaged. Relocate thermostat if exposed to drafts or heat sources. |
| Thermostat not controlling load. | Incorrect wiring. Setpoint not reached. Faulty relay. | Verify load wiring. Ensure setpoint is appropriately configured. If issue persists, contact support. |
| Buttons are unresponsive. | Temporary software glitch. Physical damage. | Cycle power to the thermostat. Inspect buttons for physical damage. |
If troubleshooting steps do not resolve the issue, contact ACCUTEMP customer support or a qualified technician.
8. Specifications
The following are the technical specifications for the ACCUTEMP AT0E-2559-7 Electric RTD Thermostat:
- Brand: ACCUTEMP
- Model Number: AT0E-2559-7
- Controller Type: Push Button
- Color: Black
- Temperature Control Type: Digital
- Power Source: Corded Electric
- Voltage: 230 Volts
- Material: Copper (likely internal components or sensor connection)
- Display Type: LCD
- Control Method: Push Button
- Mounting Type: Wall Mount
- Item Weight: 1.2 Pounds
- UPC: 400014713512
- Date First Available: June 22, 2016
9. Warranty and Support
ACCUTEMP products are manufactured to high-quality standards. For specific warranty information regarding your AT0E-2559-7 thermostat, please refer to the warranty card included with your purchase or visit the official ACCUTEMP website.
For technical support, troubleshooting assistance beyond this manual, or to inquire about replacement parts, please contact ACCUTEMP customer service directly. Have your model number (AT0E-2559-7) and purchase date ready when contacting support.
ACCUTEMP Customer Support:
- Website: www.accutemp.com (Example URL, please verify official site)
- Phone: Refer to the ACCUTEMP website for regional contact numbers.


