1. Introduction
This manual provides comprehensive instructions for the setup, operation, and maintenance of your JVC HR-VP673U Stereo Video Cassette Recorder. Please read this manual thoroughly before using the unit to ensure proper functionality and to prevent damage.
The JVC HR-VP673U is designed for recording and playback of VHS format video cassettes, featuring stereo audio and advanced video calibration for optimal performance.
2. Important Safety Information
- Power Source: Ensure the unit is connected to an AC 120V, 60Hz power supply.
- Ventilation: Do not block ventilation openings. Allow adequate space around the unit for proper airflow.
- Moisture: Do not expose the unit to rain or moisture.
- Servicing: Refer all servicing to qualified service personnel. Do not attempt to open the unit.
- Batteries: The remote control requires 2 AA batteries. Ensure correct polarity when inserting.
3. Package Contents
Verify that all items are present in the package:
- JVC HR-VP673U Stereo Video Cassette Recorder
- Remote Control Unit (RM-C341)
- Audio/Video RCA Cables
- User Manual (this document)

Image 1: JVC HR-VP673U VCR unit, remote control, and RCA cables. This image shows the main components included with the product.
4. Setup
4.1 Connecting to a Television
To connect the VCR to your television, use the supplied Audio/Video RCA cables.
- Locate the "VIDEO OUT" (yellow), "AUDIO OUT L" (white), and "AUDIO OUT R" (red) jacks on the rear panel of the VCR.
- Connect the corresponding colored plugs of the RCA cable to these jacks.
- Connect the other end of the RCA cable to the "VIDEO IN", "AUDIO IN L", and "AUDIO IN R" jacks on your television.
- Plug the VCR's power cord into an AC outlet.

Image 2: Rear view of the JVC HR-VP673U VCR, highlighting the audio (white, red) and video (yellow) output ports for connecting to a television or other display device.
4.2 Remote Control Battery Installation
The remote control requires two AA batteries (not included).
- Open the battery compartment cover on the back of the remote control.
- Insert two AA batteries, ensuring the correct polarity (+ and -) as indicated inside the compartment.
- Close the battery compartment cover securely.
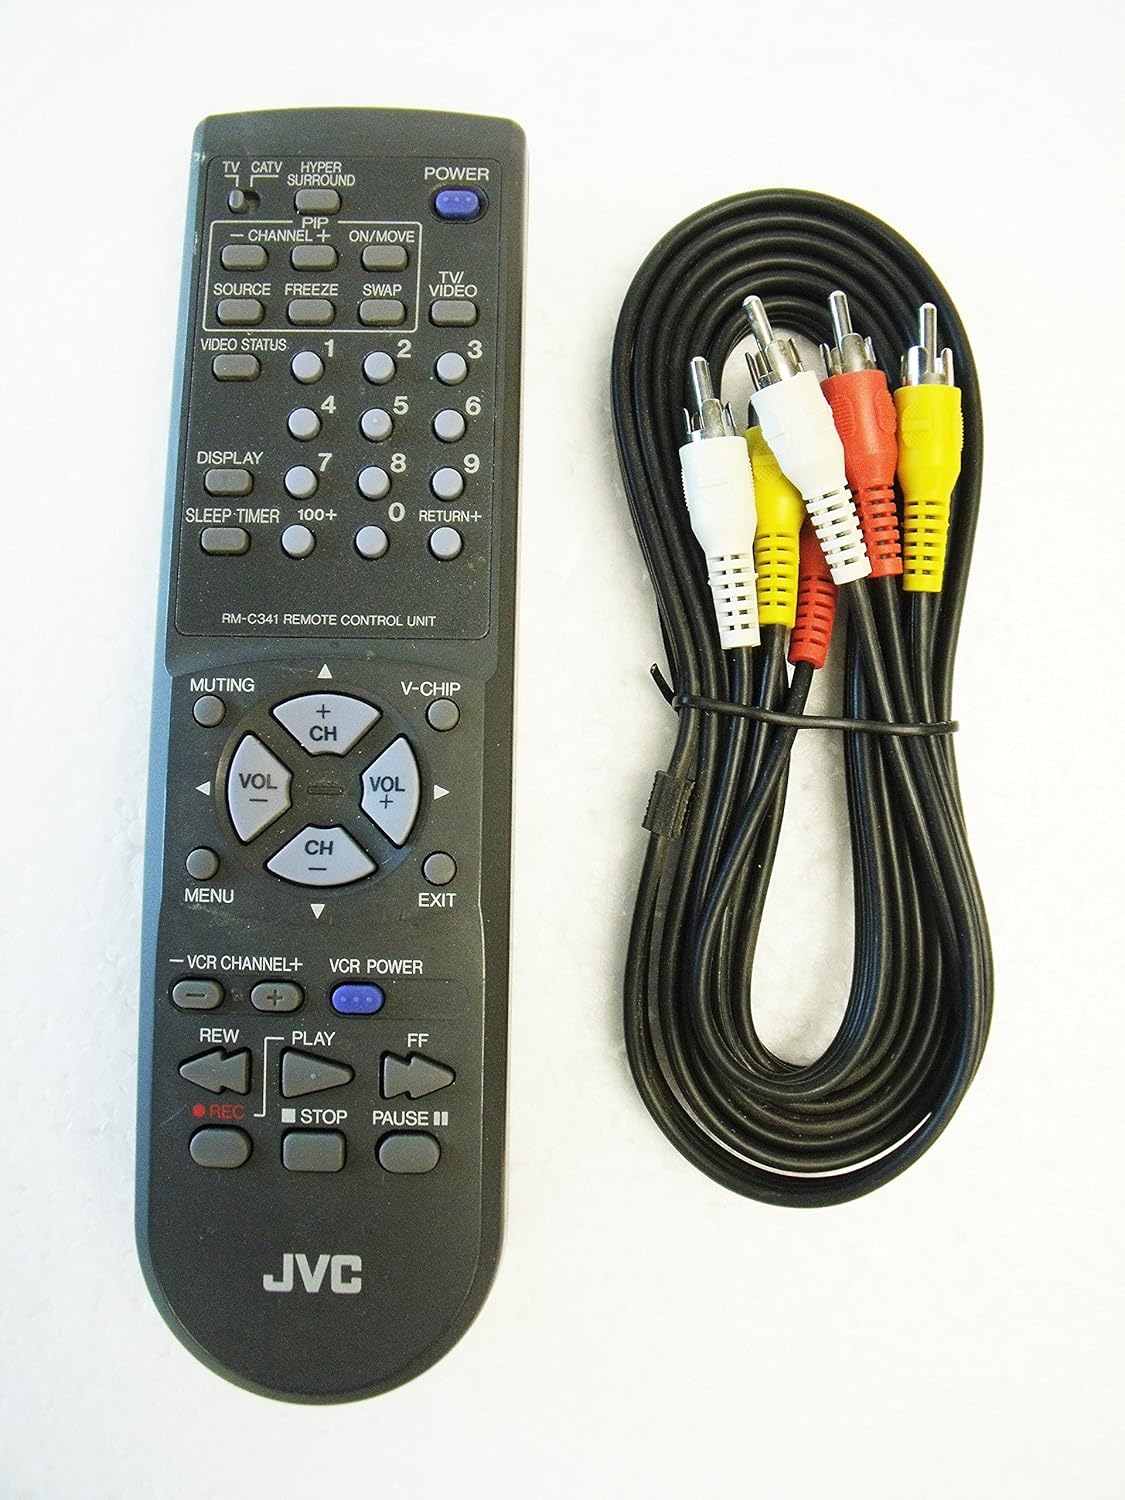
Image 3: The JVC remote control unit (RM-C341) and a set of RCA audio/video cables. The remote control is essential for operating the VCR's functions.
5. Basic Operation
5.1 Powering On/Off
- Press the POWER button on the front panel of the VCR or on the remote control to turn the unit on or off.

Image 4: Front view of the JVC HR-VP673U VCR, showing the power button on the left side of the unit.
5.2 Inserting and Ejecting a Videocassette
- To insert, gently push a VHS videocassette into the cassette slot with the tape window facing forward until it is automatically pulled in.
- To eject, press the STOP/EJECT button on the front panel or the remote control.

Image 5: Close-up of the JVC HR-VP673U VCR's cassette slot and front display panel, showing the "PRO-CISION 19µ HEAD" and "Plug & Play" indicators.
5.3 Playback
- Insert a videocassette.
- Press the PLAY button on the front panel or the remote control.
- To pause playback, press the PAUSE button. Press again to resume.
- To stop playback, press the STOP/EJECT button.
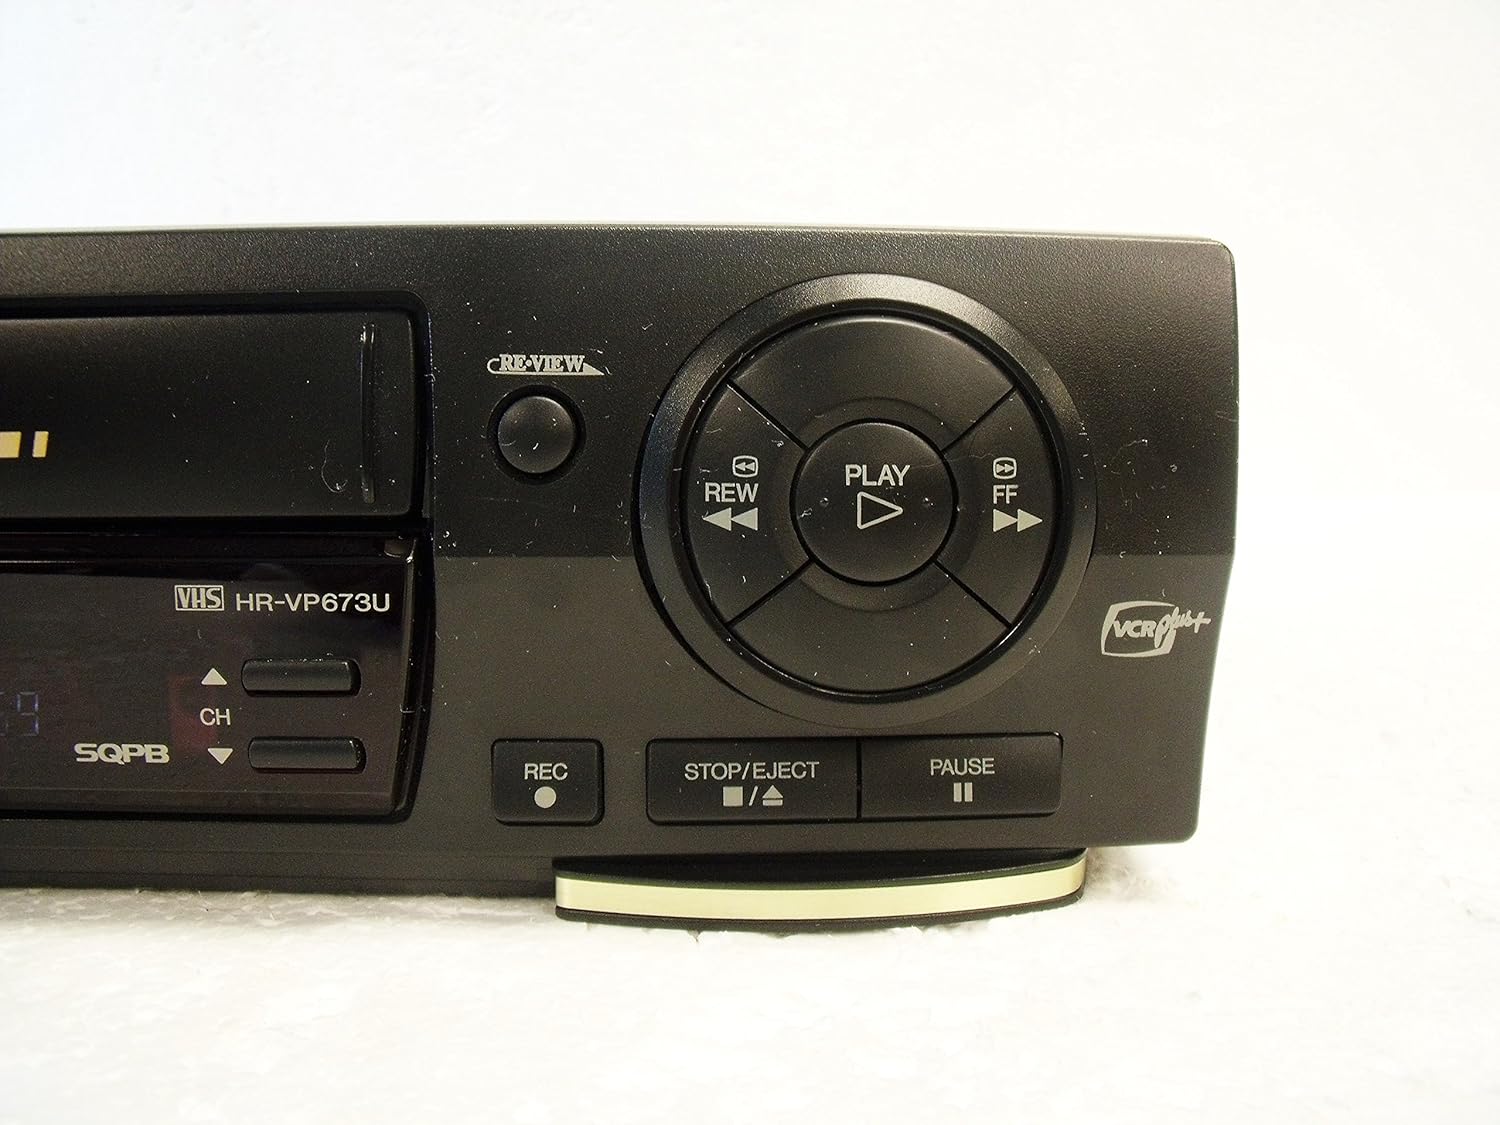
Image 6: Close-up of the main control buttons on the right side of the JVC HR-VP673U VCR, including Play, Rewind, Fast Forward, Stop/Eject, Pause, and Record.
5.4 Recording
To record, ensure a blank or recordable videocassette is inserted.
- Select the desired input source (e.g., TV channel, external input).
- Press the REC button on the front panel or the remote control to begin recording.
- Press STOP/EJECT to stop recording.
Note: This VCR utilizes VCR Plus+ technology for programmed recording. Manual programming may be limited.
6. Maintenance
6.1 Cleaning the Unit
- Wipe the exterior of the VCR with a soft, dry cloth.
- Do not use liquid cleaners or aerosol sprays, as they may damage the finish or internal components.
6.2 Head Cleaning
If picture quality degrades (e.g., snowy picture, lines), the video heads may require cleaning. Use a commercially available dry-type head cleaning cassette. Follow the instructions provided with the cleaning cassette.
7. Troubleshooting
| Problem | Possible Cause | Solution |
|---|---|---|
| No power | Power cord unplugged; power outlet not active. | Ensure power cord is securely plugged in. Test power outlet with another device. |
| No picture/sound | Incorrect input selected on TV; A/V cables improperly connected. | Select the correct video input on your TV (e.g., AV1, Video 1). Check A/V cable connections. |
| Remote control not working | Batteries depleted or incorrectly inserted; obstruction between remote and VCR. | Replace batteries, ensuring correct polarity. Remove any obstructions. |
| VCR "eats" or damages tape | Internal mechanical issue; worn-out tape. | Discontinue use immediately. This indicates a serious internal malfunction. Contact qualified service personnel. Do not attempt to use damaged tapes. |
| Poor picture quality (snowy, lines) | Dirty video heads; worn-out tape. | Use a head cleaning cassette. Try a different tape. |
8. Specifications
- Model: HR-VP673U
- Power Requirements: AC 120V, 60Hz, 19W
- Video System: NTSC
- Tape Format: VHS
- Audio: Hi-Fi Stereo
- Dimensions (Approx.): 15.8 x 11.2 x 4.1 inches (Package Dimensions)
- Weight (Approx.): 7.84 pounds (Item Weight)
- Manufacturer: JVC
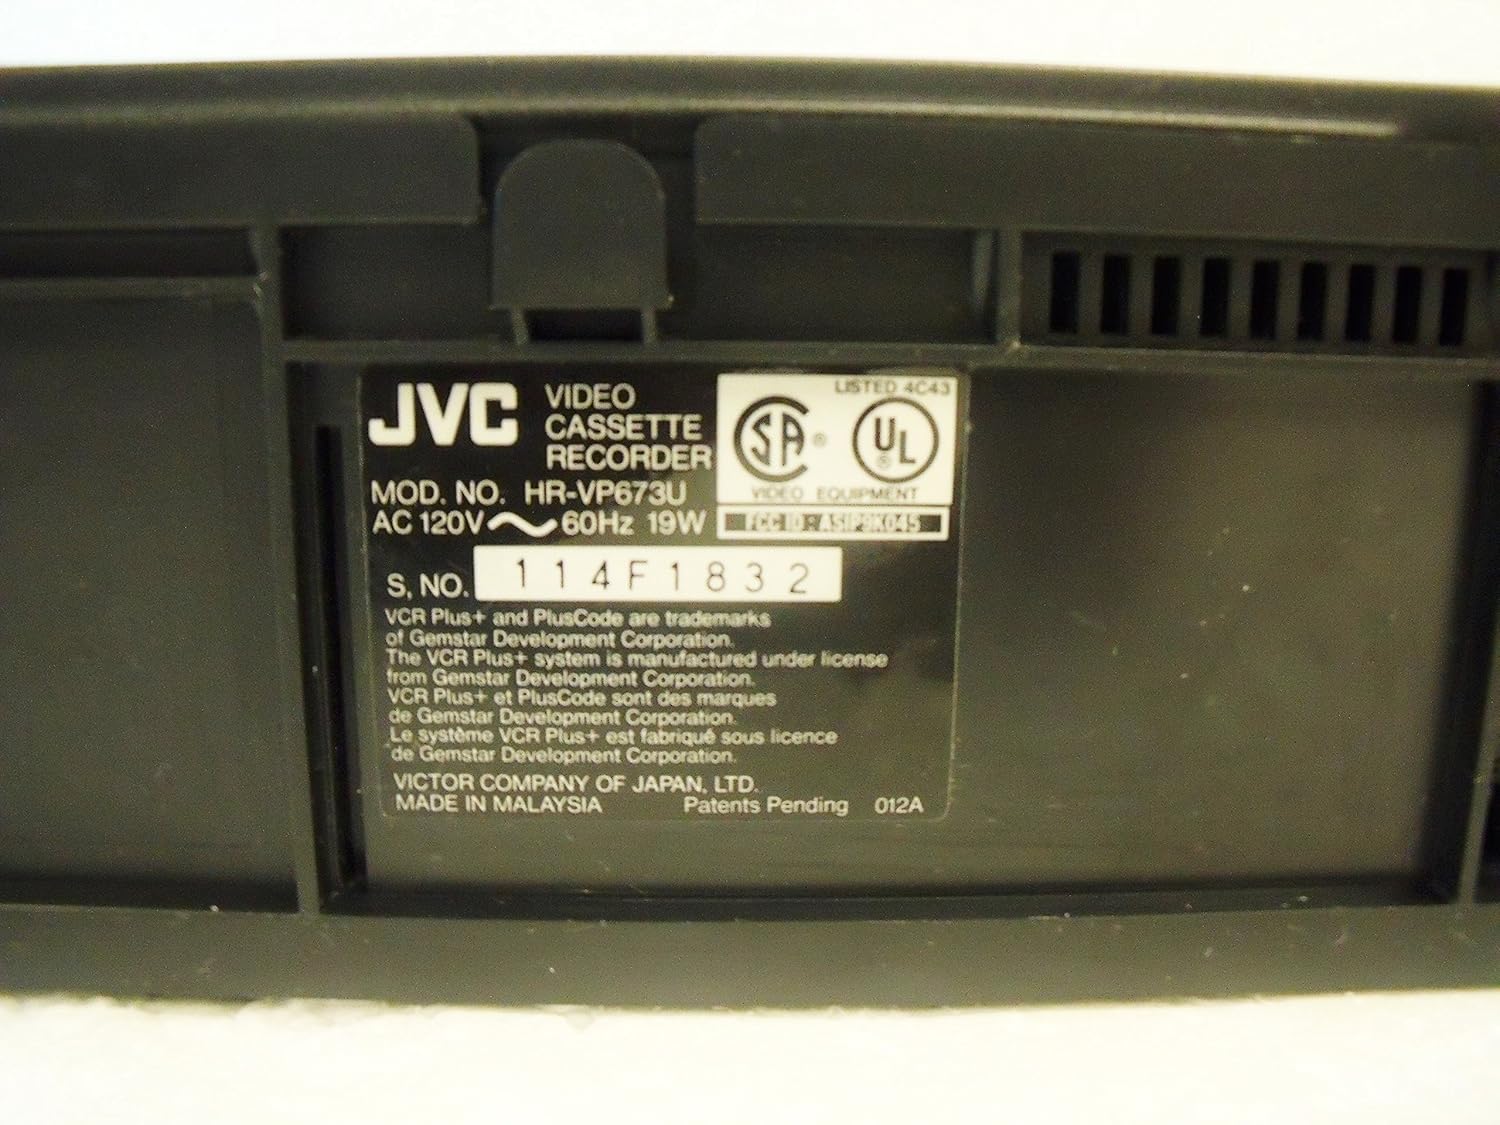
Image 7: Close-up of the product label on the rear of the JVC HR-VP673U VCR, displaying the model number, power requirements, and serial number.
9. Warranty and Support
For warranty information and technical support, please refer to the documentation provided at the time of purchase or visit the official JVC website. Do not attempt to repair the unit yourself, as this may void the warranty and pose a safety risk.
For further assistance, contact JVC customer service.


