
Steinbach 040916
Steinbach SPS 75-1T Self-priming Filter Pump with Timer
Model: 040916
1. Introduction
This instruction manual provides essential information for the safe and efficient operation of your Steinbach SPS 75-1T Self-priming Filter Pump. This pump is designed to be the central component of your pool's filtration system, ensuring clean and clear water. Please read this manual thoroughly before installation, operation, or maintenance to ensure proper use and longevity of the product.
2. Safety Instructions
Always observe basic safety precautions when using electrical equipment, especially near water. Failure to do so can result in serious injury or death.
- Ensure the pump is connected to a properly grounded electrical outlet.
- Do not operate the pump if the power cord or plug is damaged.
- Never touch the pump or electrical connections with wet hands.
- Disconnect power before performing any maintenance or cleaning.
- Keep children and unauthorized persons away from the pump during operation.
- The pump is designed for water filtration only. Do not use it for other liquids.
- Ensure adequate ventilation around the pump to prevent overheating.
3. Product Overview
The Steinbach SPS 75-1T pump is a self-priming filtration pump equipped with an integrated timer for convenient operation. It features a pre-filter to capture larger debris before it reaches the pump impeller, protecting the pump and ensuring efficient filtration.

Figure 3.1: Overall view of the Steinbach SPS 75-1T Self-priming Filter Pump. This image shows the complete pump unit, including the motor, pump housing, pre-filter basket, and connection ports.

Figure 3.2: Detailed view of the transparent pre-filter housing and the pump's outlet connection. The pre-filter is designed to trap large debris, preventing it from entering and damaging the pump's impeller.

Figure 3.3: The control panel of the pump, featuring the ON/OFF switch and the integrated timer settings. The timer allows for automated operation of the pump.
4. Setup
4.1 Placement
Position the pump on a firm, level surface near your pool, ensuring it is protected from direct sunlight and adverse weather conditions. The pump should be placed below the water level of the pool for optimal self-priming performance, or as close as possible to the water source.
4.2 Connections
Connect the pool hoses to the pump's inlet and outlet ports. The pump supports hose connections with a diameter of 32/38 mm. Ensure all connections are tight to prevent leaks and maintain proper suction.

Figure 4.1: Close-up of the pump's inlet connection with a hose barb fitting attached, ready for hose connection.
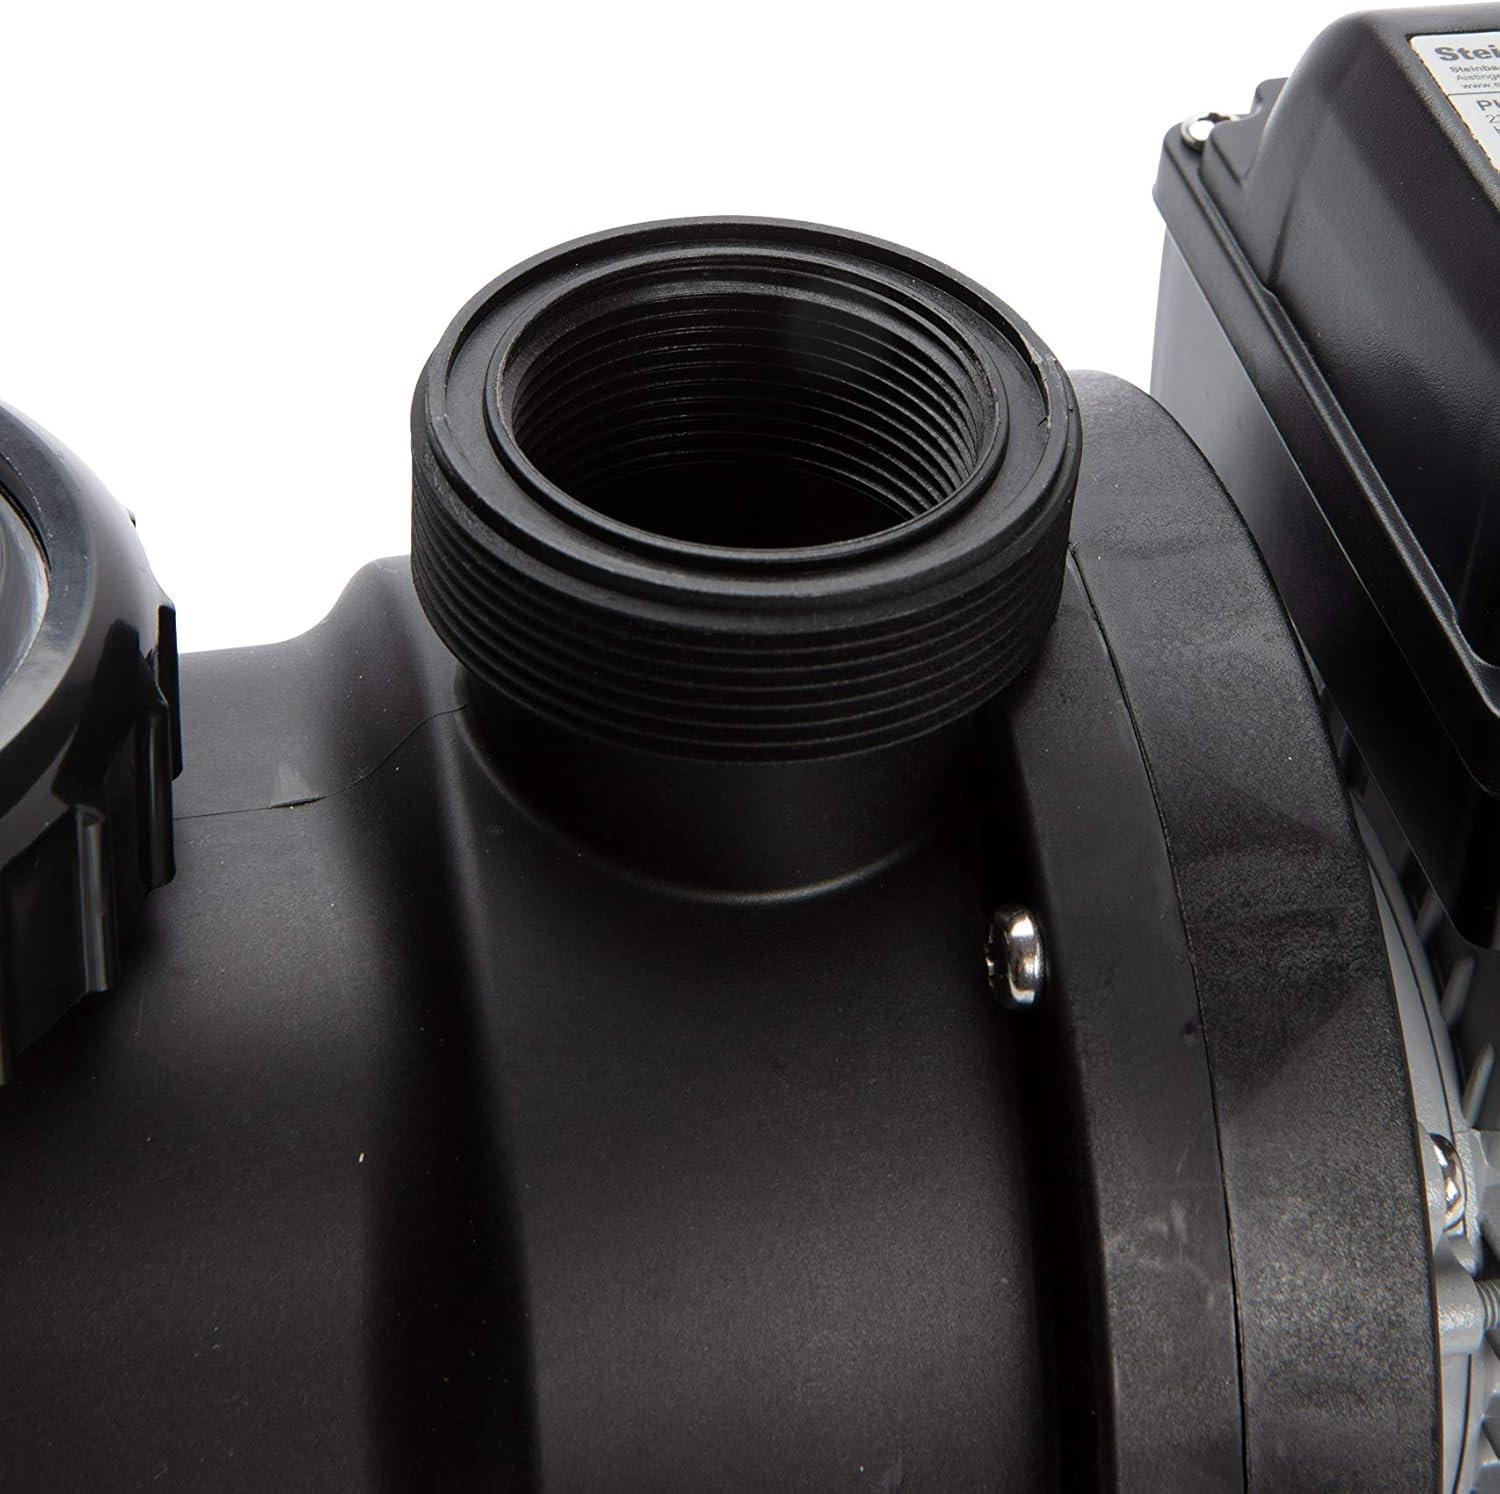
Figure 4.2: The threaded inlet connection of the pump, shown without the hose barb fitting, illustrating the standard connection point.
For electrical connection, plug the pump into a standard 230V power outlet. Ensure the outlet is protected by a Residual Current Device (RCD) for safety.
4.3 Priming the Pump
Although the SPS 75-1T is a self-priming pump, it is recommended to fill the pre-filter housing with water before the first start-up or after prolonged periods of inactivity. This assists in faster priming and protects the pump from dry running.
- Ensure the pump is disconnected from power.
- Unscrew the transparent lid of the pre-filter housing.
- Fill the housing completely with water.
- Securely re-attach the lid, ensuring the O-ring is properly seated to prevent air leaks.
- Connect the pump to power and switch it on. The pump should begin to draw water and expel air.

Figure 4.3: The pre-filter housing with its transparent lid unscrewed, showing the internal basket. This is where water is added for priming and where debris collects.
5. Operating Instructions
5.1 Powering On/Off
To turn the pump on, press the ON/OFF button on the control panel. To turn it off, press the same button again. Always ensure the pump is fully primed before starting.
5.2 Timer Function
The integrated timer allows you to program the pump's operating hours. Refer to the markings on the control panel (e.g., 2, 4, 6, 8, 10, 12, 14, 16, 24 hours) to set the desired duration. Press the TIMER button to cycle through the available settings. The corresponding indicator light will illuminate to show the selected operating time.
For optimal pool water circulation and filtration, it is generally recommended to operate the pump for at least 8-12 hours per day, depending on pool size, usage, and environmental conditions.
6. Maintenance
6.1 Cleaning the Pre-filter Basket
Regularly inspect and clean the pre-filter basket to ensure optimal pump performance and prevent clogging. The frequency of cleaning depends on the amount of debris in your pool water.
- Disconnect the pump from the power supply.
- Close any necessary valves to prevent water flow from the pool.
- Unscrew the transparent lid of the pre-filter housing (refer to Figure 4.3).
- Remove the pre-filter basket.
- Rinse the basket thoroughly with water to remove all debris.
- Inspect the O-ring on the lid for any damage and ensure it is clean.
- Place the clean basket back into the housing and securely re-attach the lid.
- Re-open valves and reconnect power.
6.2 Winterization and Storage
Before the first frost, or if the pump will not be used for an extended period, it must be properly winterized to prevent damage.
- Disconnect the pump from power.
- Drain all water from the pump by opening the drain plug (if available) or by tilting the pump.
- Disconnect all hoses.
- Clean the exterior of the pump.
- Store the pump in a dry, frost-free location.
7. Troubleshooting
| Problem | Possible Cause | Solution |
|---|---|---|
| Pump does not start. | No power supply; tripped circuit breaker; faulty motor. | Check power connection; reset circuit breaker; contact qualified technician. |
| Low water flow or no flow. | Pre-filter basket clogged; air leak in suction line; pump not primed; impeller clogged. | Clean pre-filter; check hose connections for leaks; re-prime pump; inspect impeller for debris (after disconnecting power). |
| Pump is noisy. | Air in the system; cavitation (insufficient water supply); worn bearings. | Check for air leaks and re-prime; ensure adequate water level in pool; contact qualified technician. |
| Water leaking from pump. | Loose connections; damaged O-rings/seals. | Tighten connections; inspect and replace O-rings/seals as needed. |
8. Specifications
| Feature | Value |
|---|---|
| Manufacturer | Steinbach |
| Model Number | 040916 |
| Product Dimensions (L x W x H) | 12.7 x 10.16 x 7.62 cm |
| Weight | 3 kg (6.61 pounds) |
| Color | Black |
| Material | Stainless Steel |
| Power Type | Electric Cable |
| Voltage | 230 Volts |
| Power | 450 Watts |
| Pump Capacity | 8,520 liters/hour (142 liters/minute) |
| Max Pump Head | 9 meters |
| Hose Connection Diameter | 32/38 mm |
| Max Water Temperature | 35 °C |
| Max Pool Size | 33,000 liters |
| Noise Level | Approx. 70 dB |
| Integrated Timer | Yes |
9. Warranty and Support
For information regarding product warranty, please refer to the documentation provided with your purchase or visit the official Steinbach website. Warranty terms and conditions typically cover manufacturing defects and vary by region and retailer.
For technical support, spare parts, or service inquiries, please contact Steinbach customer service or your authorized dealer. Keep your purchase receipt and product model number (040916) readily available when seeking support.
Related documents040916


Ask a question about this manual
Ask about setup, troubleshooting, compatibility, parts, safety, or missing instructions. Manuals+ will review the question and use this page’s manual context to help answer it.