1. Introduction
This manual provides instructions for the Philips Voice Tracer DVT2000 digital voice recorder. The DVT2000 is designed for capturing conversations and audio with MP3 stereo recording for clear sound quality. It features a large backlit graphical display for easy navigation and extended battery life for long recording sessions.
Key features include:
- Stereo MP3 recording for clear audio.
- Micro SD memory card slot for expandable storage up to 32GB.
- Extended battery runtime for prolonged use.
- FM radio recording capability.
- PC connection for plug-and-play file transfer.
2. What's in the Box
Verify that all items listed below are included in your package:
- Philips Voice Tracer DVT2000 Digital Recorder
- 2 x AAA Batteries
- USB Cable
- Quick Start Guide
- Headphones

Figure 1: Package Contents. This image illustrates the Philips Voice Tracer DVT2000 device, two AAA batteries, a USB cable, a quick start guide, and headphones.
3. Product Overview
Familiarize yourself with the components and controls of your DVT2000 recorder.
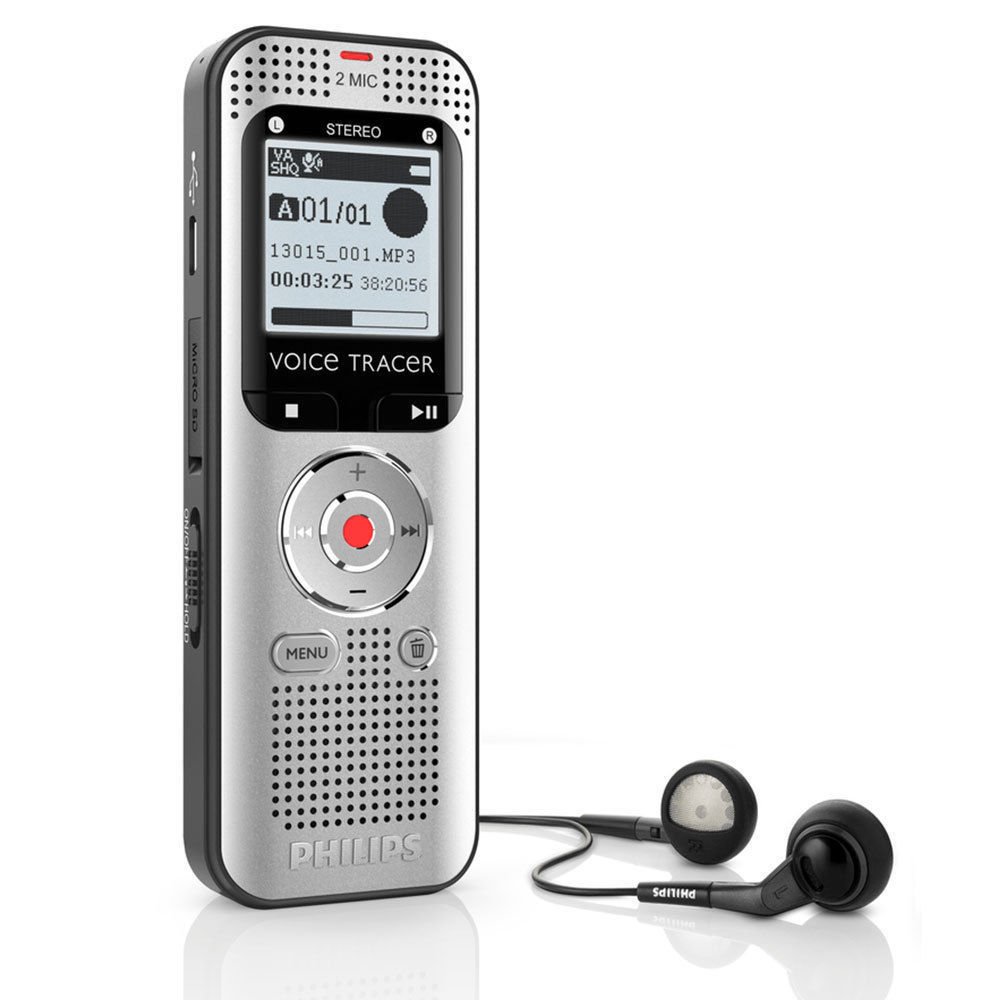
Figure 2: Front View of the DVT2000. This image displays the front of the recorder, showing the display screen, control buttons, and built-in speaker.
3.1. Controls and Ports

Figure 3: Front and Rear Sides (DVT2000) with Labels. This diagram identifies various parts of the device.
- Power on/off key, keypad lock: Slide switch to power on/off or lock the keypad.
- Slot for memory card (microSD card): Insert a microSD card for expanded storage.
- Micro USB port for computer connection: Connect to a computer using the supplied USB cable.
- Microphone: Built-in stereo microphones for recording.
- Status LED: Indicates device status (Red: recording, Green: playing back, Yellow: data transfer).
- Display: Backlit graphical display for information.
- Operating panel with keys: Includes Play/Stop, Fast Forward, Rewind, and Record buttons.
- Speaker: Built-in speaker for audio playback.
- Operating panel with keys: Includes Menu and Delete buttons.
- Noise reduction (N.R.): Switch to activate/deactivate noise reduction.
- External microphone socket, line-in socket (stereo jack, 3.5 mm): Connect an external microphone or line-in audio source.
- Headphone socket (stereo jack, 3.5 mm): Connect headphones for private listening.
- Battery compartment: Houses the AAA batteries.

Figure 4: Top View of the DVT2000. This image highlights the EAR (headphone) and MIC (external microphone) ports at the top of the device.
4. Setup
4.1. Battery Installation
- Locate the battery compartment on the rear of the device (refer to Figure 3, item 13).
- Open the battery compartment cover.
- Insert two AAA batteries, ensuring correct polarity (+ and -) as indicated inside the compartment.
- Close the battery compartment cover securely.
4.2. Powering On/Off
- To power on the device, slide the Power on/off key (Figure 3, item 1) to the 'On' position.
- To power off the device, slide the Power on/off key to the 'Off' position.
4.3. Inserting a MicroSD Card (Optional)
- Locate the microSD card slot on the side of the device (Figure 3, item 2).
- Insert a microSD card (up to 32GB) into the slot until it clicks into place.
- To remove, gently push the card until it springs out.
5. Operating Instructions
5.1. Recording Audio
- Ensure the device is powered on.
- Press the Record button (red button on the operating panel, Figure 3, item 7) to start recording. The status LED (Figure 3, item 5) will turn red.
- Speak clearly into the built-in microphones (Figure 3, item 4).
- To pause recording, press the Record button again. Press it once more to resume.
- To stop recording, press the Stop button (part of the operating panel, Figure 3, item 7). The recording will be saved automatically.
Voice-Activated Recording (VOR)
The DVT2000 supports voice-activated recording. To enable this feature, navigate through the device's menu options. When VOR is active, recording will automatically start when sound is detected and pause when silence occurs, conserving memory and battery life.
5.2. Playing Back Recordings
- Press the Play/Stop button (Figure 3, item 7) to access the file list.
- Use the Fast Forward or Rewind buttons (part of the operating panel, Figure 3, item 7) to select the desired recording.
- Press the Play/Stop button to start playback. The status LED will turn green.
- Adjust the volume using the volume controls (usually integrated with the navigation buttons).
- To stop playback, press the Play/Stop button again.
5.3. FM Radio Recording
The DVT2000 allows you to record FM radio programs.
- Access the FM radio function through the device's menu.
- Tune to your desired FM radio station.
- Press the Record button to begin recording the broadcast.
- Press the Stop button to end the recording. The recorded file will be saved in MP3 format.
5.4. Connecting to a Computer
To transfer recordings to your computer:
- Connect the DVT2000 to your computer using the supplied USB cable. Plug one end into the Micro USB port on the device (Figure 3, item 3) and the other into a USB port on your computer.
- The device will be recognized as a removable storage device (plug & play). The status LED will turn yellow during data transfer.
- You can then drag and drop files between the recorder and your computer.
- Safely eject the device from your computer before disconnecting the USB cable.
6. Maintenance
- Cleaning: Use a soft, dry cloth to clean the device. Do not use liquid or aerosol cleaners.
- Storage: Store the device in a cool, dry place away from direct sunlight and extreme temperatures.
- Battery Care: Remove batteries if the device will not be used for an extended period to prevent leakage.
- Avoid Impact: Do not drop or subject the device to strong impacts.
7. Troubleshooting
| Problem | Possible Cause | Solution |
|---|---|---|
| Device does not power on. | Batteries are depleted or incorrectly inserted. | Replace batteries with new AAA batteries, ensuring correct polarity. |
| Poor recording quality or distortion. | Microphone sensitivity setting is too high for the environment; recording too close to the sound source; high background noise. | Adjust microphone sensitivity in the menu. Maintain an appropriate distance from the sound source. Activate noise reduction (N.R. switch, Figure 3, item 10) if available. Record in quieter environments. |
| Cannot transfer files to computer. | USB cable is faulty or not properly connected; device not recognized by computer. | Ensure USB cable is securely connected to both the device and computer. Try a different USB port or cable. Restart both the device and computer. |
| Device freezes or becomes unresponsive. | Temporary software glitch. | Remove and reinsert the batteries to perform a hard reset. |
| MicroSD card not detected. | Card incorrectly inserted or incompatible. | Ensure the microSD card is inserted correctly and fully. Try a different, compatible microSD card (up to 32GB). |
8. Specifications
- Model Number: DVT2000
- Brand: Philips
- Recording Format: MP3 Audio
- Memory Storage Capacity: 4 GB (internal), expandable via MicroSD (up to 32 GB)
- Microphone Form Factor: Built-In Stereo
- Hardware Interface: MicroSD, USB
- Headphones Jack: 3.5 mm
- Compatible Devices: Personal Computer
- Batteries: 2 x AAA batteries (included)
- Screen Size: 1.5 Inches
- Product Dimensions: 0.75 x 1.5 x 4.37 inches
- Item Weight: 1.73 ounces (49 Grams)
- Manufacturer: Philips Peripherals and Accessories
- Date First Available: September 11, 2013
9. Warranty and Support
For warranty information and technical support, please refer to the Quick Start Guide included in your package or visit the official Philips support website for your region. Keep your proof of purchase for warranty claims.


